
Yes, my very first dress.
A dress, I hope you’ll agree, that is a rather wearable number.
It didn’t start out as a dress.
I ordered the material from Minerva Crafts with an Alma top in mind.
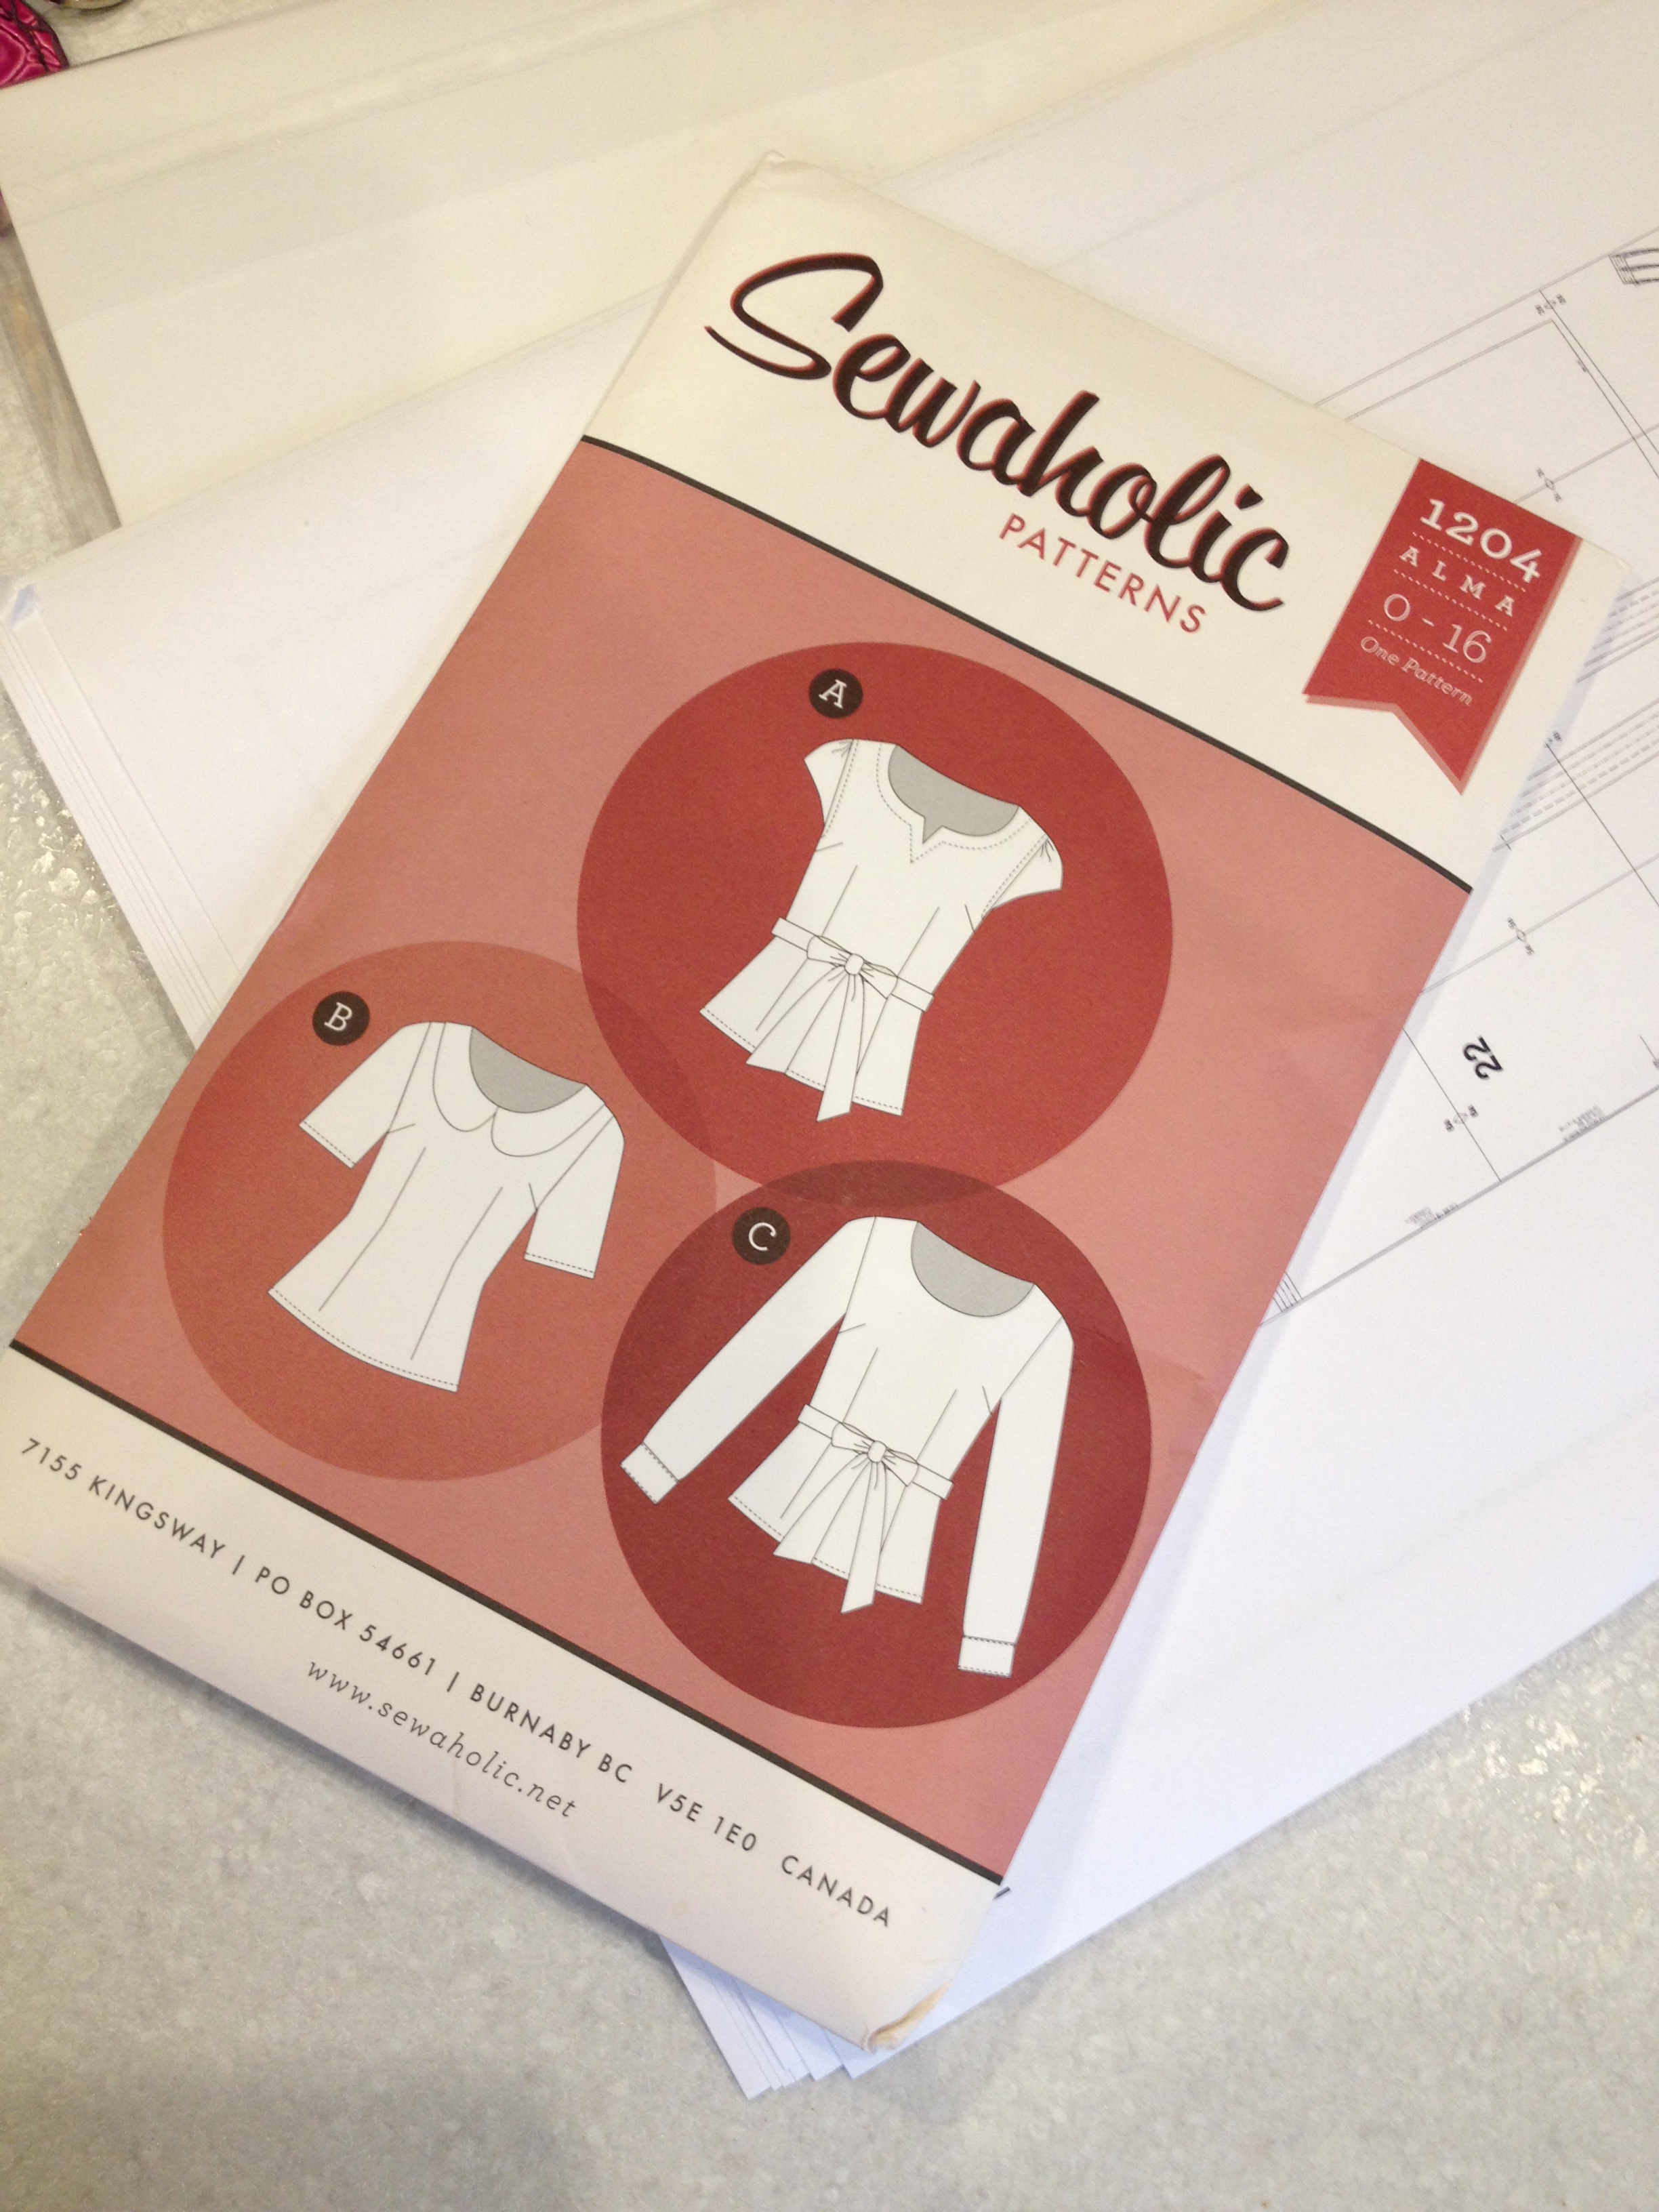
But the 4 inch size of the flower of the fabric ( Blue Ultra Soft Floral Jacquard dress fabric) that dropped through the door threw that option out of the window.
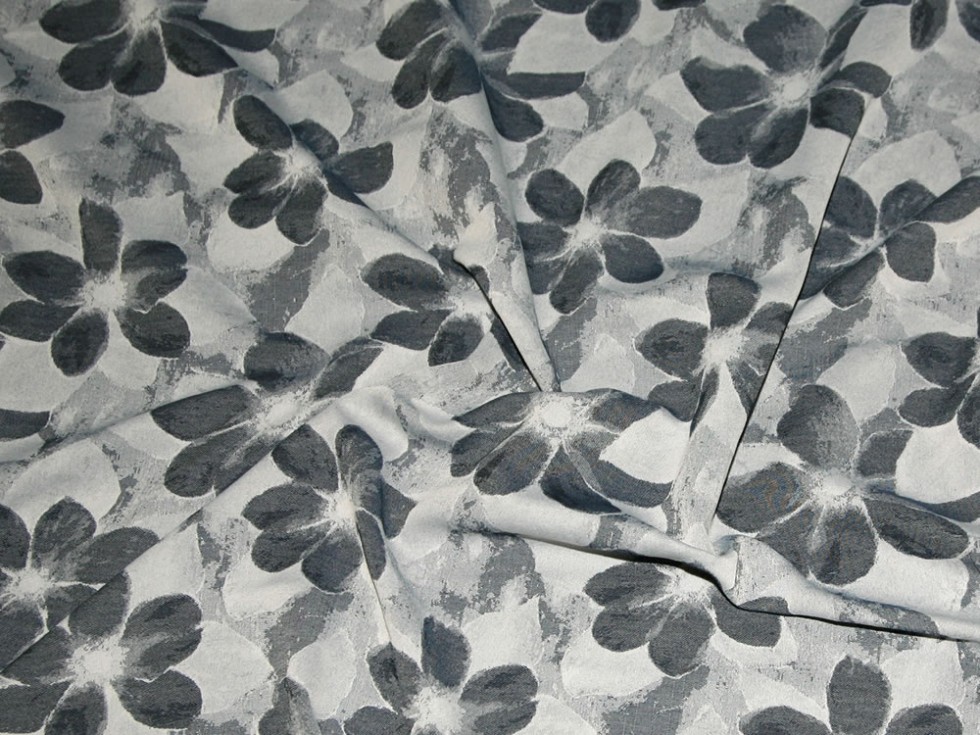
I held the fabric up to myself, wondering what an earth I could do with it, with my very limited experience.
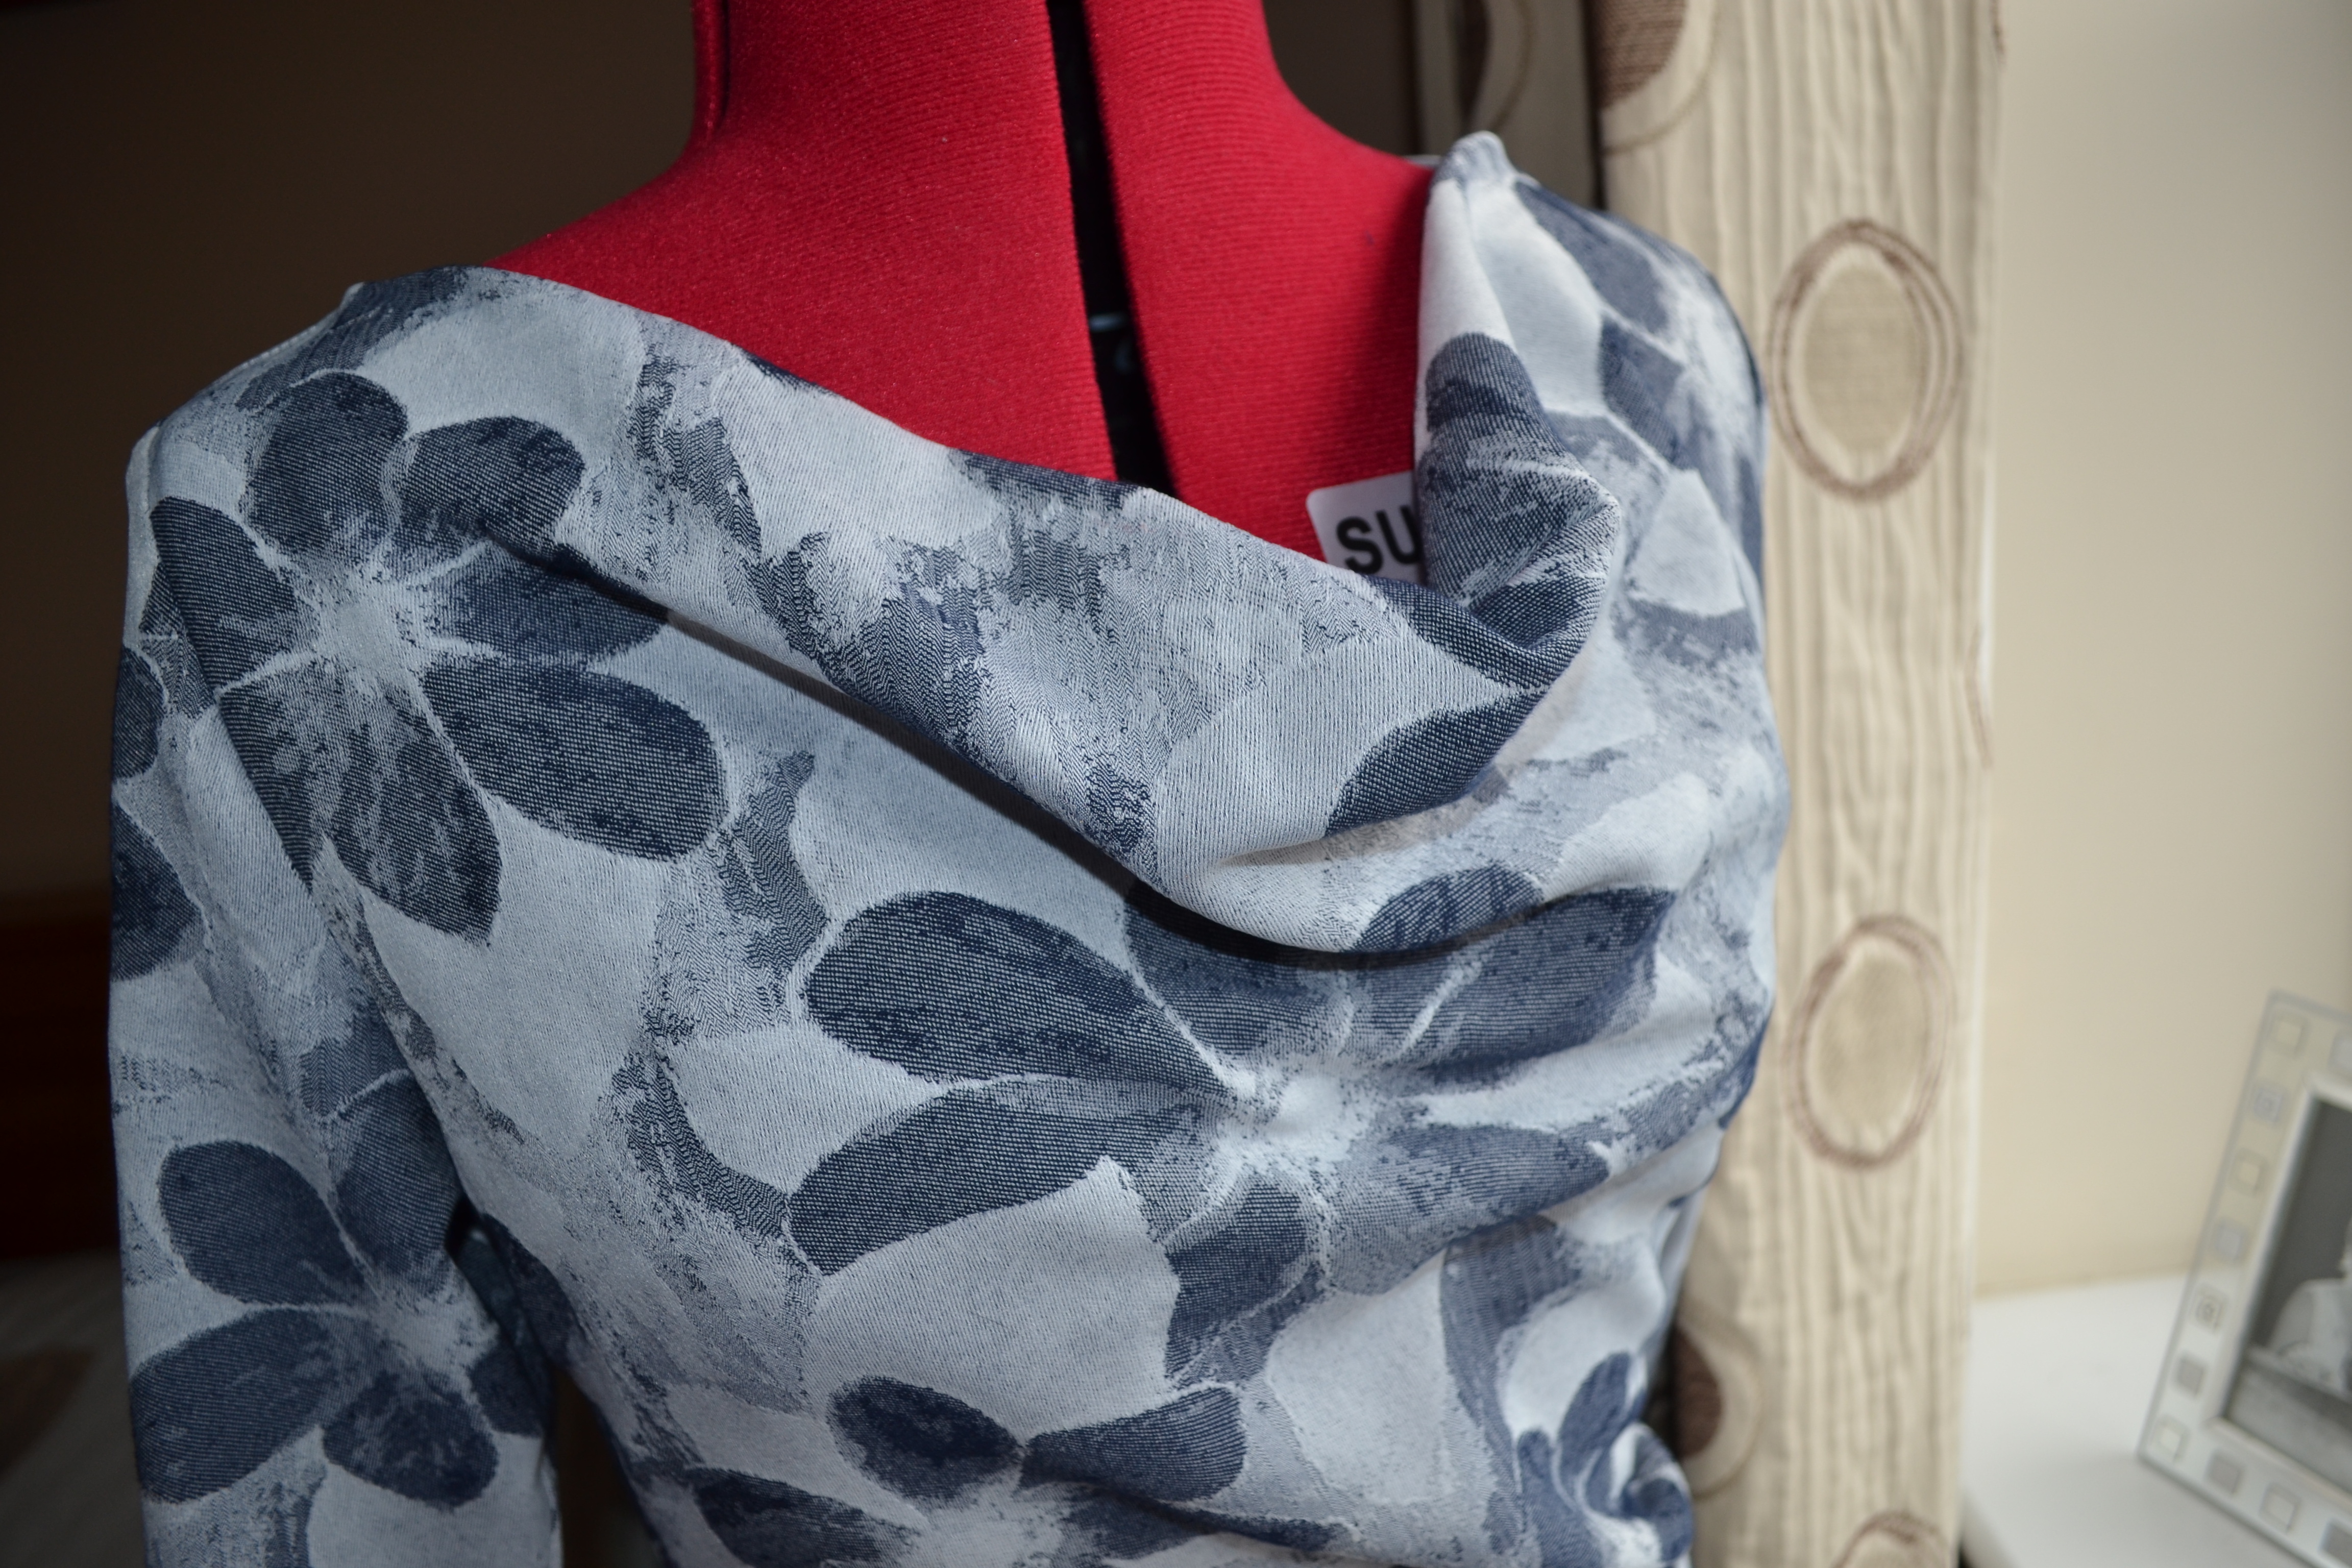
Then I saw the beautiful drape; how the fabric fell in folds. So I set about searching for a pattern for a cowl top for a non-stretch fabric.
It took some time. So many patterns for cowl tops and dresses are for stretch jersey type fabrics. I didn’t feel I could risk just making a stretch top in a woven fabric but then I came across this. The Burdastyle Cowl Dress 10 2012 #118A

It’s a download pdf, not a paper pattern but I had used the print out and stick together method before. It also had no seam allowance, so I had to remember to add this on.
As usual I made up my toile.
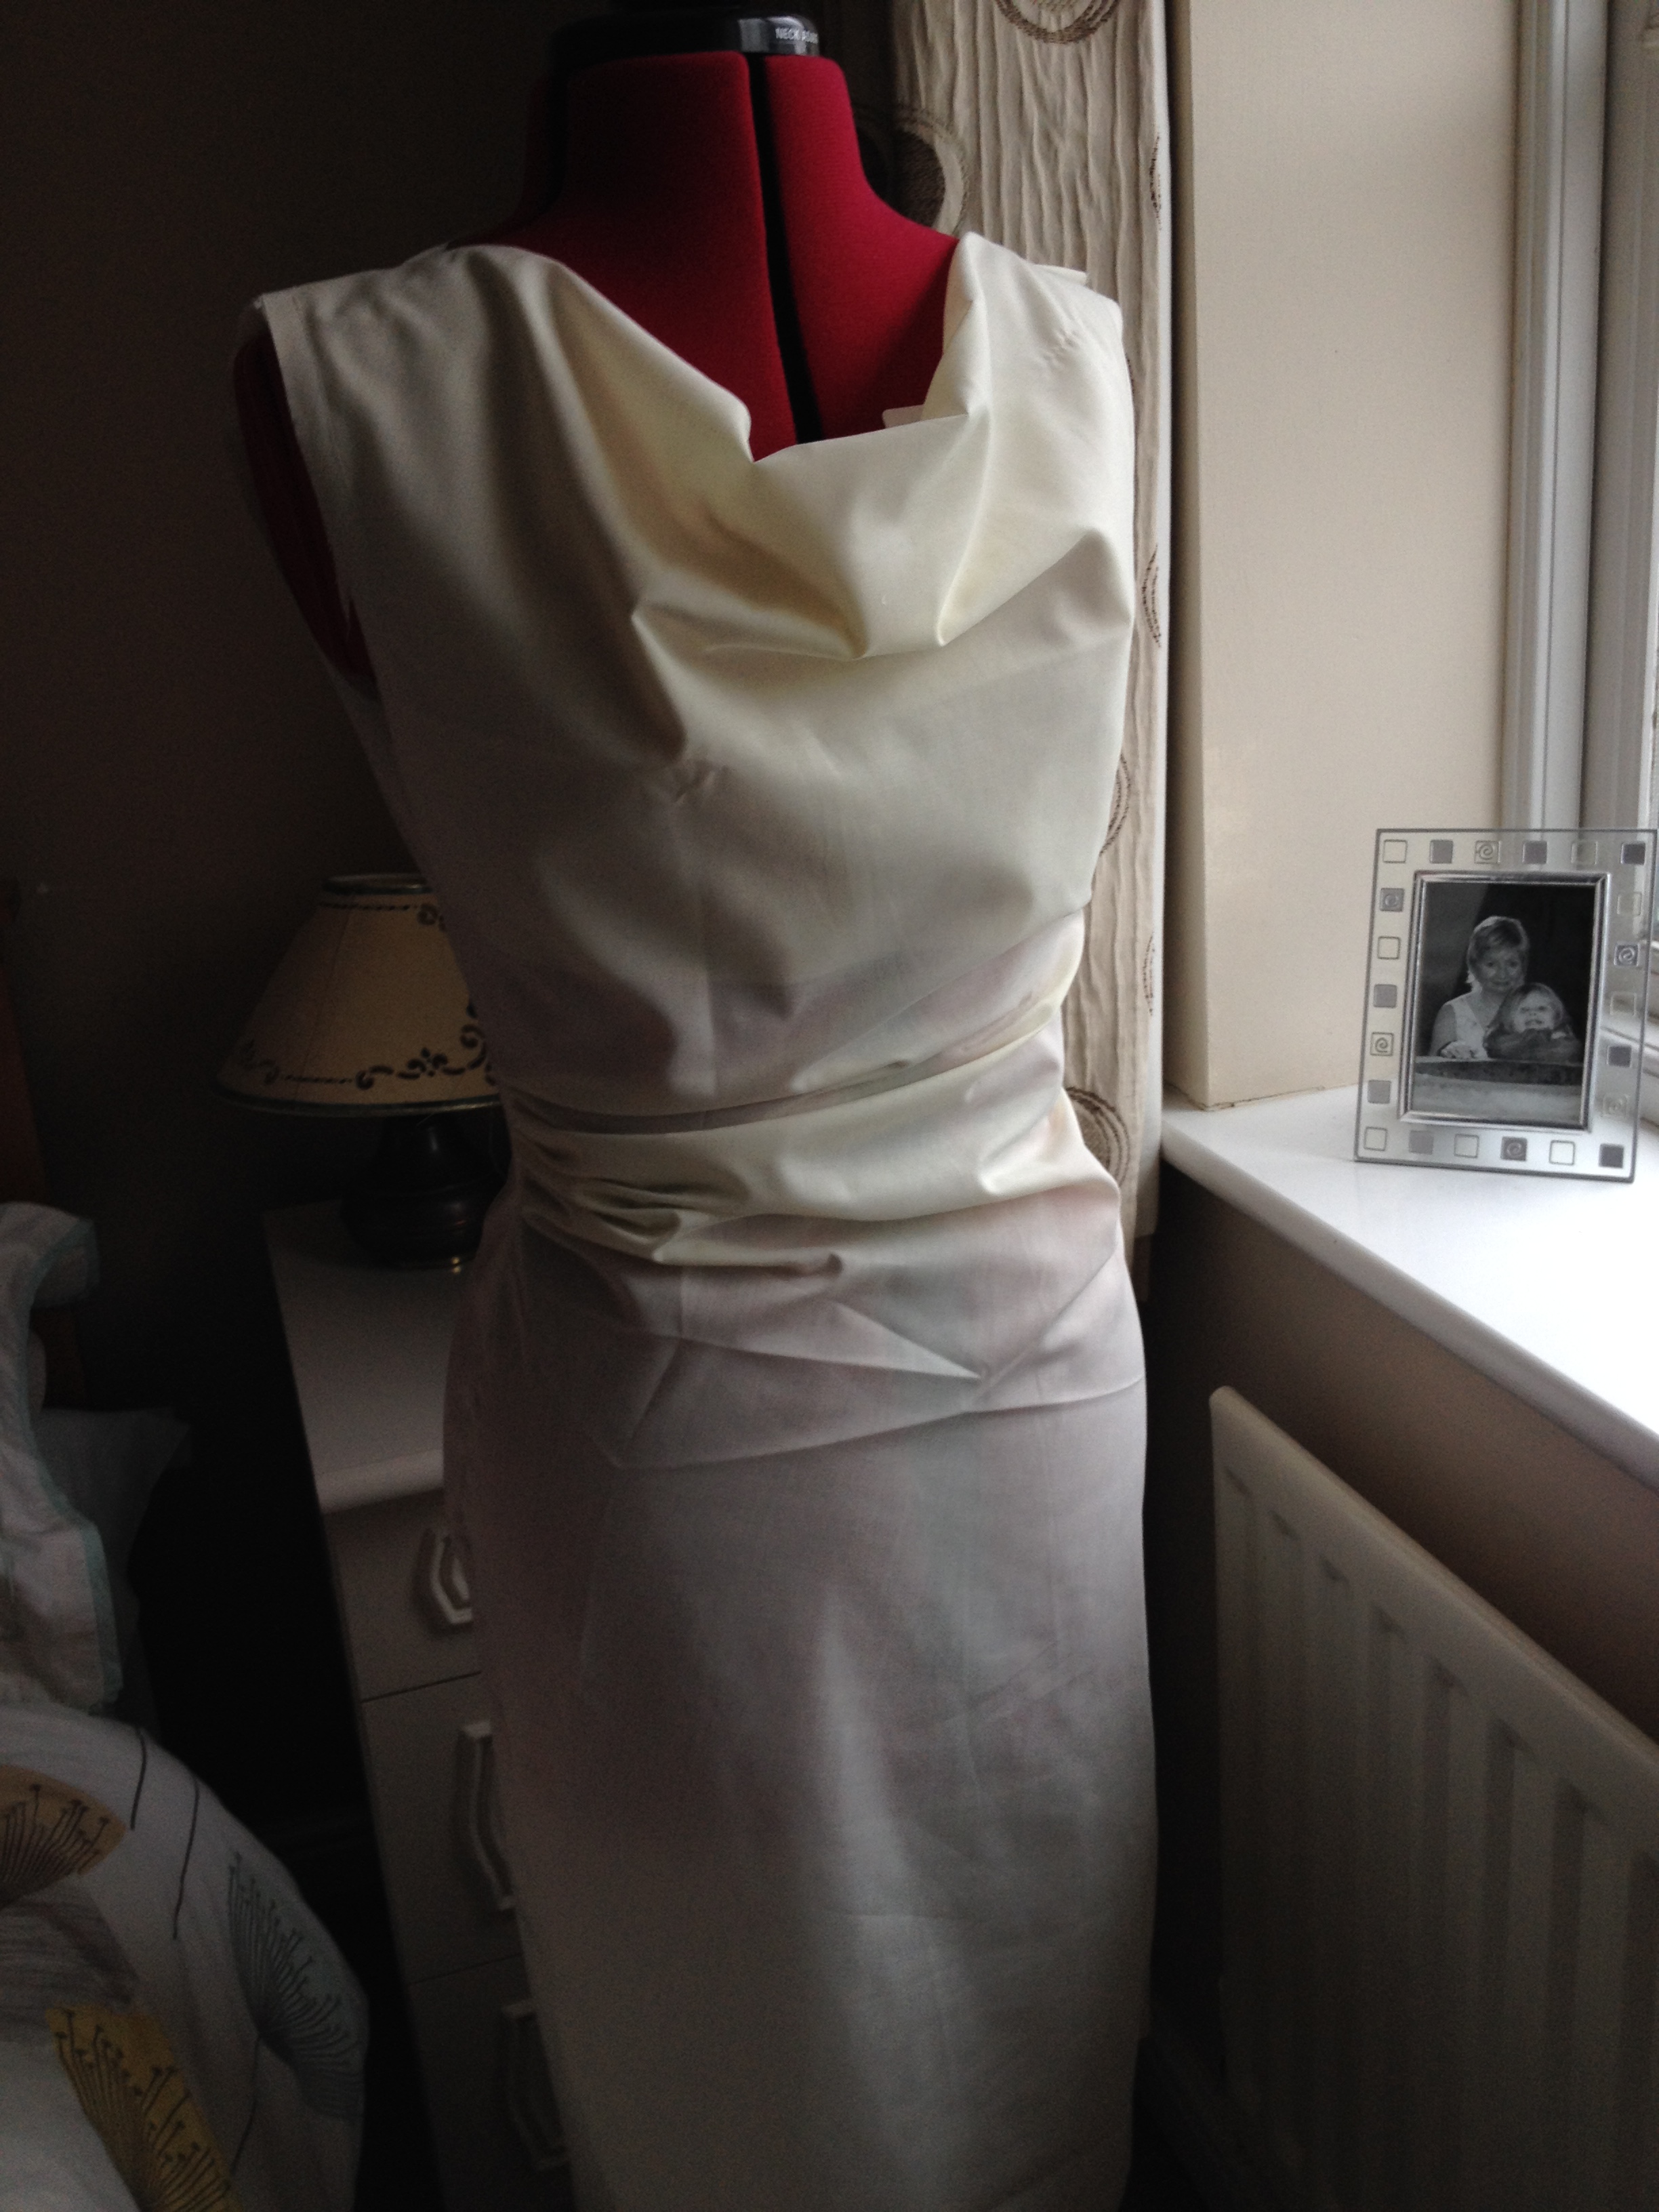
I’m so glad I did! I usually size up and take in through the darts at the waist, but this time the opposite was true; letting out at the waist and taking in up the back.


So do you want to see?
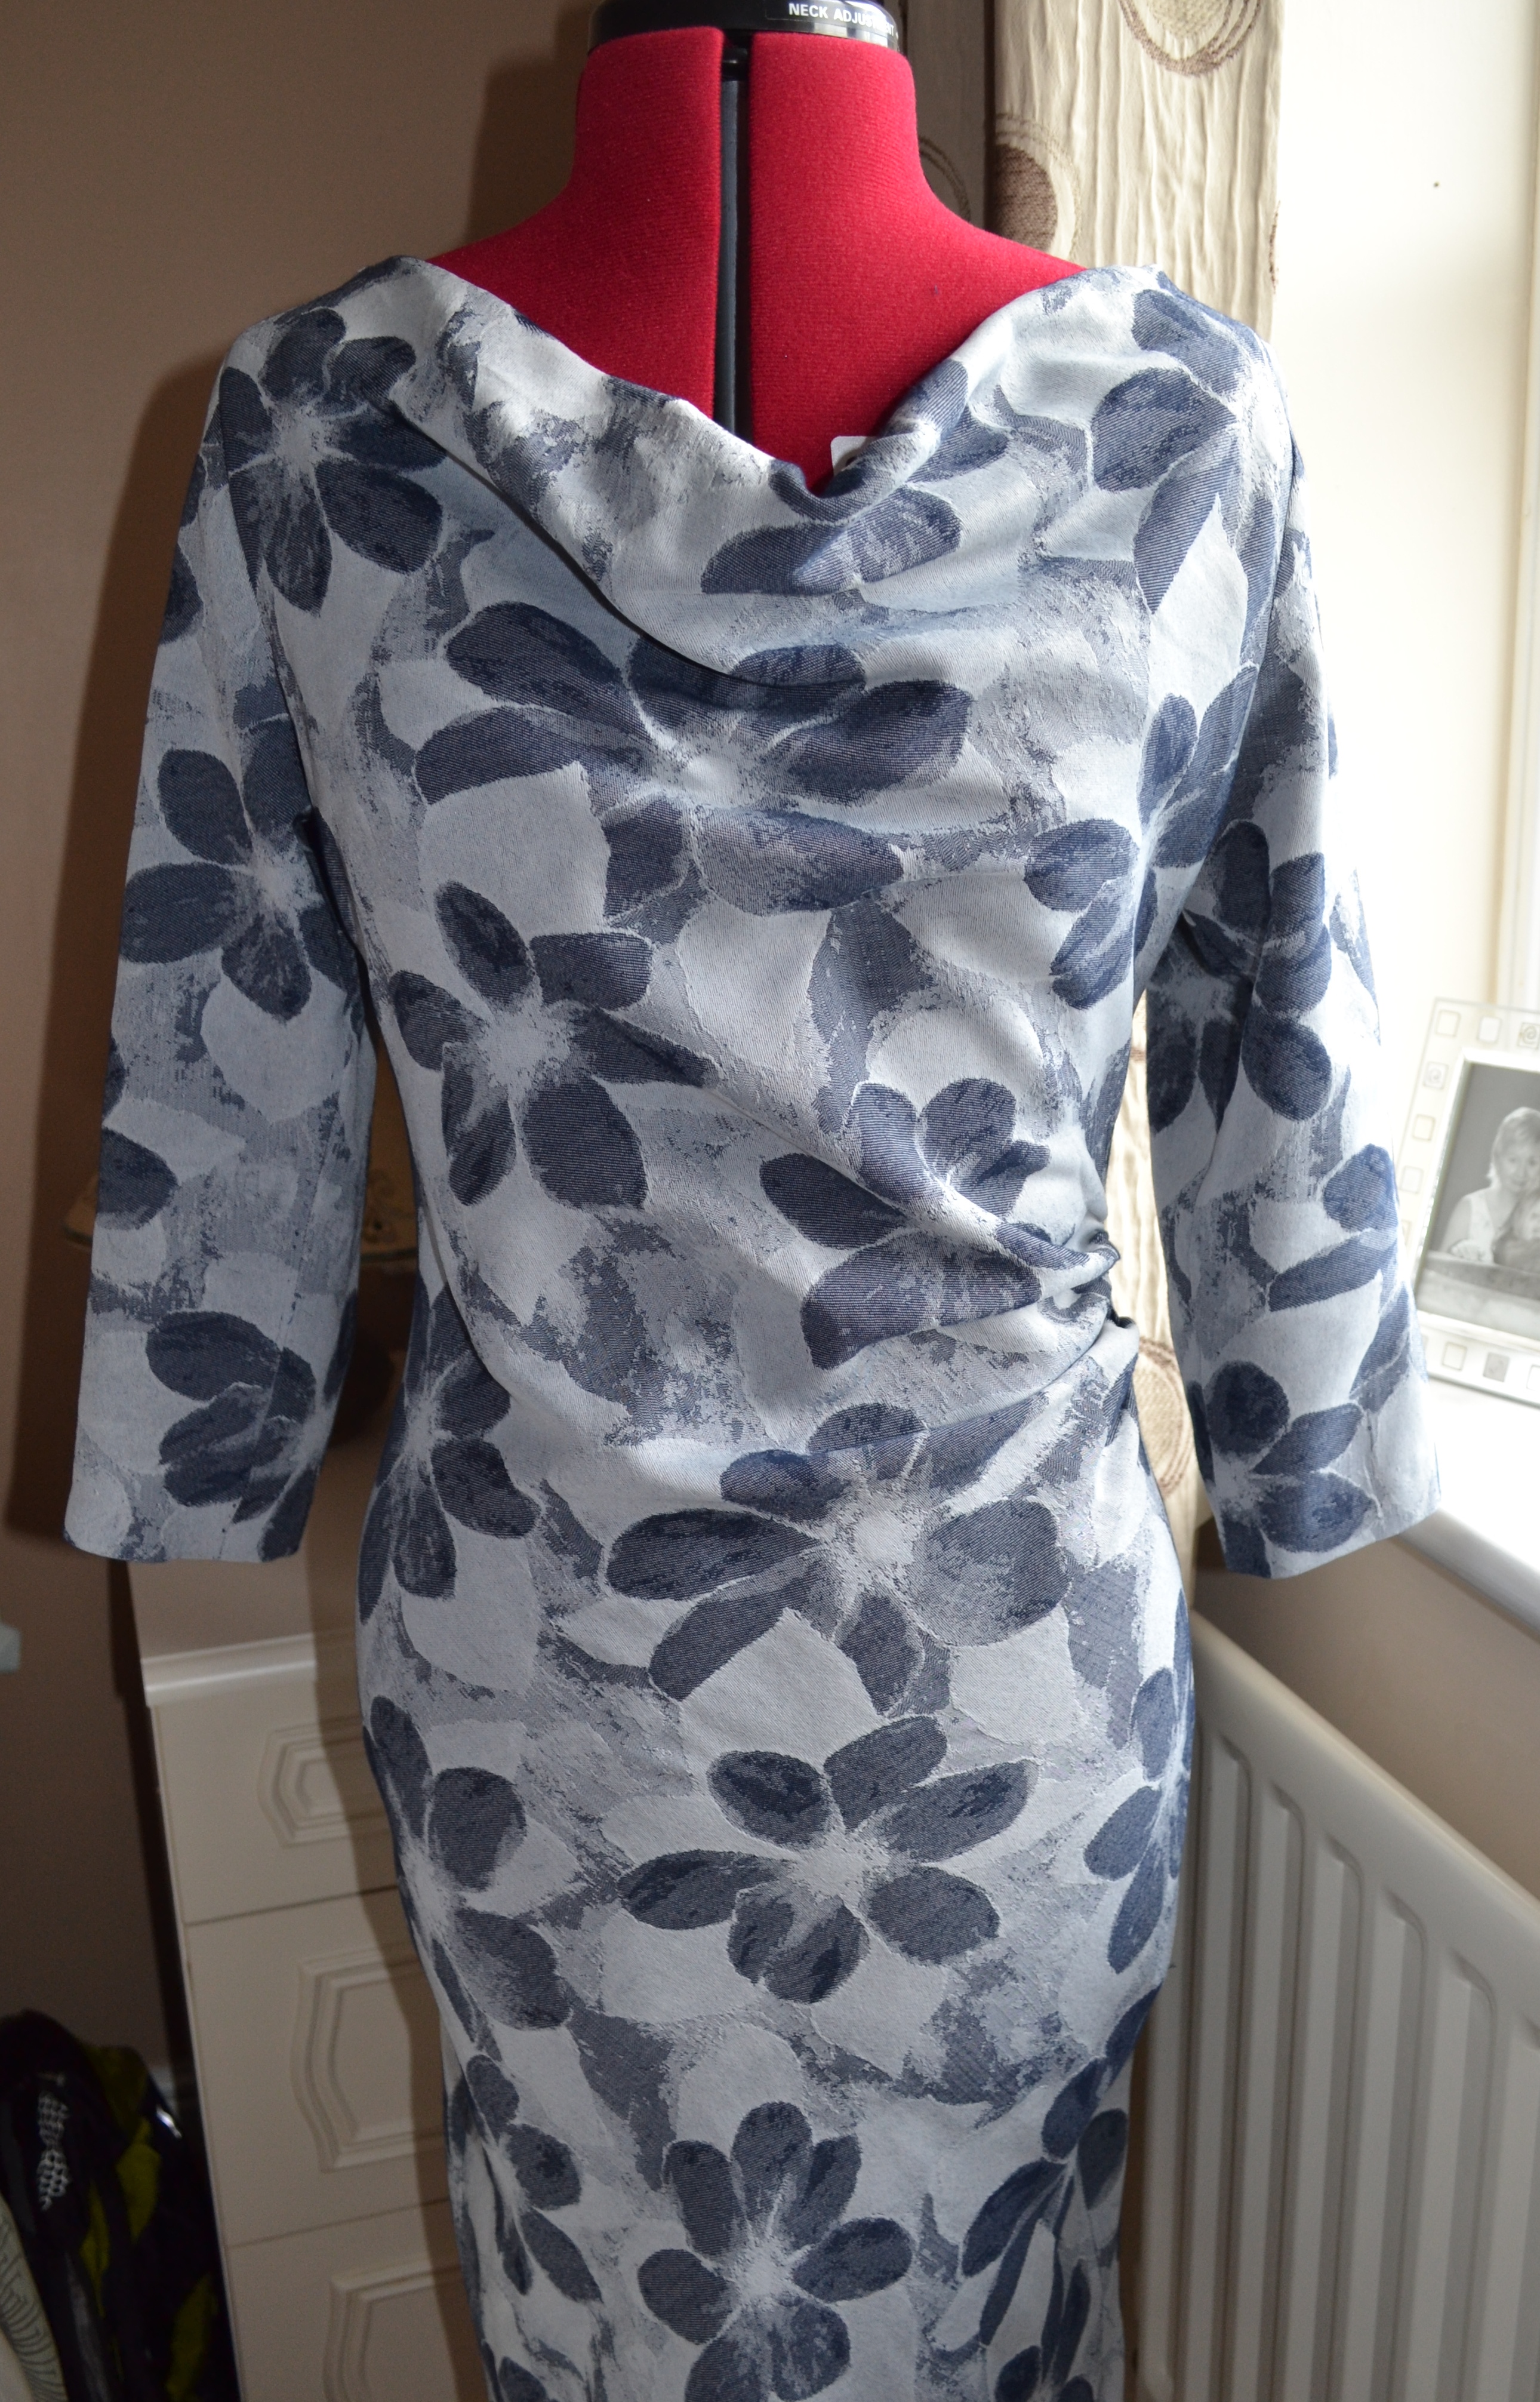
A while back, I would have thought this very complicated.
It has sleeves.

A cowl neck.
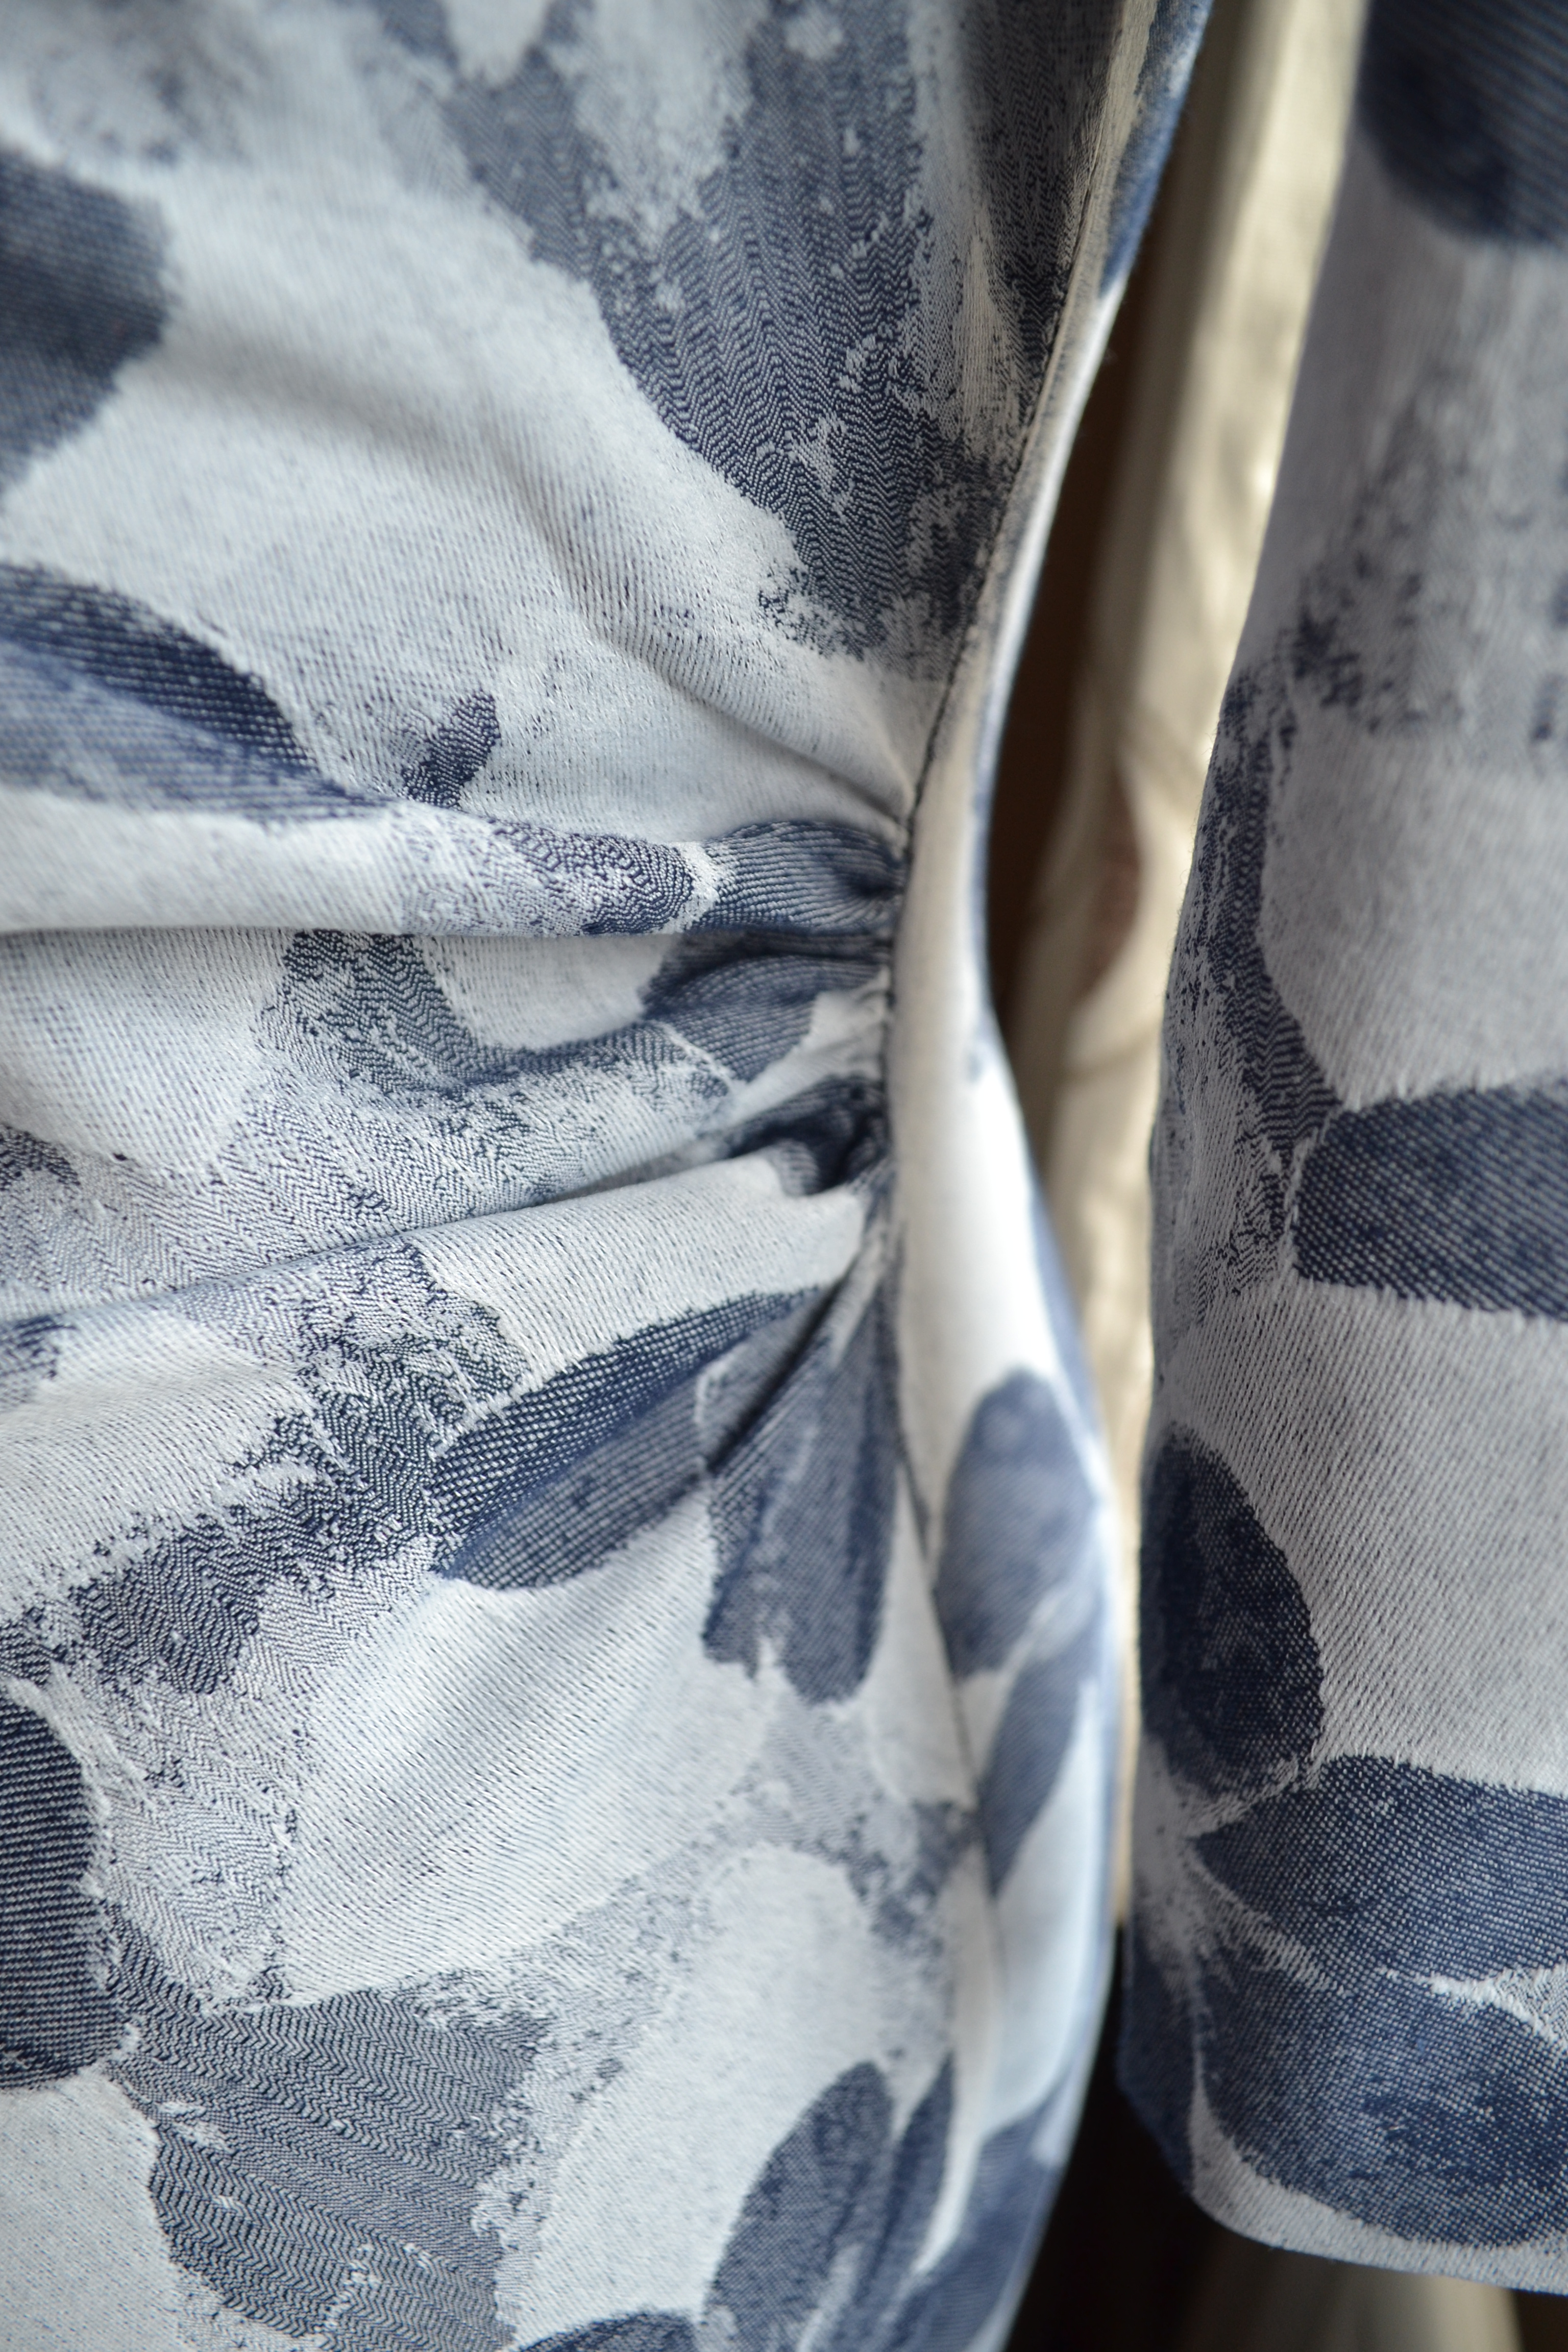
Gathering at one side of the waist.
An invisible zip.
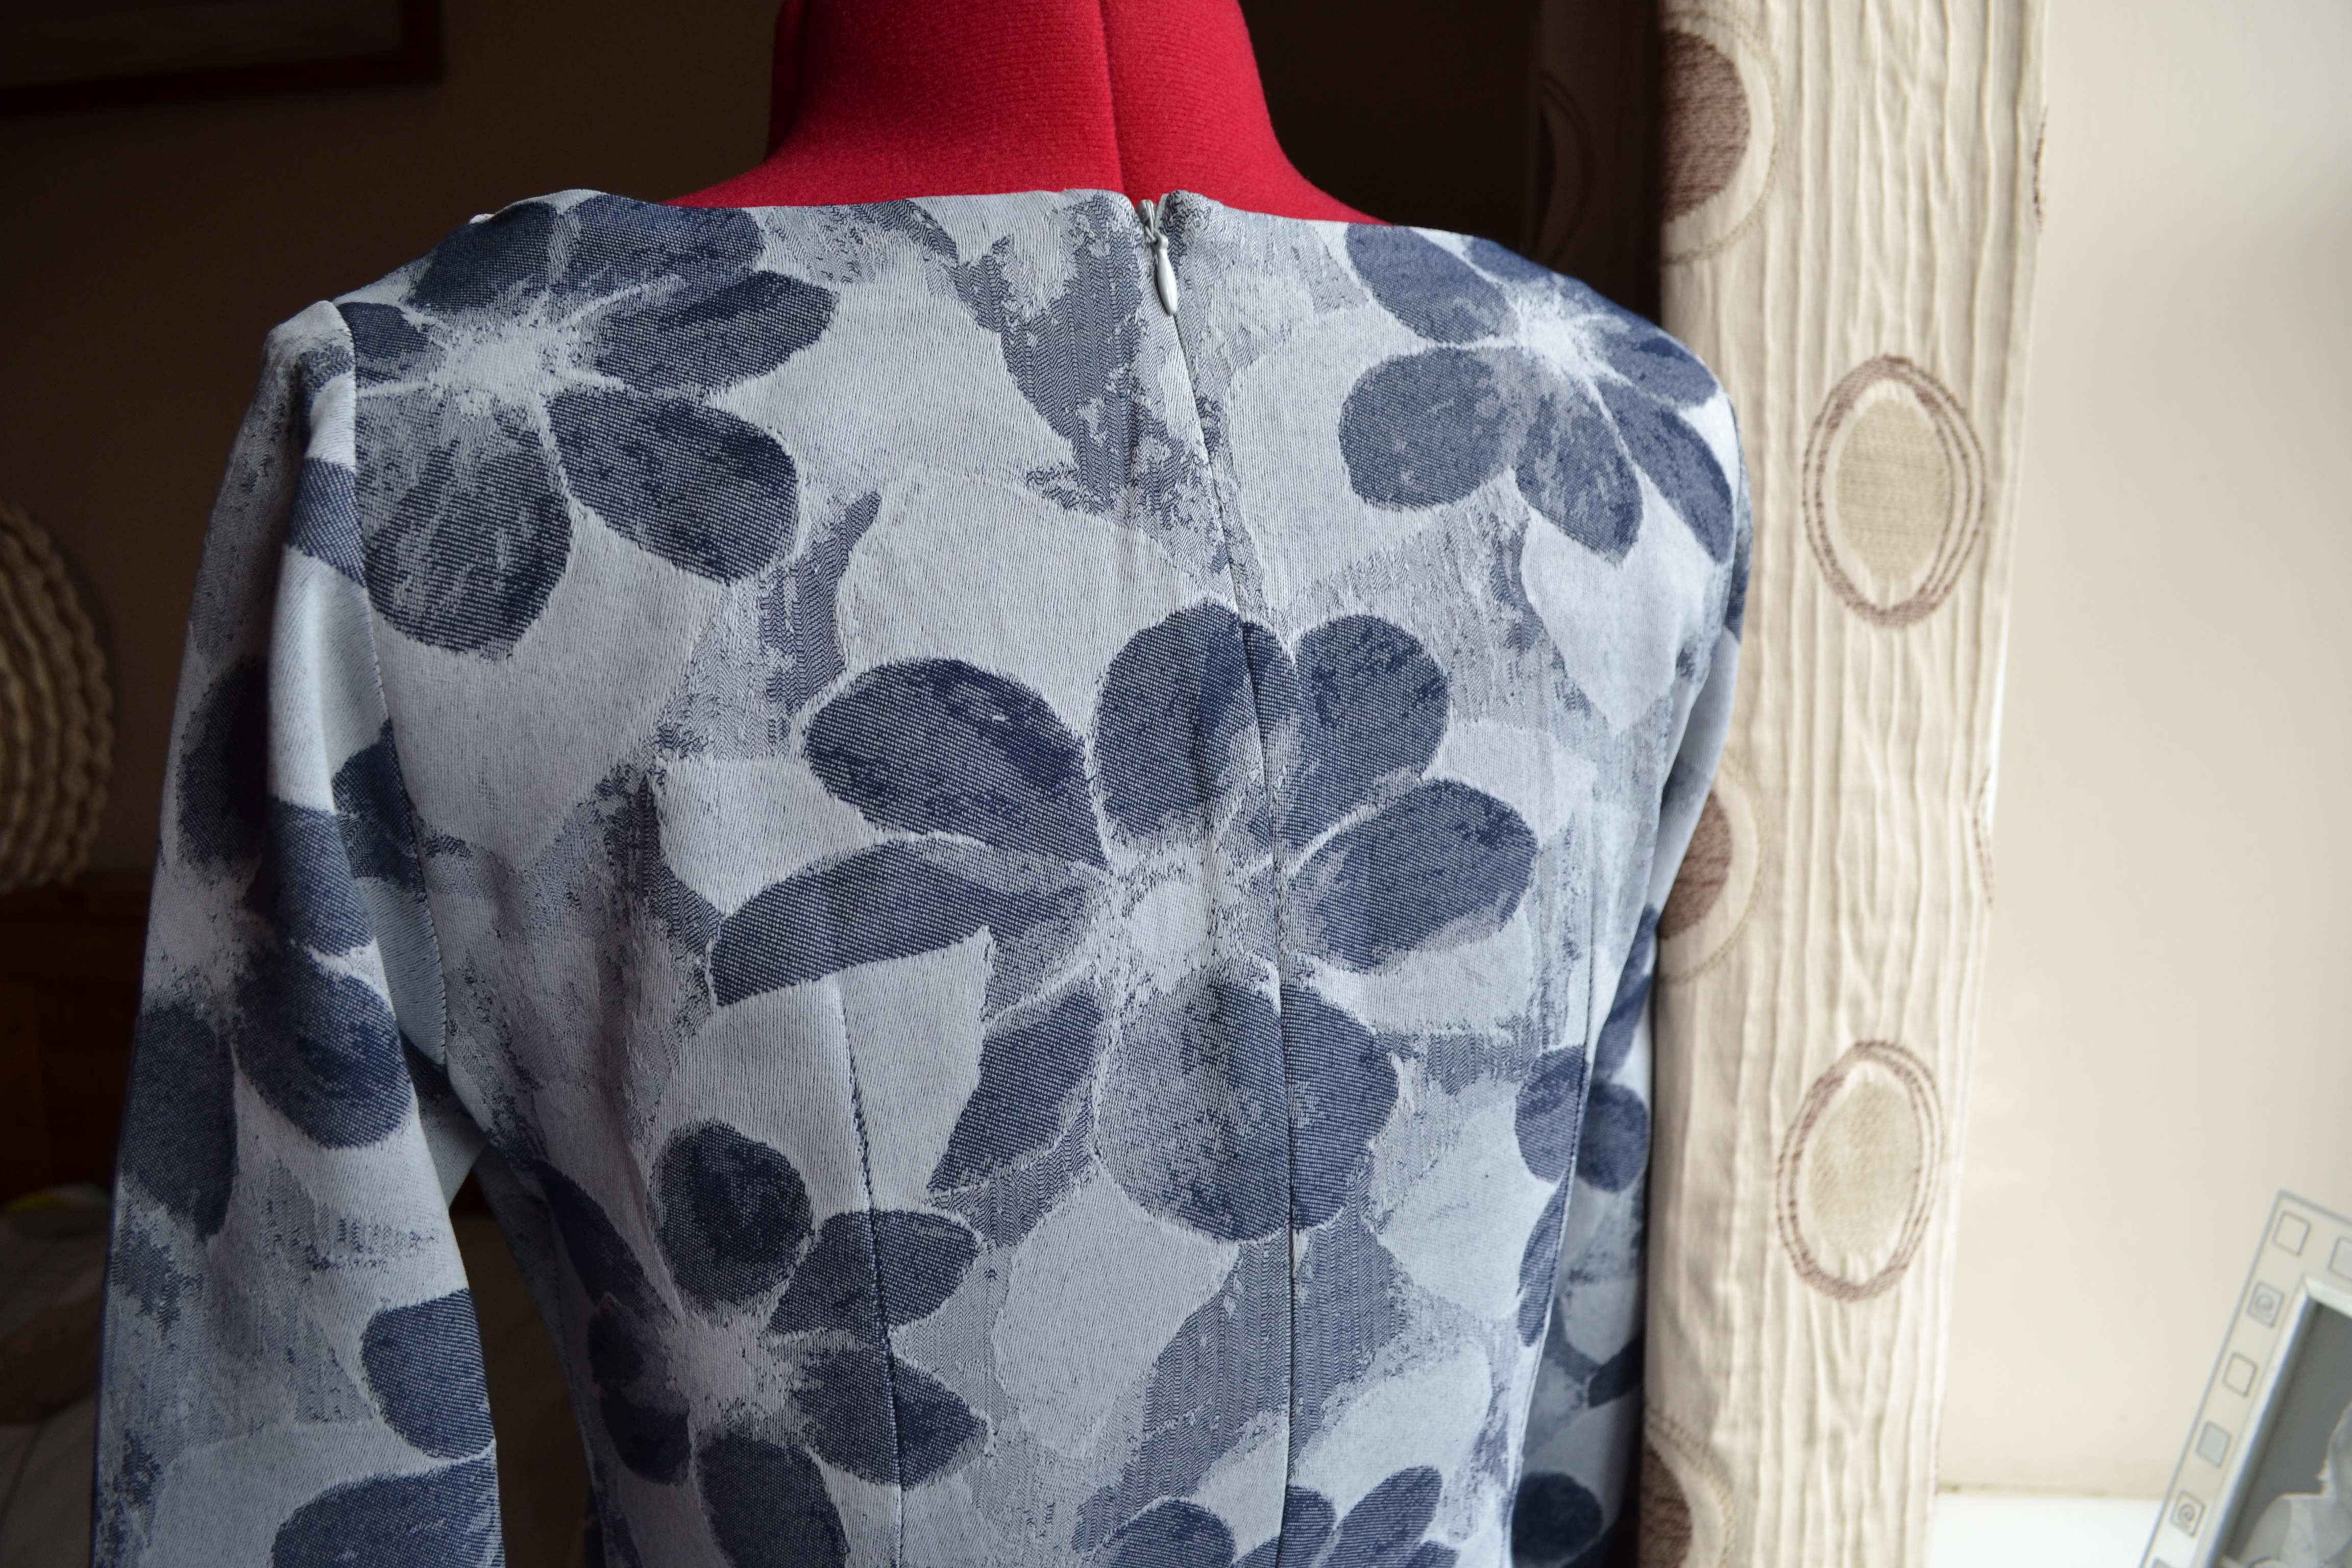
And pattern matching across the back. Well, I matched the one flower and let everything else just do it’s thing.
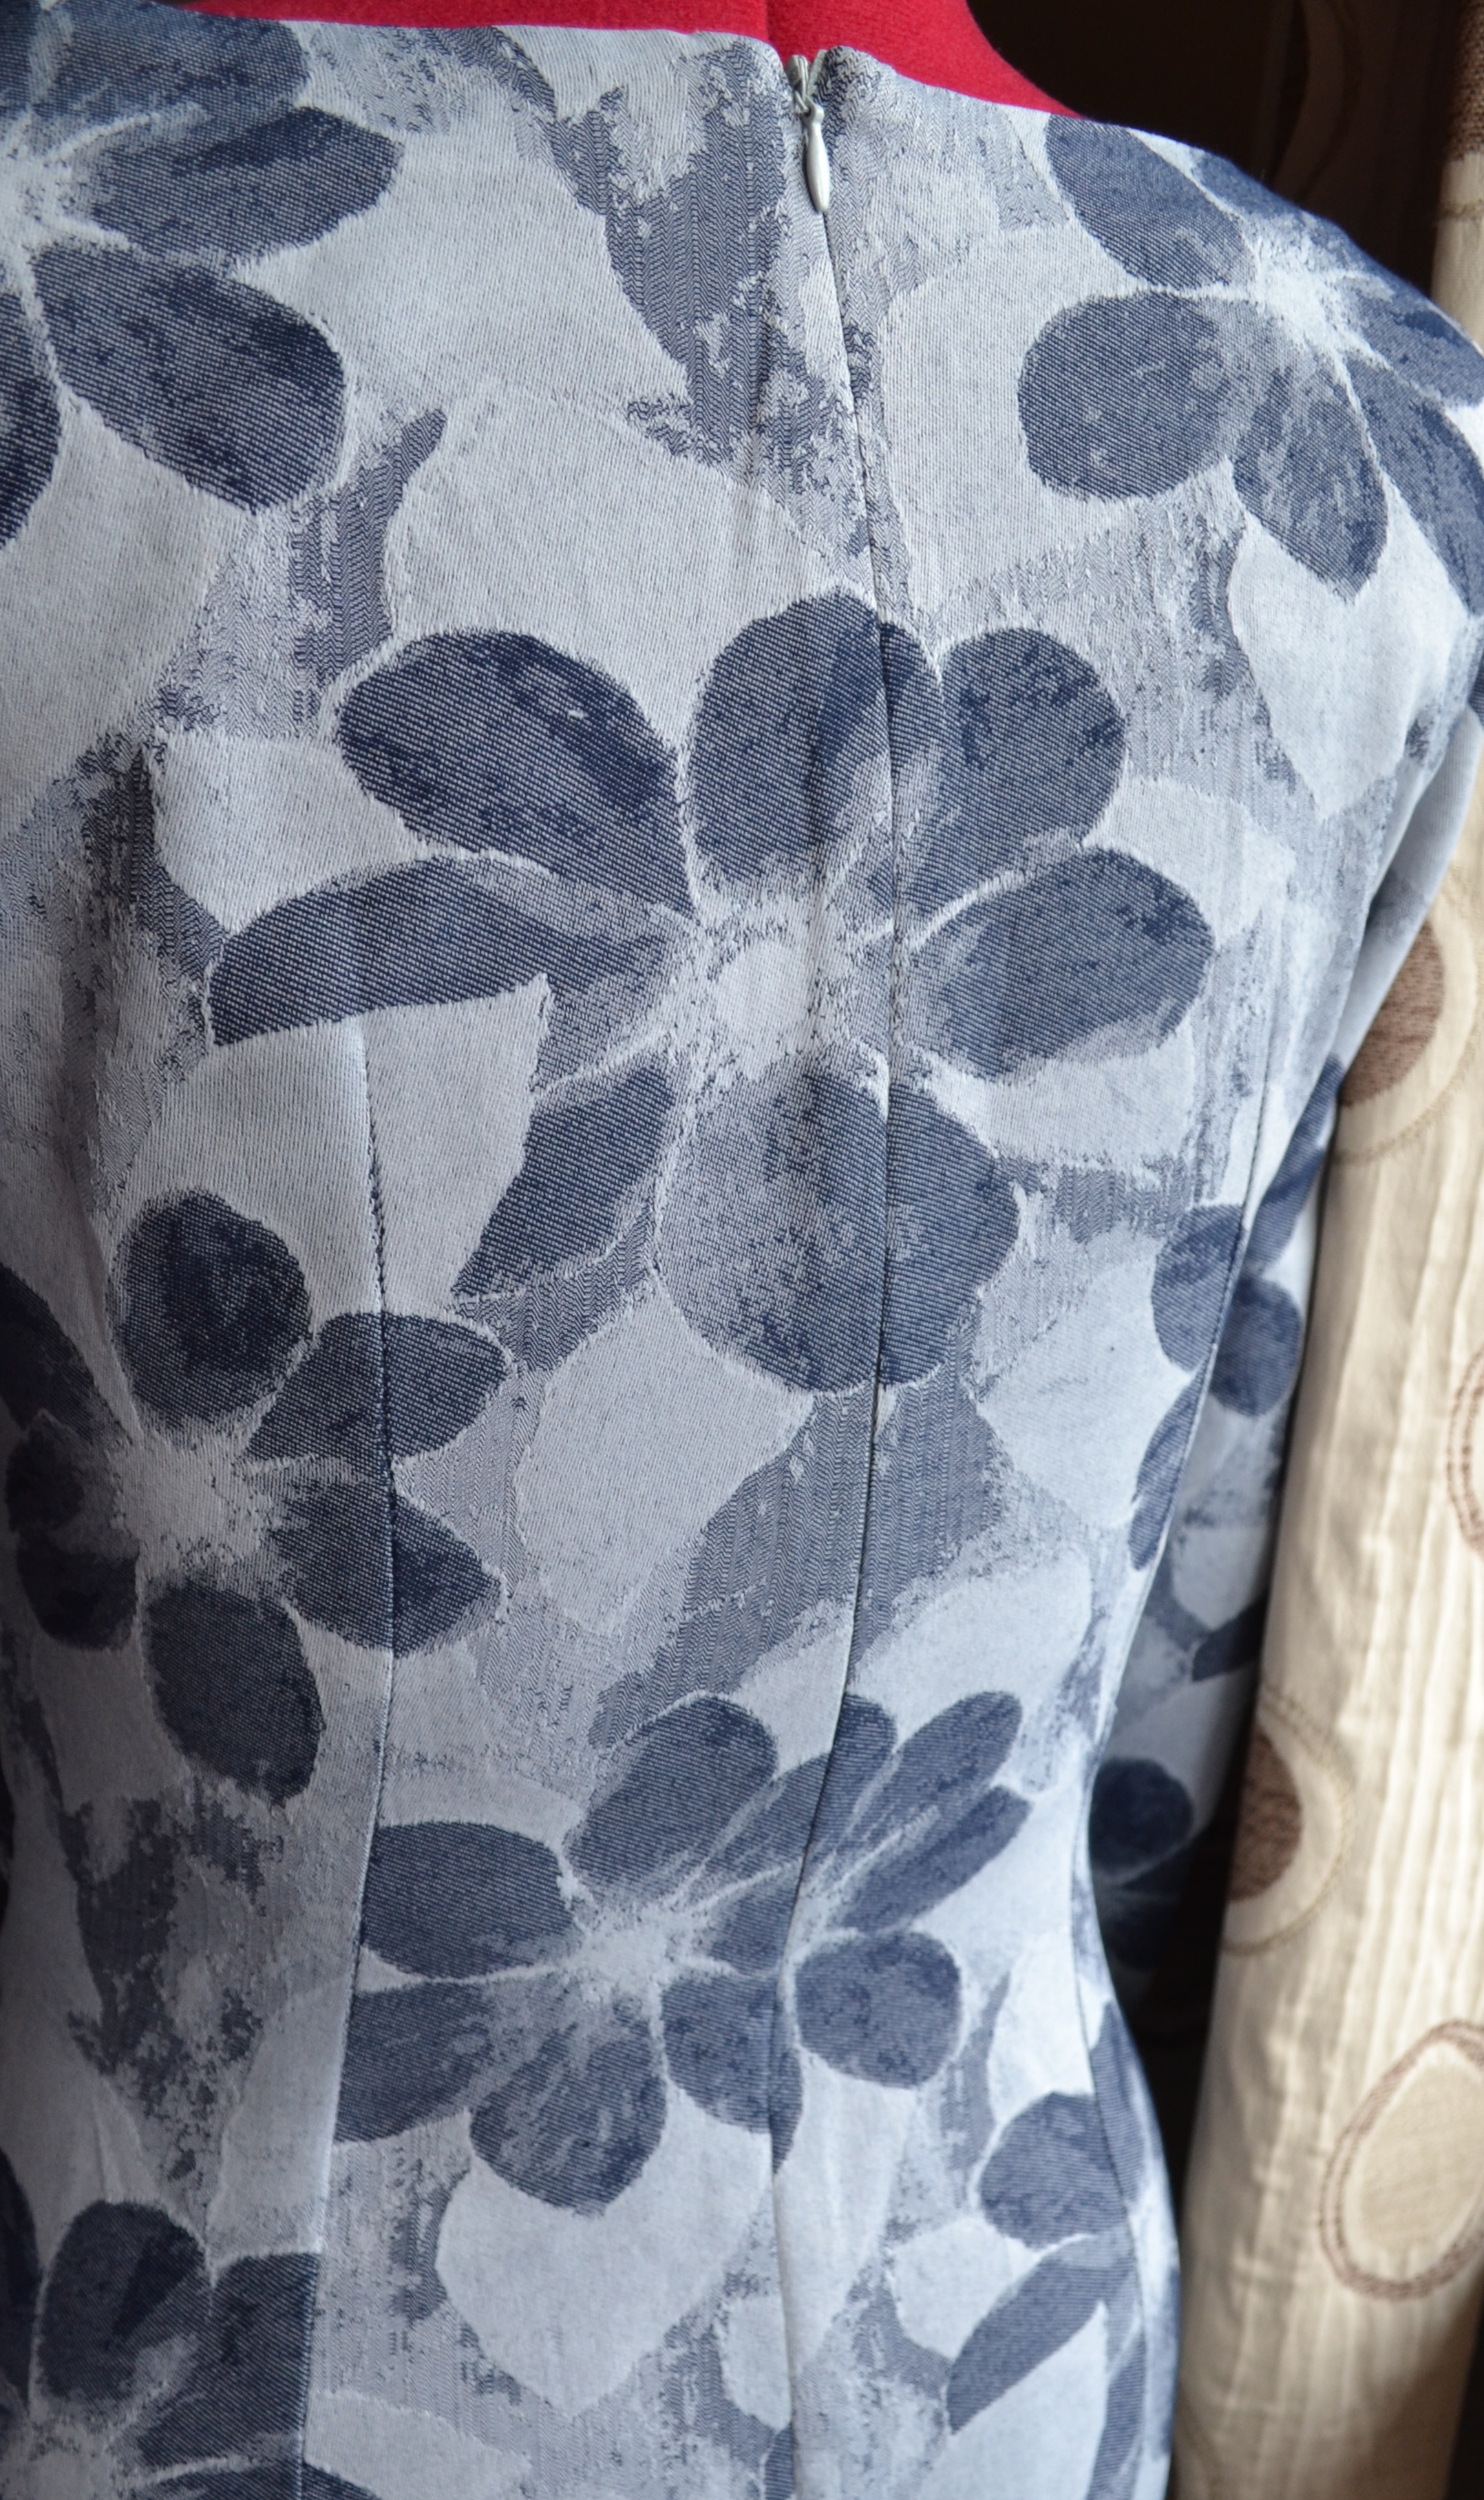
I’m really pleased with the fit of the back and down over my bum!
So there we go. A rather successful make containing all my skills and more, learnt to date. It just goes to show that starting simple and adding one new skill to every make has really started to pay off.


It’s raining outside and I’m looking very tired. I was up until 11.30 hemming this dress. Would you believe I managed to delete all the photos my daughter had taken earlier in the day, out in the sunshine!
There are several new things I’ve learnt in this make.
- An actual successful invisible zip. I followed the tuition in this months Love Sewing. I reinforced where the zip was to go with a strip of iron on interfacing. I used my invisible zip foot. The first side of the zip was beautiful but the second was not. The biggest tip I got from the article was that if your zip remains exposed, go back and run a second row of stitches even closer to the zip teeth. I did and it worked beautifully.
- Measure the length of dress you’d like it to be, before you cut out. I think the dress on the model is longer than mine. I went ahead and just cut out the pattern, allowing 4cm hem allowance. But I think my dress is a couple of inches short of perfect.
- Also, regarding the sleeves. The pattern allowed for full length sleeves. It told me to flute out the hem of the sleeve at the end, to allow for the fabric sitting nicely when it was turned in and hemmed. However, once sewn in, I realised I wanted 3/4 length sleeves not full length ones, which made me look a bit ‘mother of the bride’, and I hadn’t allowed for fluting at that point. So I had to open my seam when hemming. It is not perfect but no one can see!
- The final thing I have learnt is that I have completely conquered sleeve setting. But I must remember to mark left sleeve and right sleeve on the fabric. Working this out later was a pain I could have done with out.
And so to the finished garment. A dress for lunch, or maybe a Christening or, at a push, for work. Although working in construction they don’t usually get to see my legs.
Do you like it?
Love, Lucie x

Looks great Lucie, love the fabric too 🙂
LikeLike
Thank you. It came together surprisingly easily.
LikeLike
Really pretty, well done.
LikeLike
Thank you. I’m really pleased with it.:)
LikeLike
Oh yes – I like it very much. Not sure if I would wear it at the construction site though. They might fall off their ladders.
LikeLike
Ha, ha! Thankfully these days I’m Head Office based with just occasional site visits!
LikeLike
You’d never know it was your first dress, it looks fabulous, and so worth making a muslin. I bet that fabric will be flying off the shelves at minerva, you’ve really done it justice. 😀
LikeLike
Thank you so much for that lovely comment:)
LikeLiked by 1 person
Brilliant! We’ll have you on the Sewing Bee soon!
LikeLike
Ha! No fear of that! My life is busy enough! But thank you.😀
LikeLike
Superb – and it must be so satisfying to see how much your dress making skills have come on. Well done you
LikeLike
It is satisfying, yes. Each time it is less daunting!
LikeLike
Fabulous! Such a good job. I love the pattern and that fabric works so well. And then, your sewing, wow, that is Sewing Bee worthy I would say!
LikeLike
Thank you very much . A very simple but effective pattern. I’m really pleased with it.
LikeLike
What a fantastic job you’ve made of this Lucy! I especially like the gathers at the side. Looks fab on too 🙂
LikeLike
I do have quite a few frocks with gathers! Hides a multitude of big dinners!
Thank you for your lovely comment.😊
LikeLiked by 1 person
I love it Lucie – well done you! I cannot believe it is your first dress – you must be proud as punch!
LikeLike
Thank you very much. Yes, I am!
LikeLike
It’s gorgeous. Well done you. Love the fabric 🙂
LikeLike
Thank you! My OH was impressed by me turning some (in his words) ‘curtain fabric’ into a ‘quite stylish’ (again his words) wearable dress.
LikeLike
Lol. Got to love the expressiveness of the male vocabulary 🙂
LikeLike
wow! brilliant!
LikeLike
Thank you very much!
LikeLike
Of course we like it! You have done a great job, the sleeves are well set in and the the gathers are really even. it would look fab in Ponte roma thick jersey. So what skill are you going to learn next? Jo x
LikeLike
Skirts! I’ve not yet made a skirt!
LikeLike
Love it!!!!!
LikeLiked by 1 person
Wow, this is a lovely dress! How did you get on with the gathering at the side? I’m v new to sewing and only just starting out but devouring blogs and advice about sewing like an addiction! I am due to make a skirt with an invisible zip soon so will deffo check out the advice in Love Sewing.
LikeLike
For the gathering on the side you machine stitch 3 rows of stitching, about 5mm apart, between the 2 marks on the pattern using the longest stitch length. Then you knot all the ends together at one end and gently pull the top threads at the other end until the fabric gathers. You then knot the other end of the threads and attach the front of the dress to the back as normal but using some extra pins at the gathers. The gathering stitches come out afterwards. It is much the same when you set in a sleeve.
I, like you, read so many blogs before I really got going. I think that is why I have ended up not making as many mistakes as I could have done.
LikeLike
Super dress , what pattern is it.?
Fabric is matched perfectly !
LikeLike
It is Burdastyle 10/2012 #118. It was off the Burdastyle.com website and apparently appeared in a Burda magazine in 2012. So it’s available as a download only.
Thanks for stopping by.
LikeLike