
I’ve had this pattern for years. In fact, when recently sorting through my patterns, I found I had purchased both paper and pdf copies at different times so the intention to make up the dress has been there at least twice before!
So, with an upcoming holiday to Zanzibar of all places, and the provision of this Minerva viscose linen blend fabric ( as part of the Minerva Ambassador programme) this was the perfect time to finally make it up.

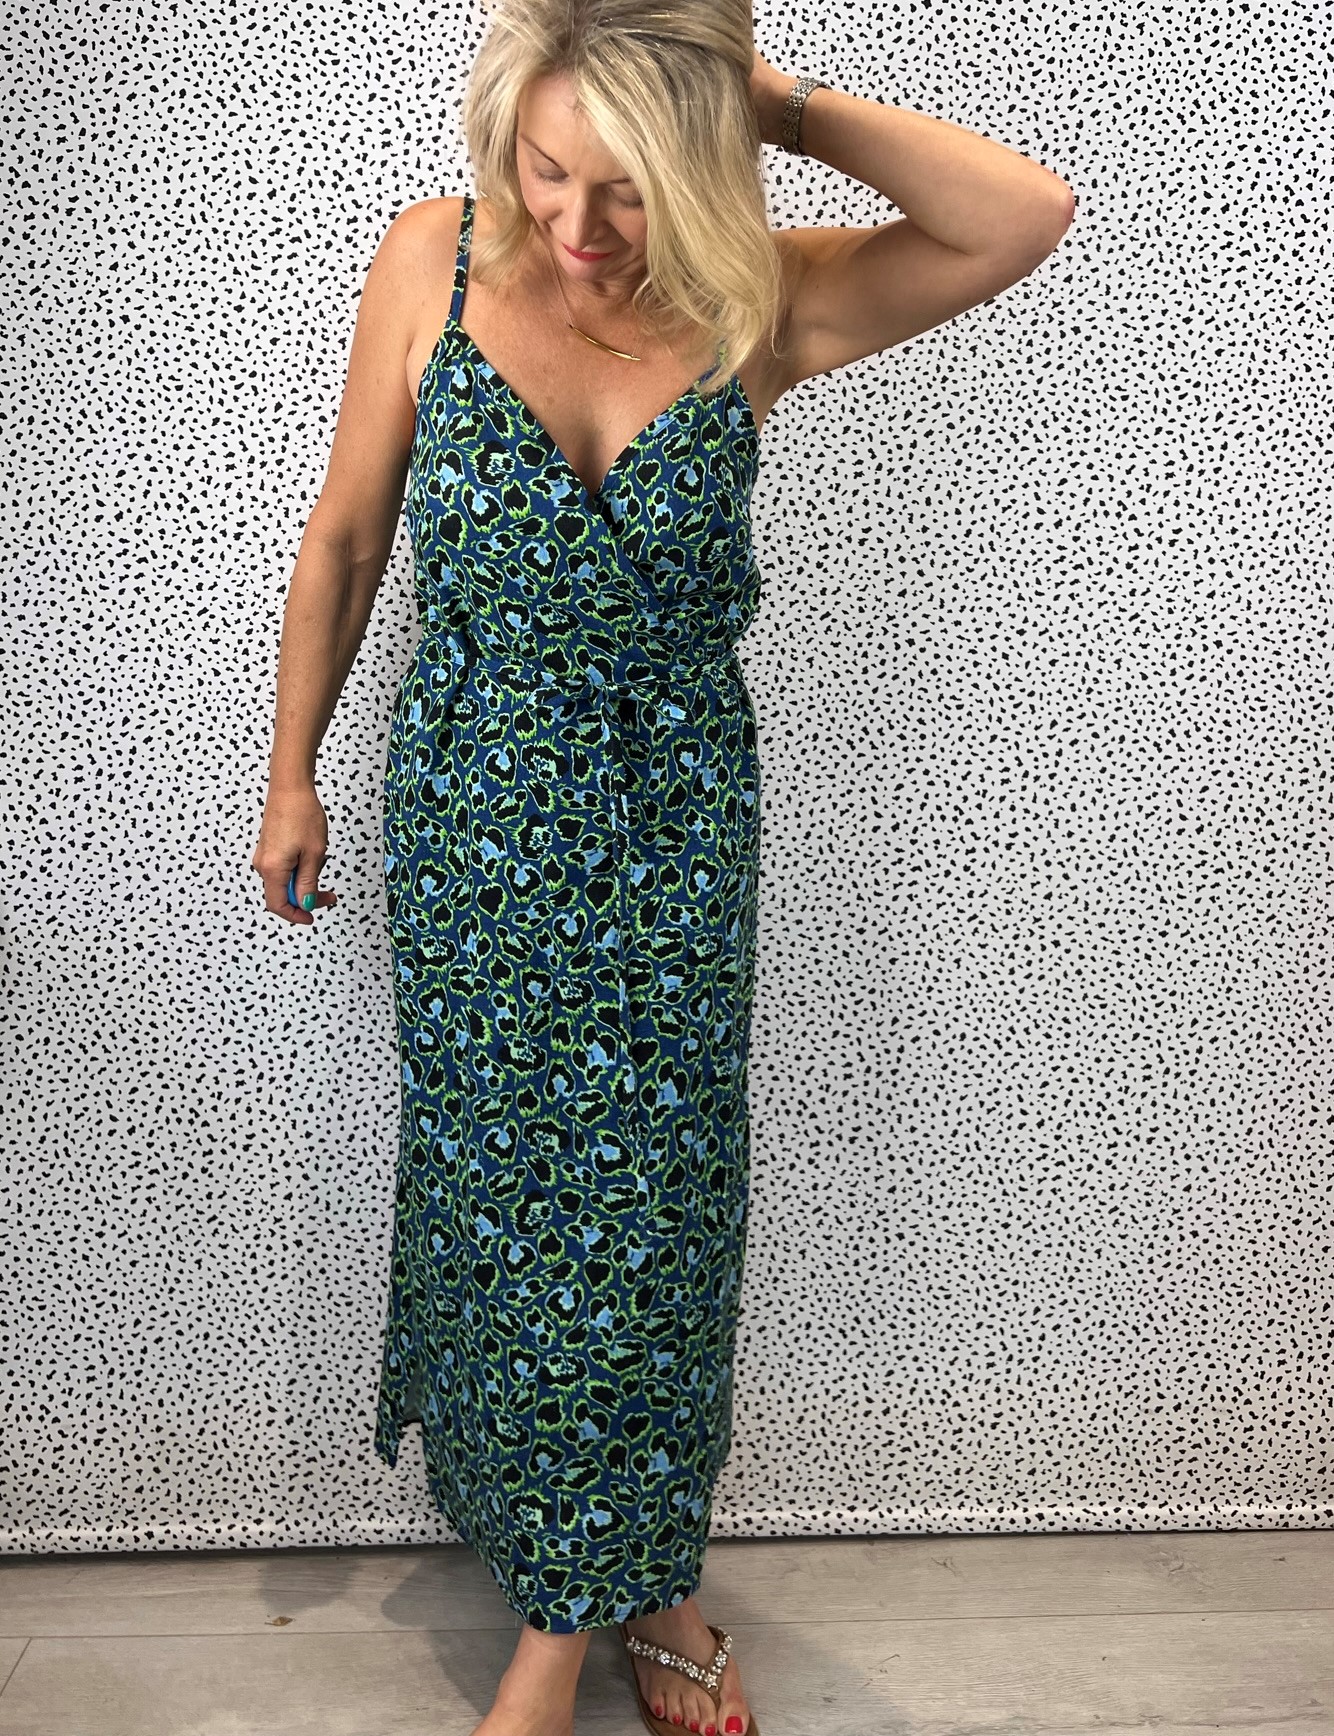
The Calvin Wrap Dress and Top from True Bias is described as a wrap dress and top with exposed bias binding that extends into long ties to form a bow closure. It has rings and sliders which create adjustable shoulder straps for an easy fit. View A is a short top that hits approximately two inches below the natural waist. View B is a straight dress that hits at mid calf. It’s a little longer on me!
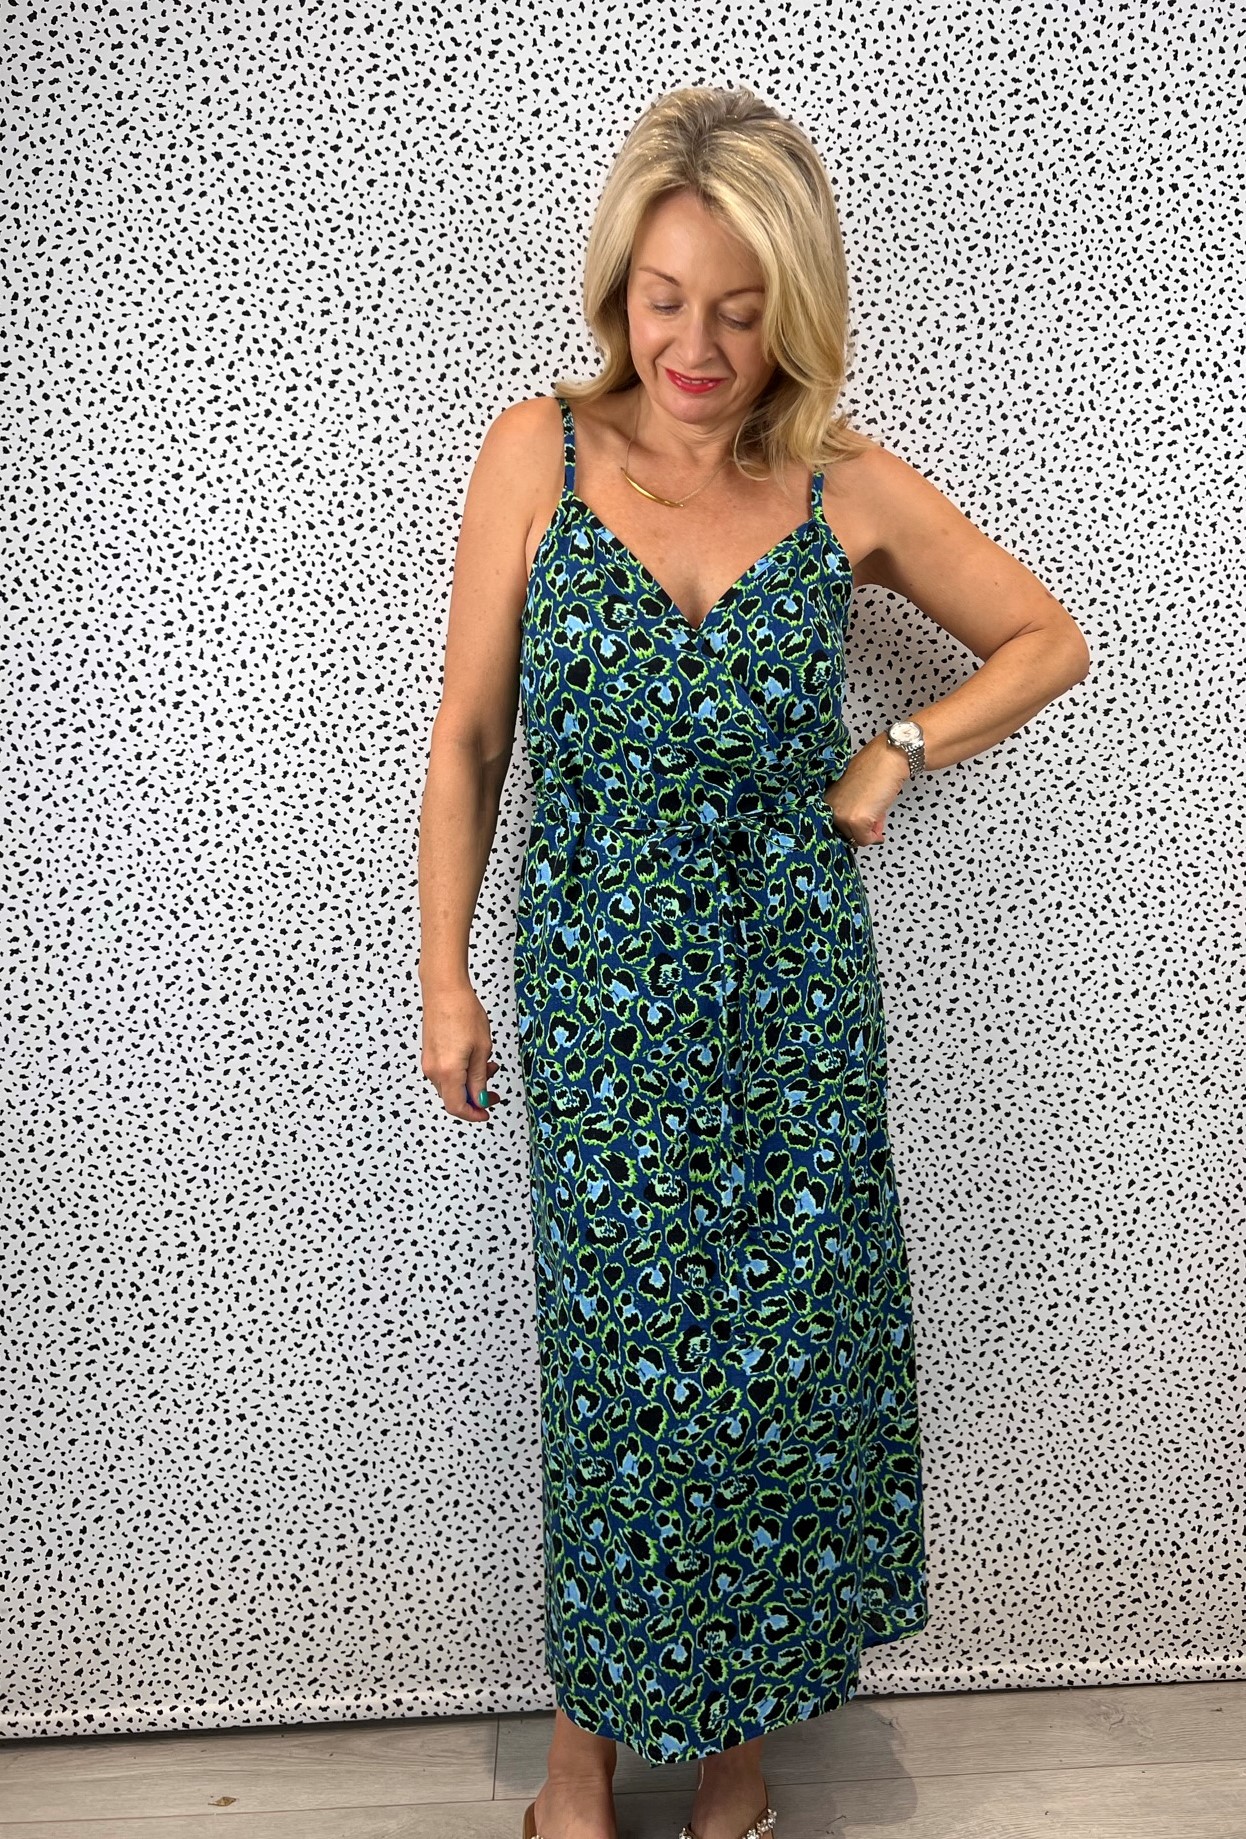
My measurements are 34.5’’, 30’’, 37’’. I went with the size 6 knowing that I had the safety net of it being a wrap dress.

I’m 5ft 3. I kept the full length of the pattern pieces.

There is a lot of self fabric bias binding to make for this dress but I was happy to do it after my success with the Zadie jump suit exposed bias binding. Unlike the Zadie, the Calvin pattern instructions actually do include an instruction to spray starch the bias binding, which I would have done anyway and is something I’ll definitely do from now on. It’s so less frustrating to have a constant width bias binding strip to work with than one which is stretched out.
With regards to sewing on the bias binding, the instructions tell you to apply the bias binding in 2 stages; sewing the bias right sides together, then folding it over and catching the rear edge by stitching close to the bias foldline from the front. After my success with my Zadie Jumpsuit exposed bias binding, I took a risk and applied it in one pass, stitching from the front, carefully feeling through the fabric with my finger to ensure I was catching the rear fold of the bias.
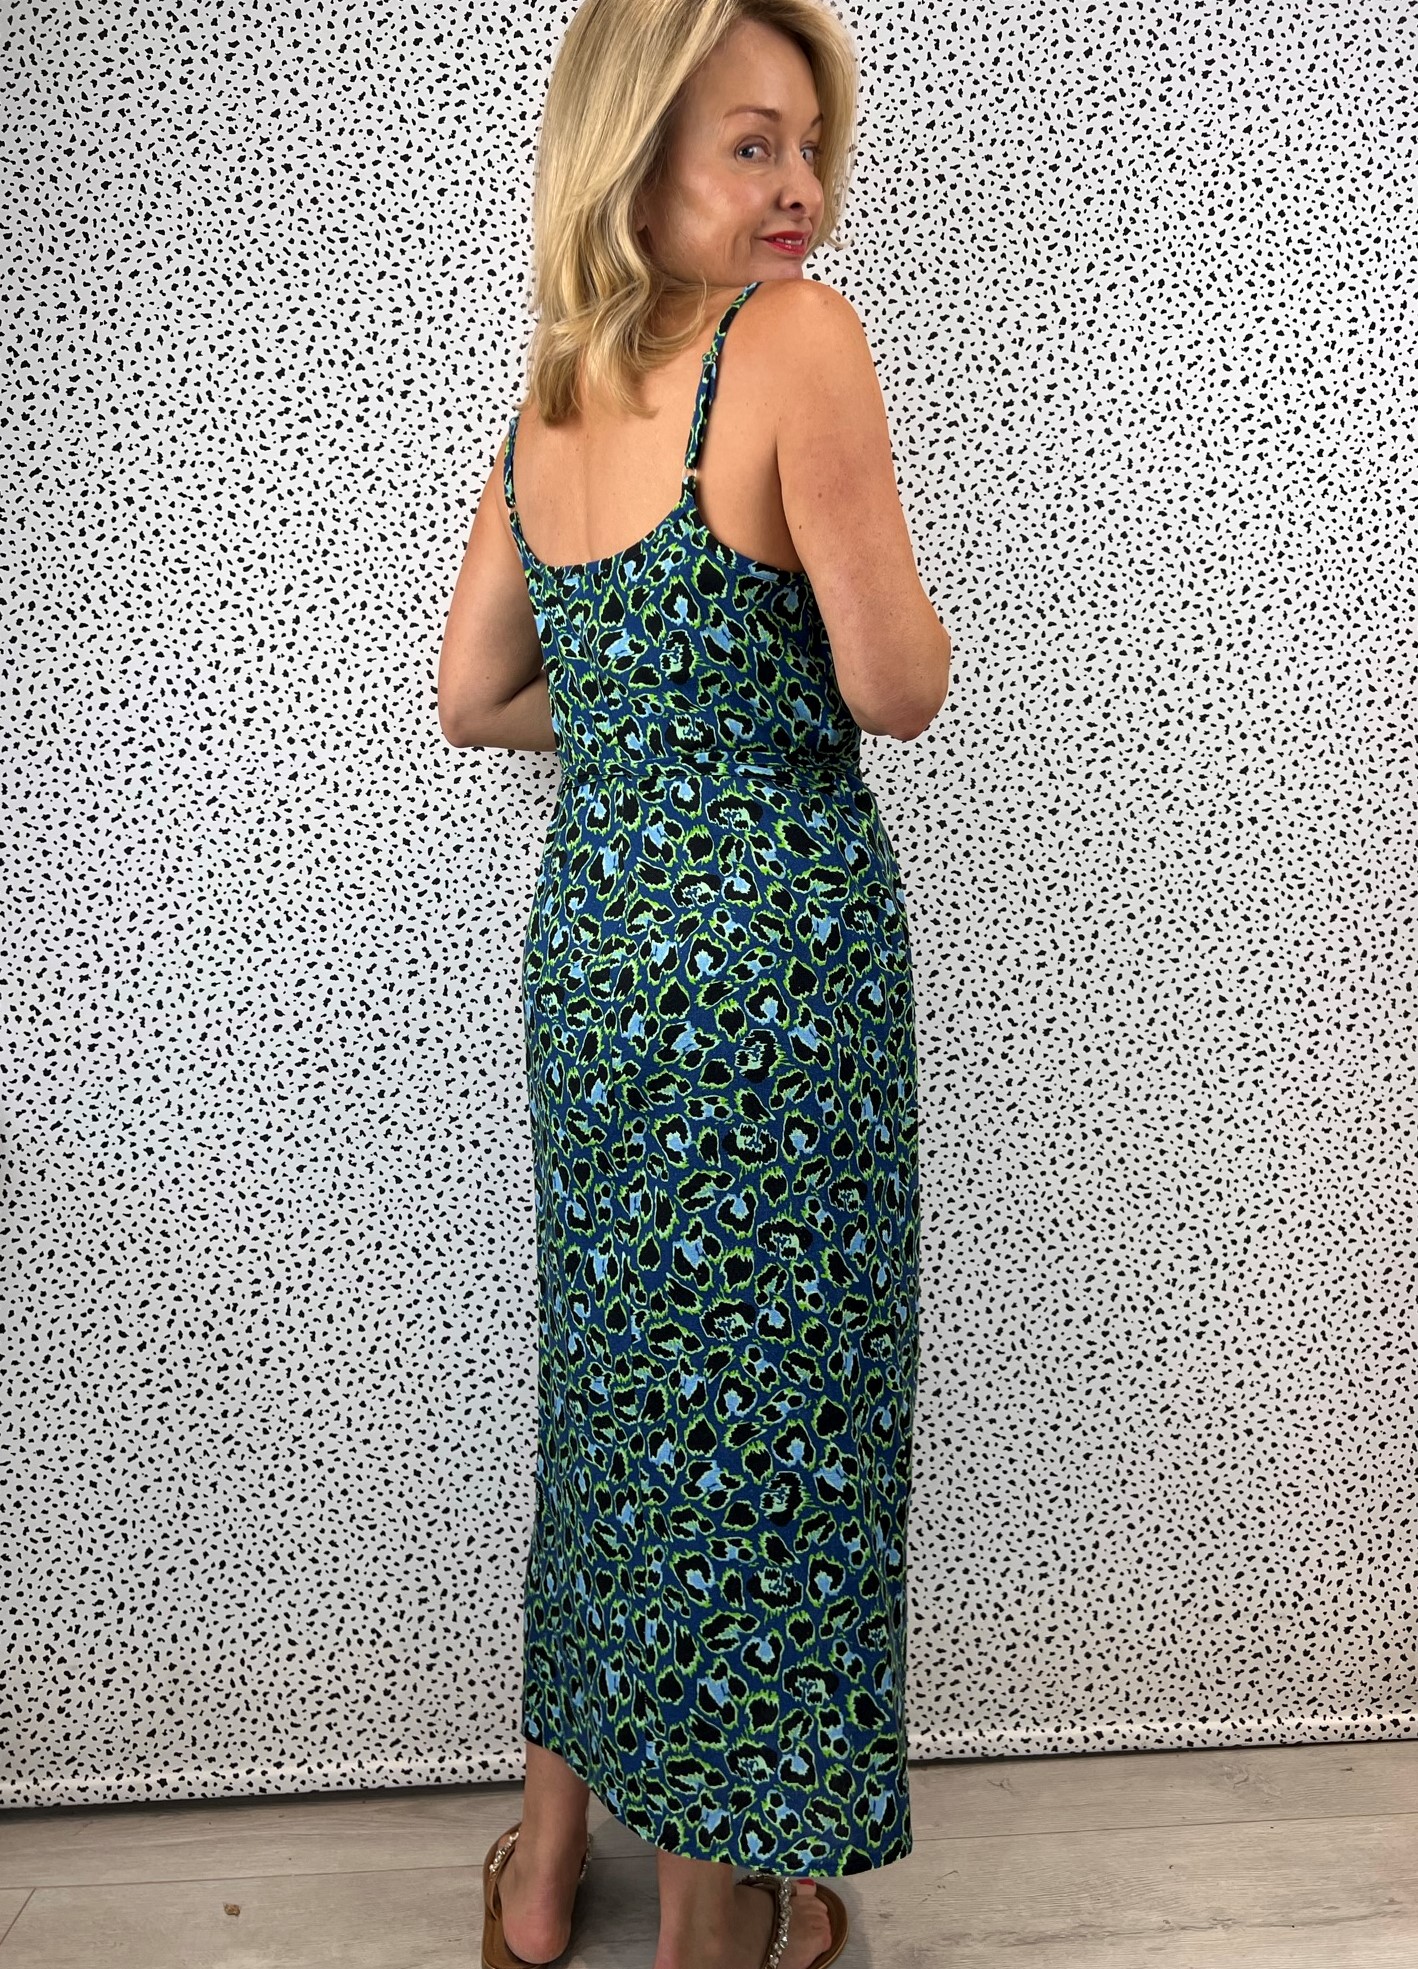
One thing to note – and I’ve read others have found this too, I found that the length of the bias binding straps over the shoulder resulted in the bra strap adjuster being at the front of the garment. I found that if I wanted the adjuster to be on my back I needed to cut off 6 inches from the strap length. Although it is likely my straps stretched out a little, they wouldn’t have stretched this much.
I don’t think I misread the instructions but who knows.

Also, the instructions advise to trim the waist ties once tried on and done up. I cut 10 inches from both of these.
The point is, I think it useful to know that there is plenty of extra bias to play with!!!
I used my bias making gadget for speed.

You may notice that I incorporated 2 slits at the hem. I would do this again but make them longer.
The viscose linen blend is perfect for this dress. I would say it is of medium weight so not too shifty for a wrap dress in the wind!!
It’s also really soft against the skin.
I’m so pleased how this has worked out. It’ll also look great with a denim or leather jacket in the UK.
It’s a superb pattern and one I would recommend.

Love, Lucie xx

It looks great Lucie and perfect for an exotic holiday destination. I’d find it a bit low cut for me on home ground though – and I have no exotic holiday planned 😪 – but I have just ordered a cotton/linen blend to make another Elodie wrap this time in a plain colour and will make the shorter version with narrower sleeves so I don’t have to wait for an ‘event’ to wear it.
Well done for changing the instructions so the strap adjusters are at the back. Surely it wouldn’t be right to have them at the front.
LikeLiked by 1 person
I’m not used to having so much shoulder on show🤣🤣. Don’t know why!! A good deal of fake tan always helps with the confidence 😉. I shall be taking my Elodie away too 😀
LikeLiked by 1 person
Gorgeous print, gorgeous fit, just outstanding! Wishing you a lovely holiday in you new dress!
LikeLiked by 1 person
Thank you so much. I found the print a little out of my comfort zone until it was made up. Now I love it 😀
LikeLike