
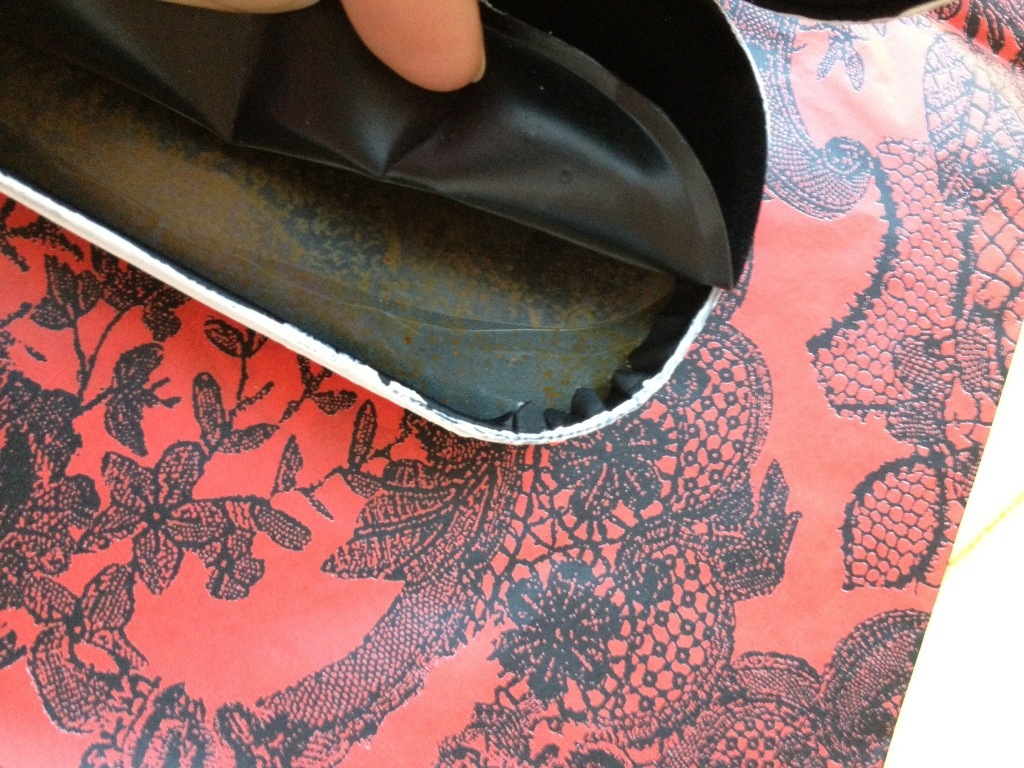
After last weekend’s ugly to lovely project I was keen to cover my other two cases.
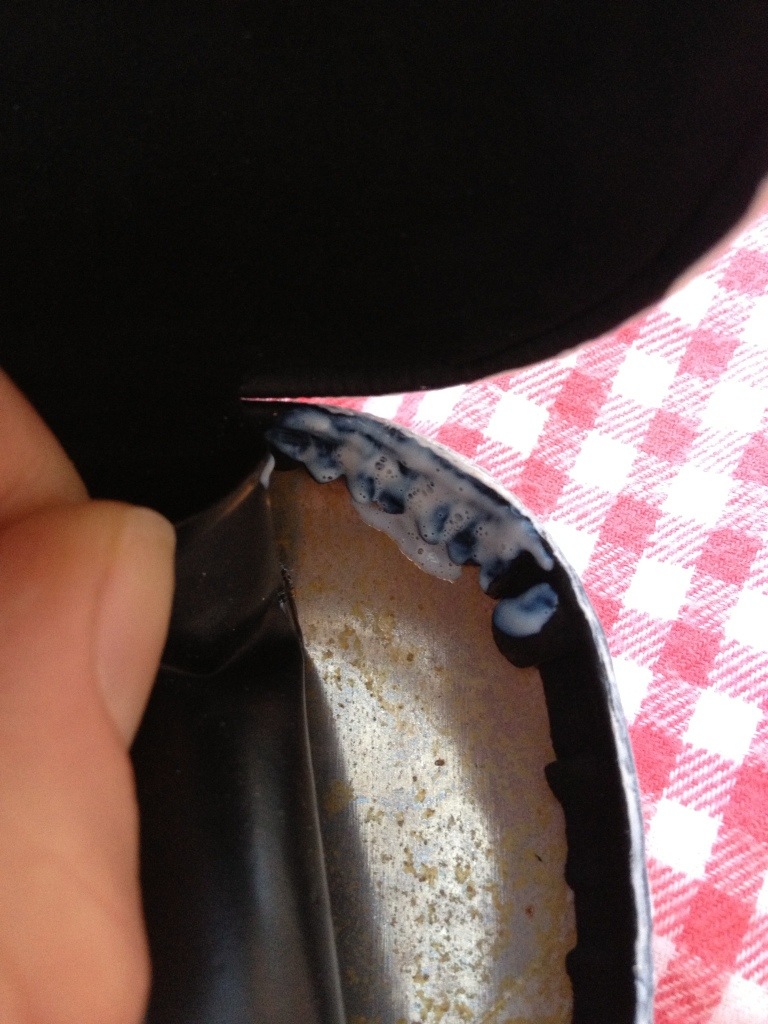
I took a few more photos along the way to share with you and have included a little guidance in case you should ever want to do it yourself
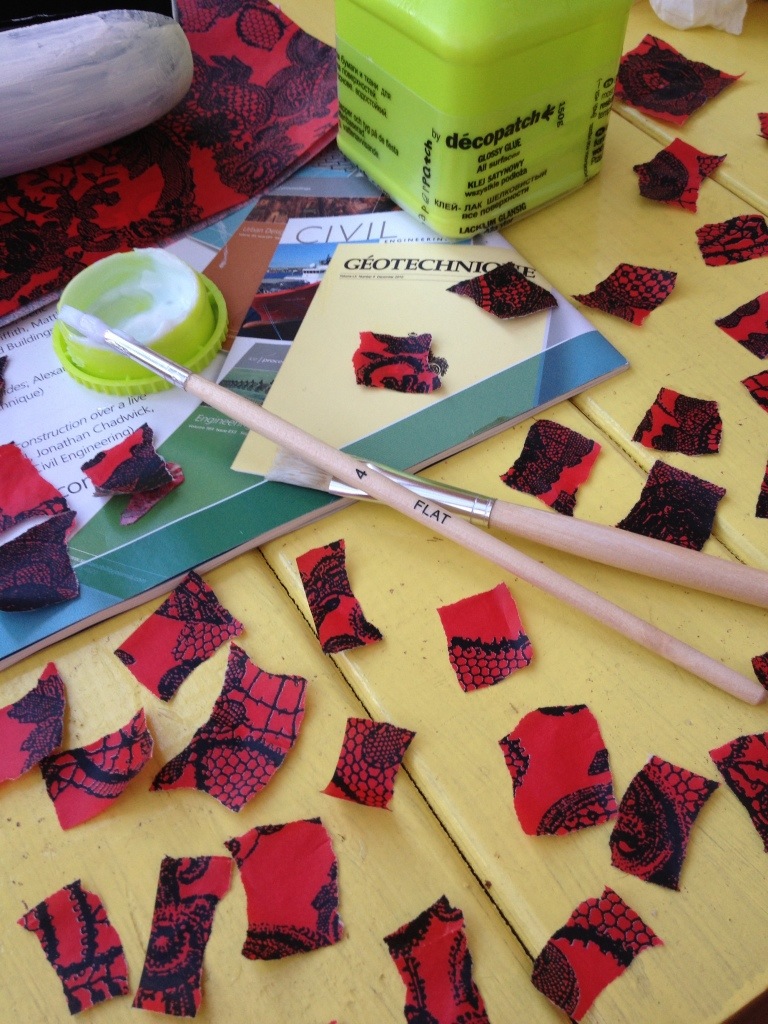
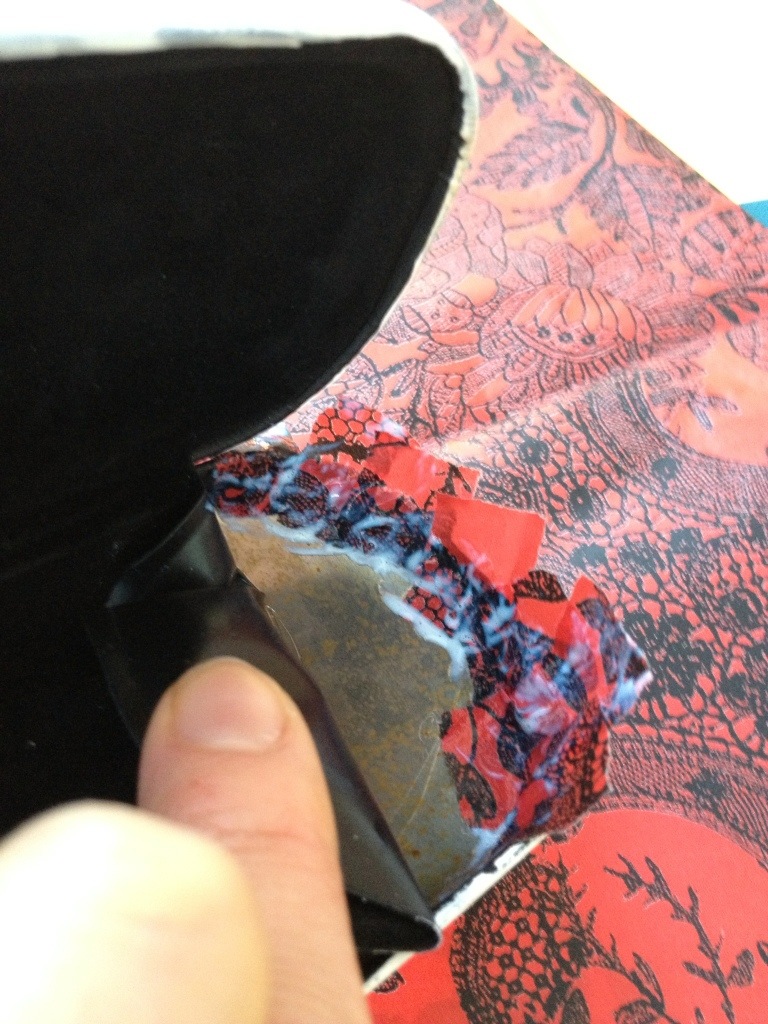

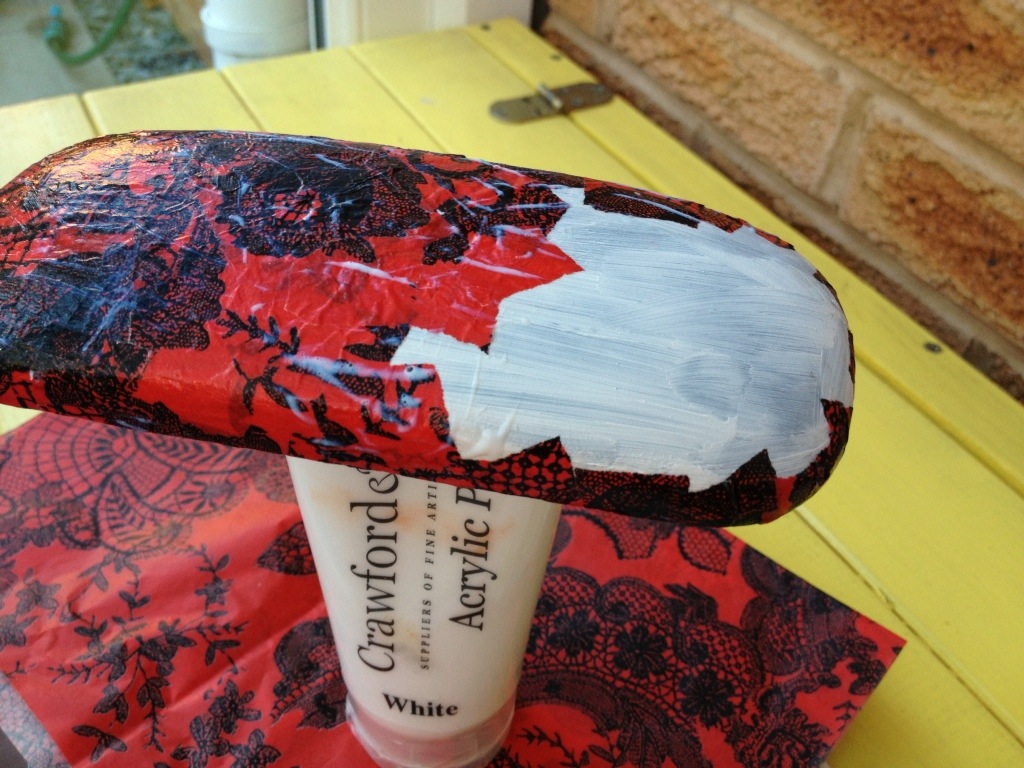
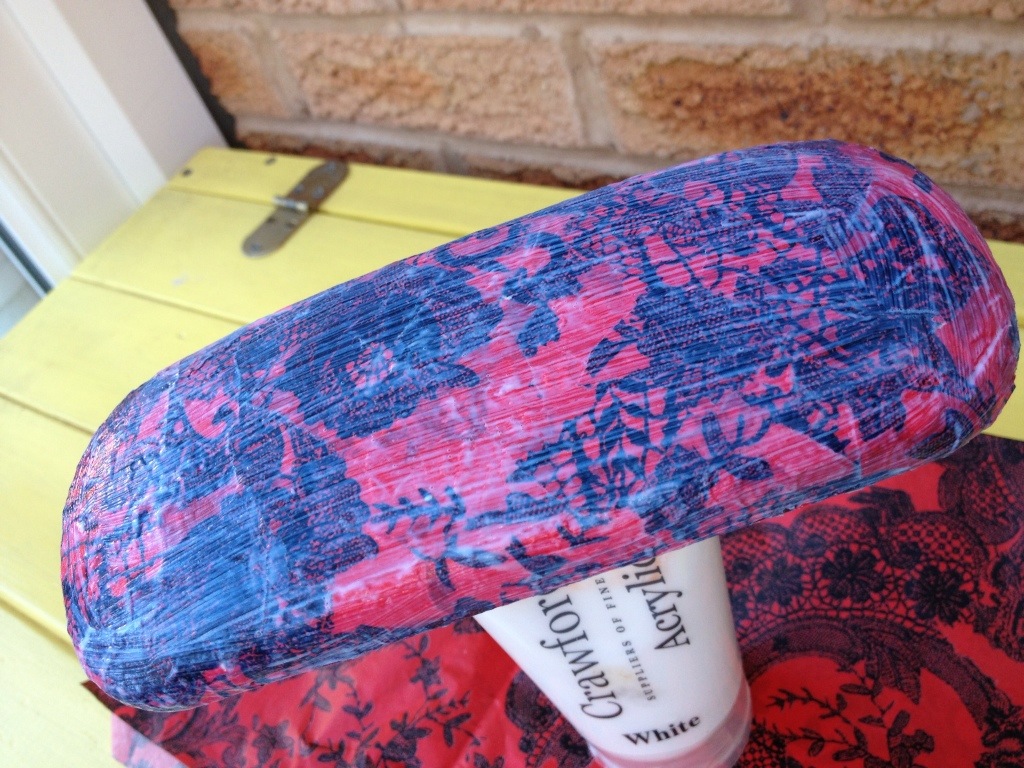
Once complete, I would give it another glue coating all over.
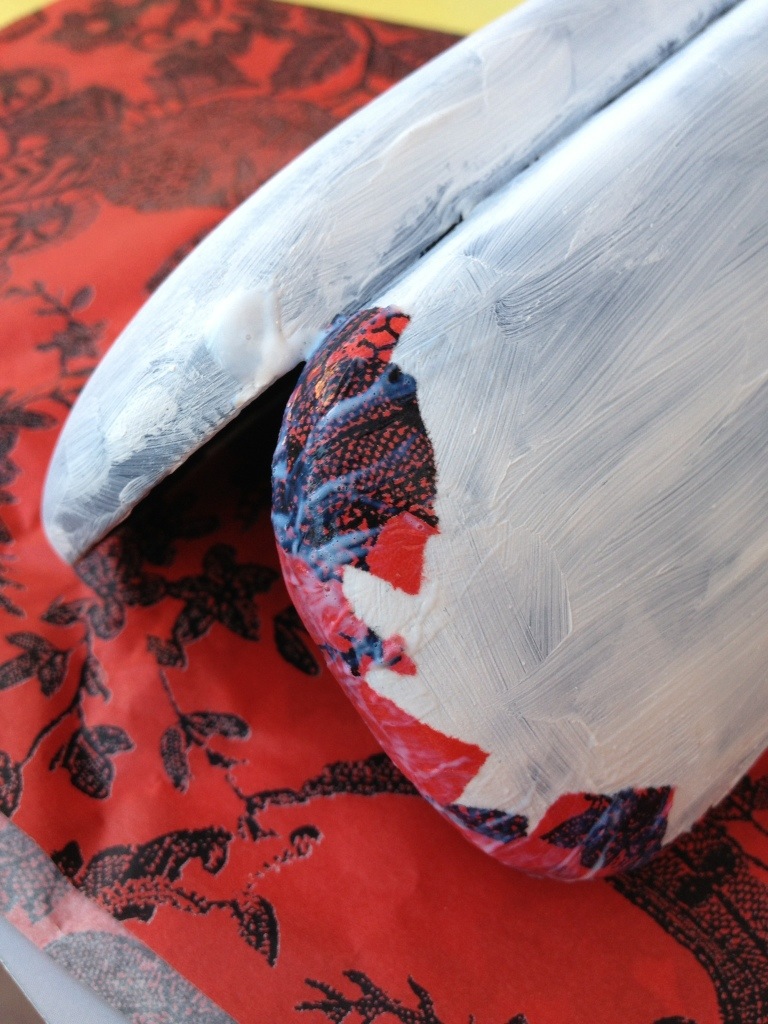
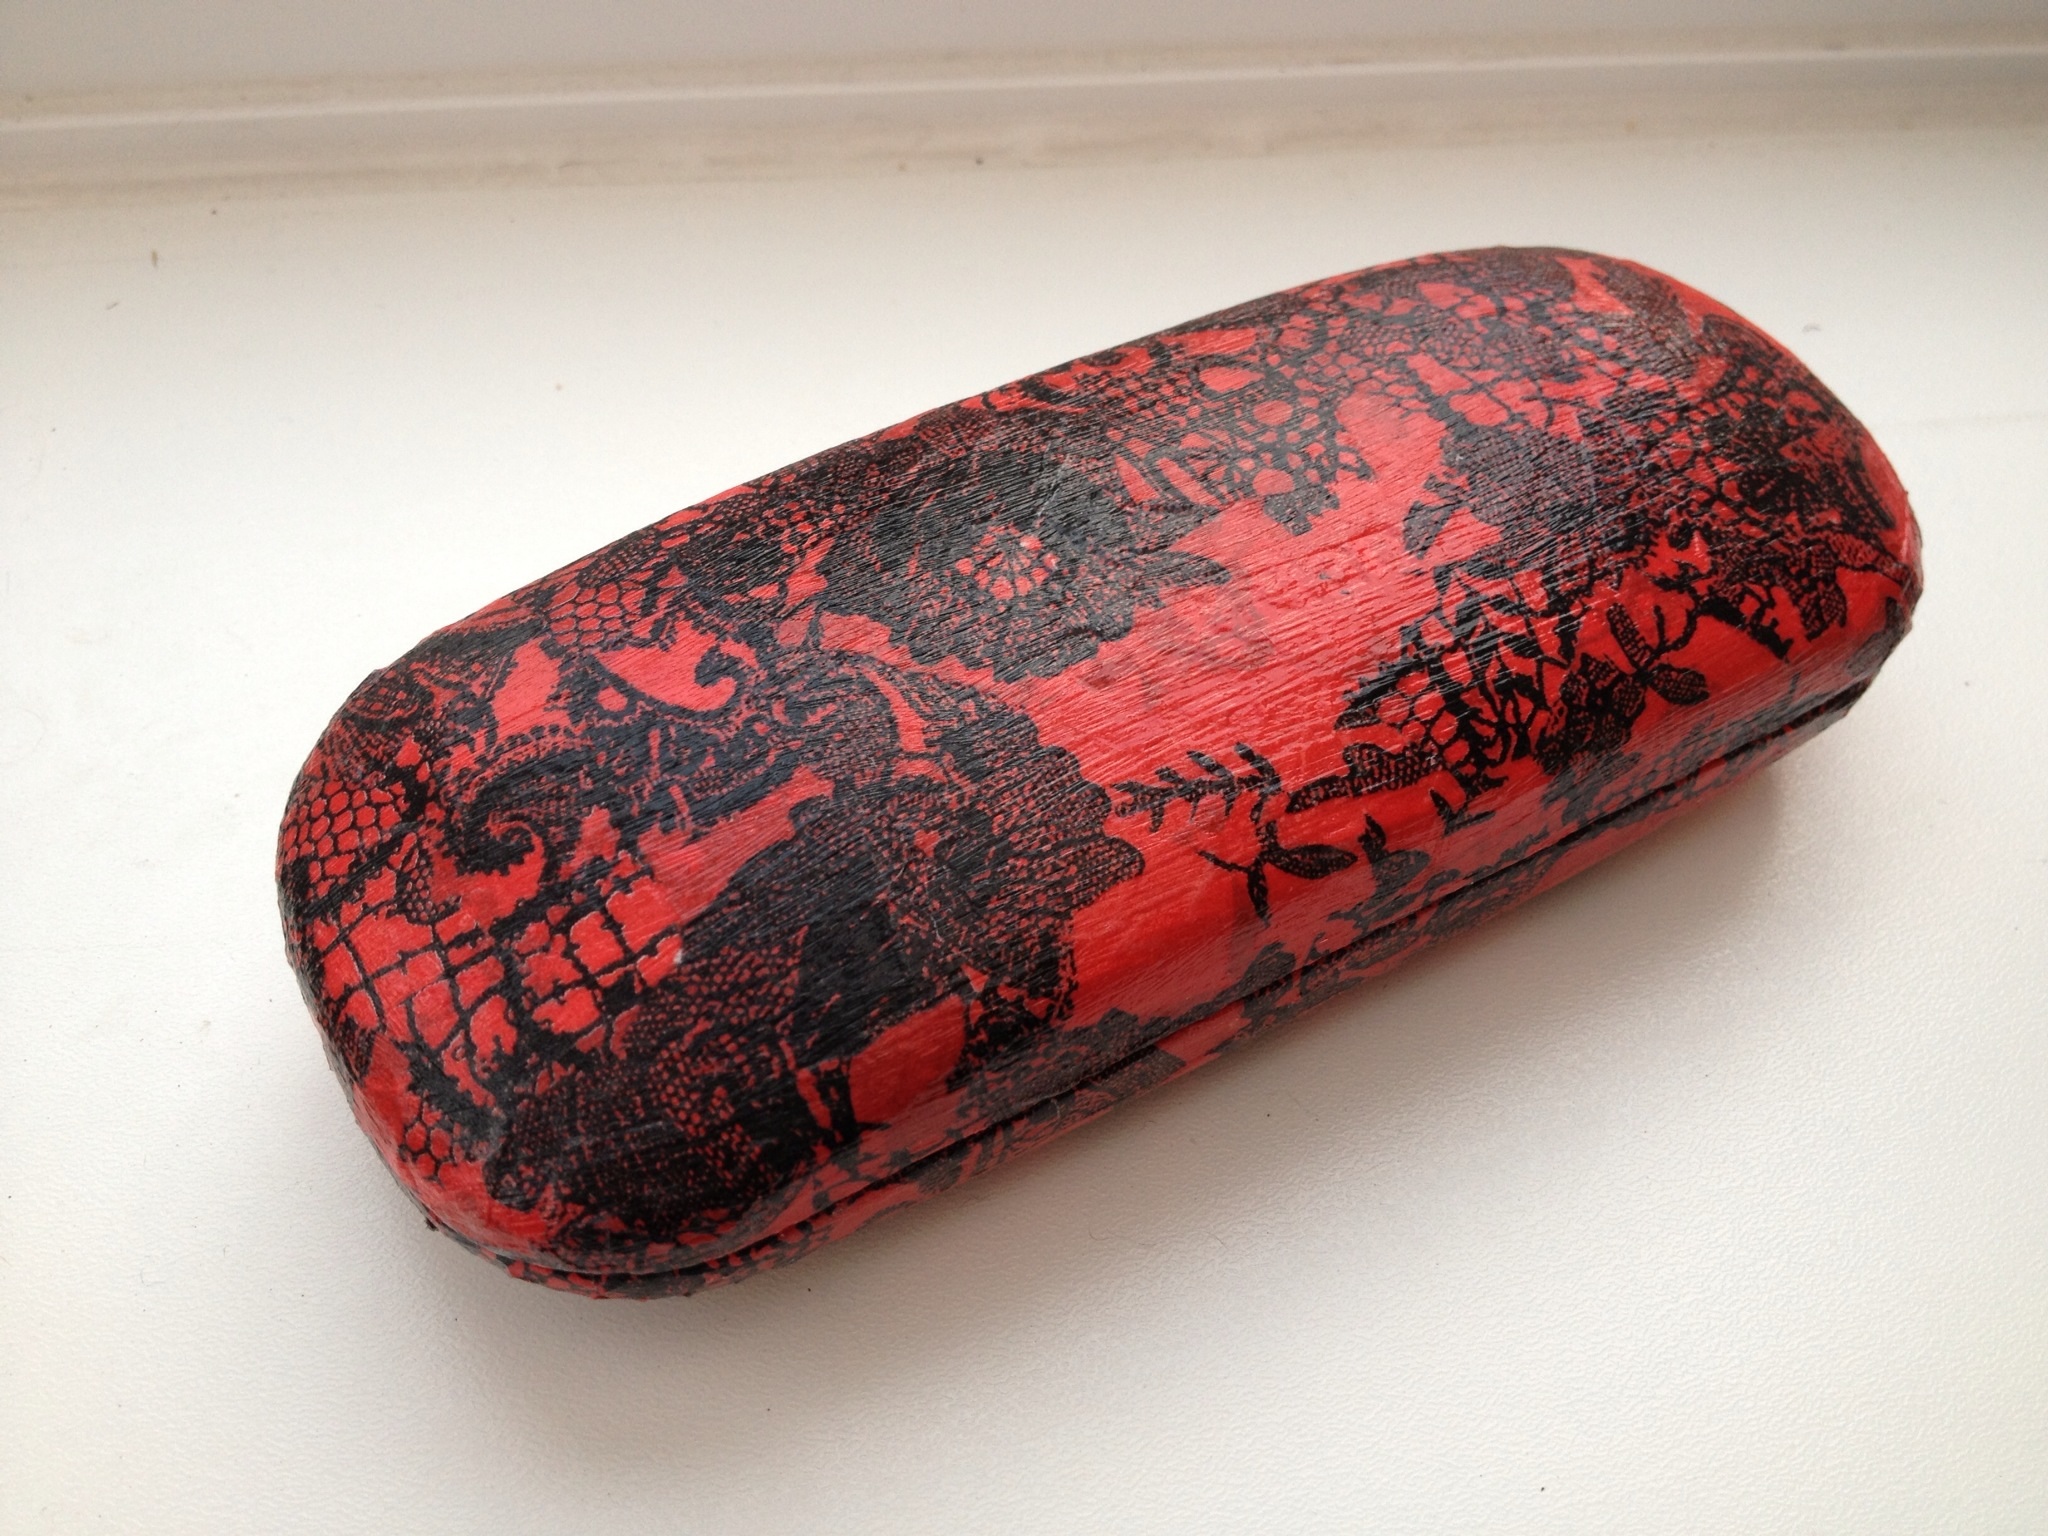
And there you go. The finished case.
Here is the blue and white version.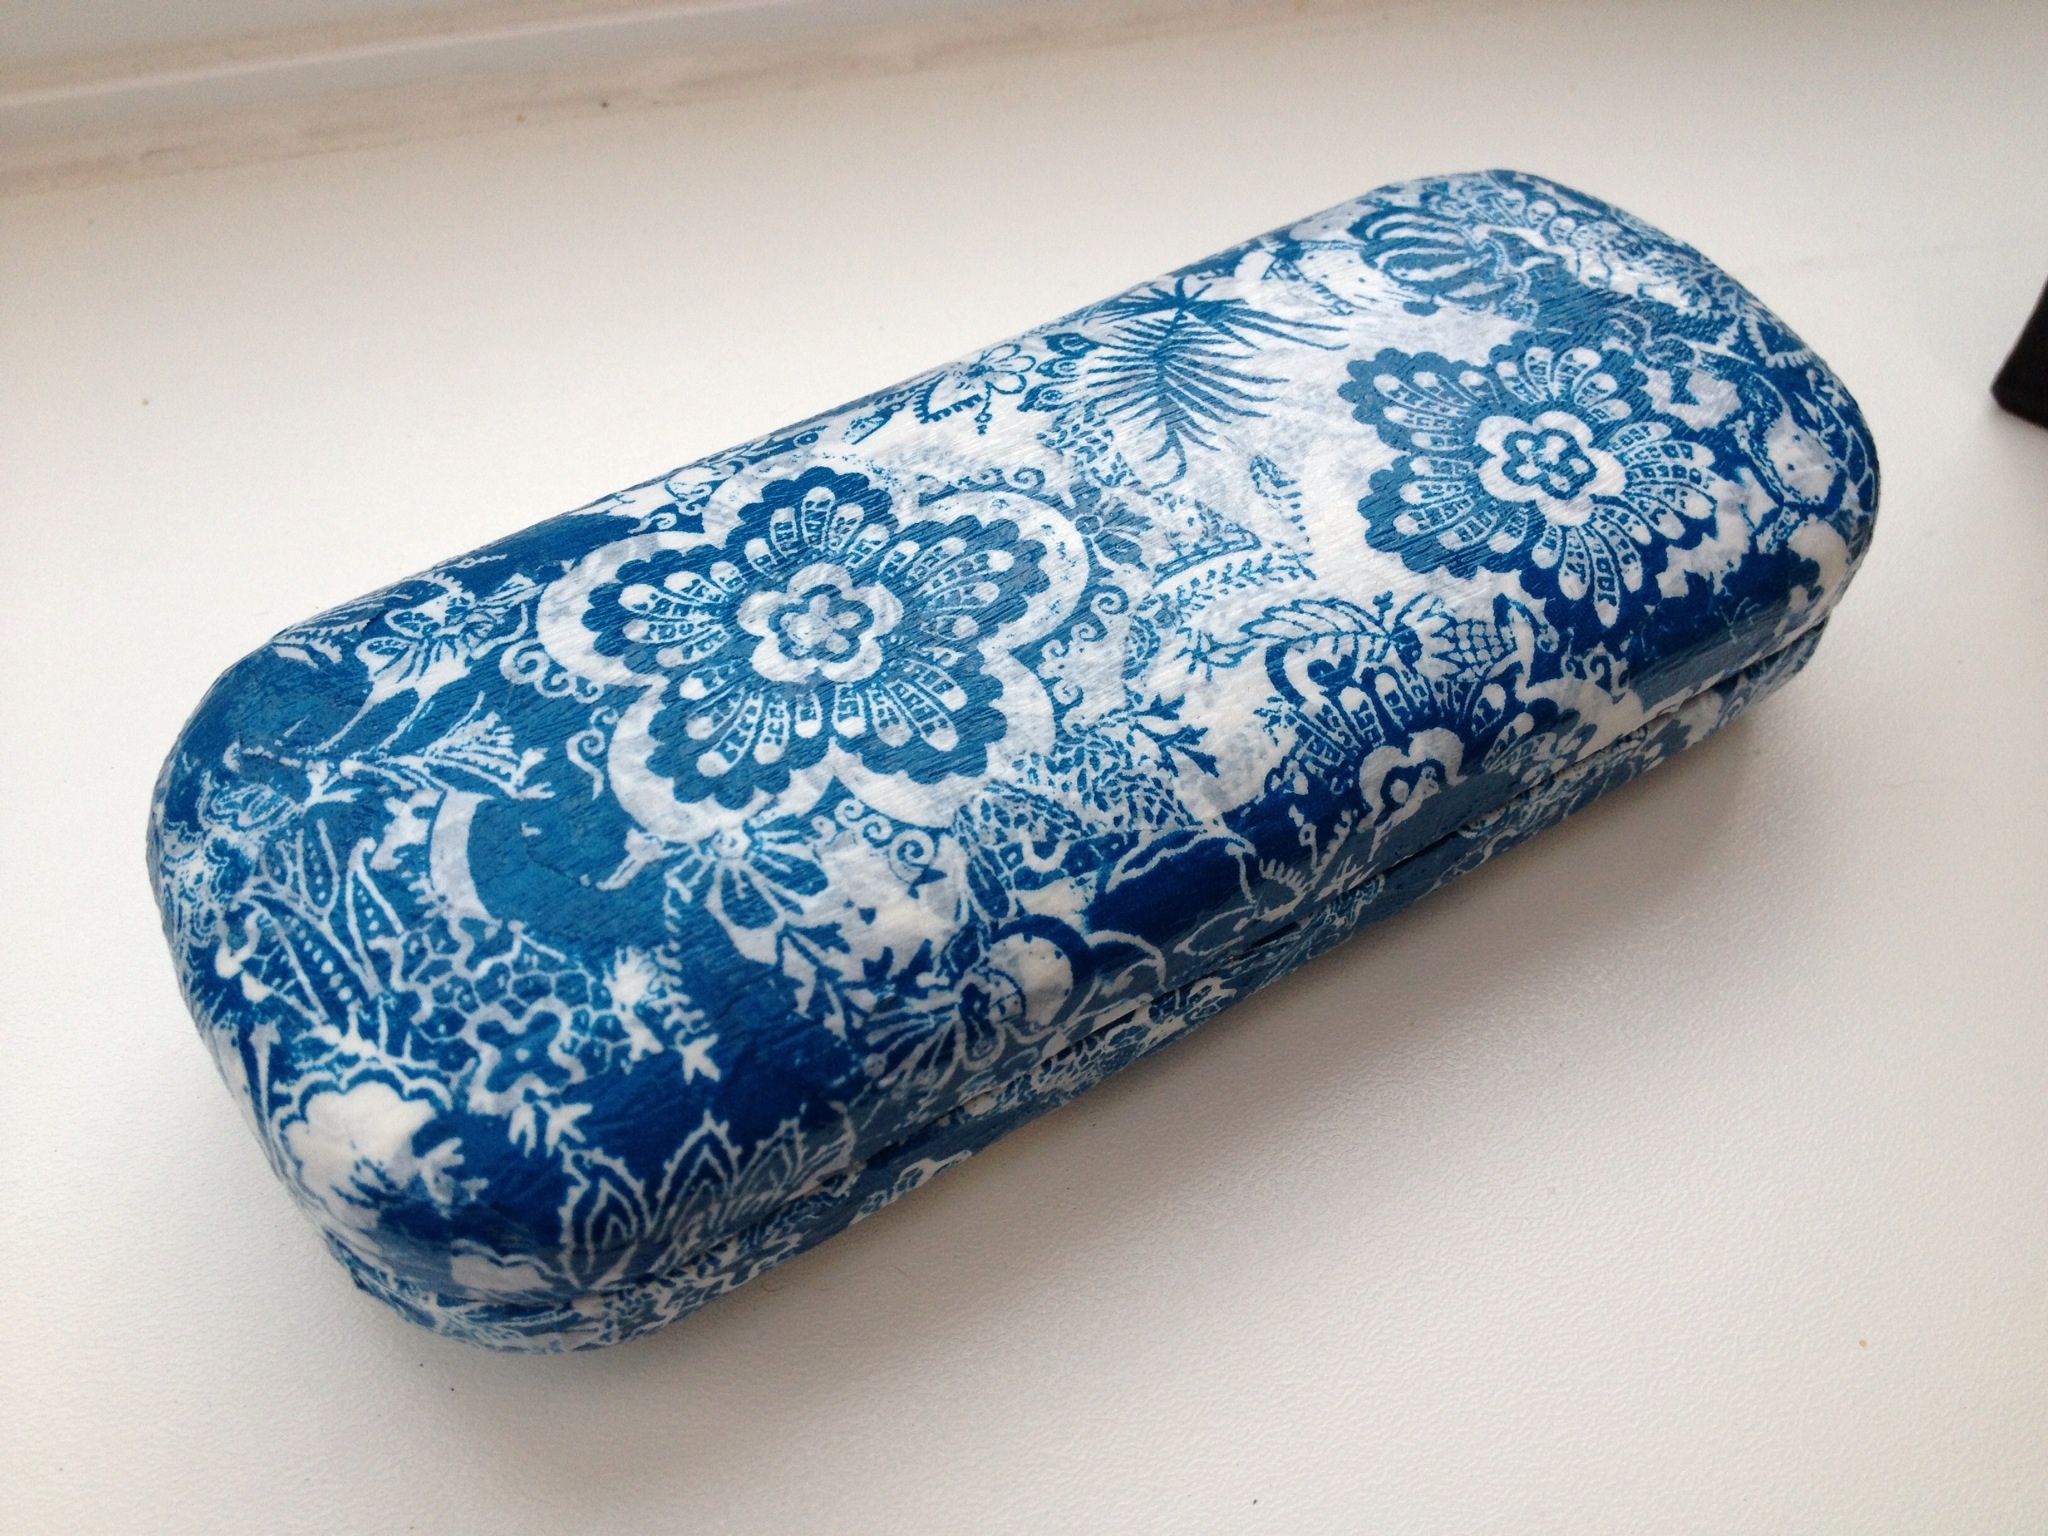
Which one do you prefer?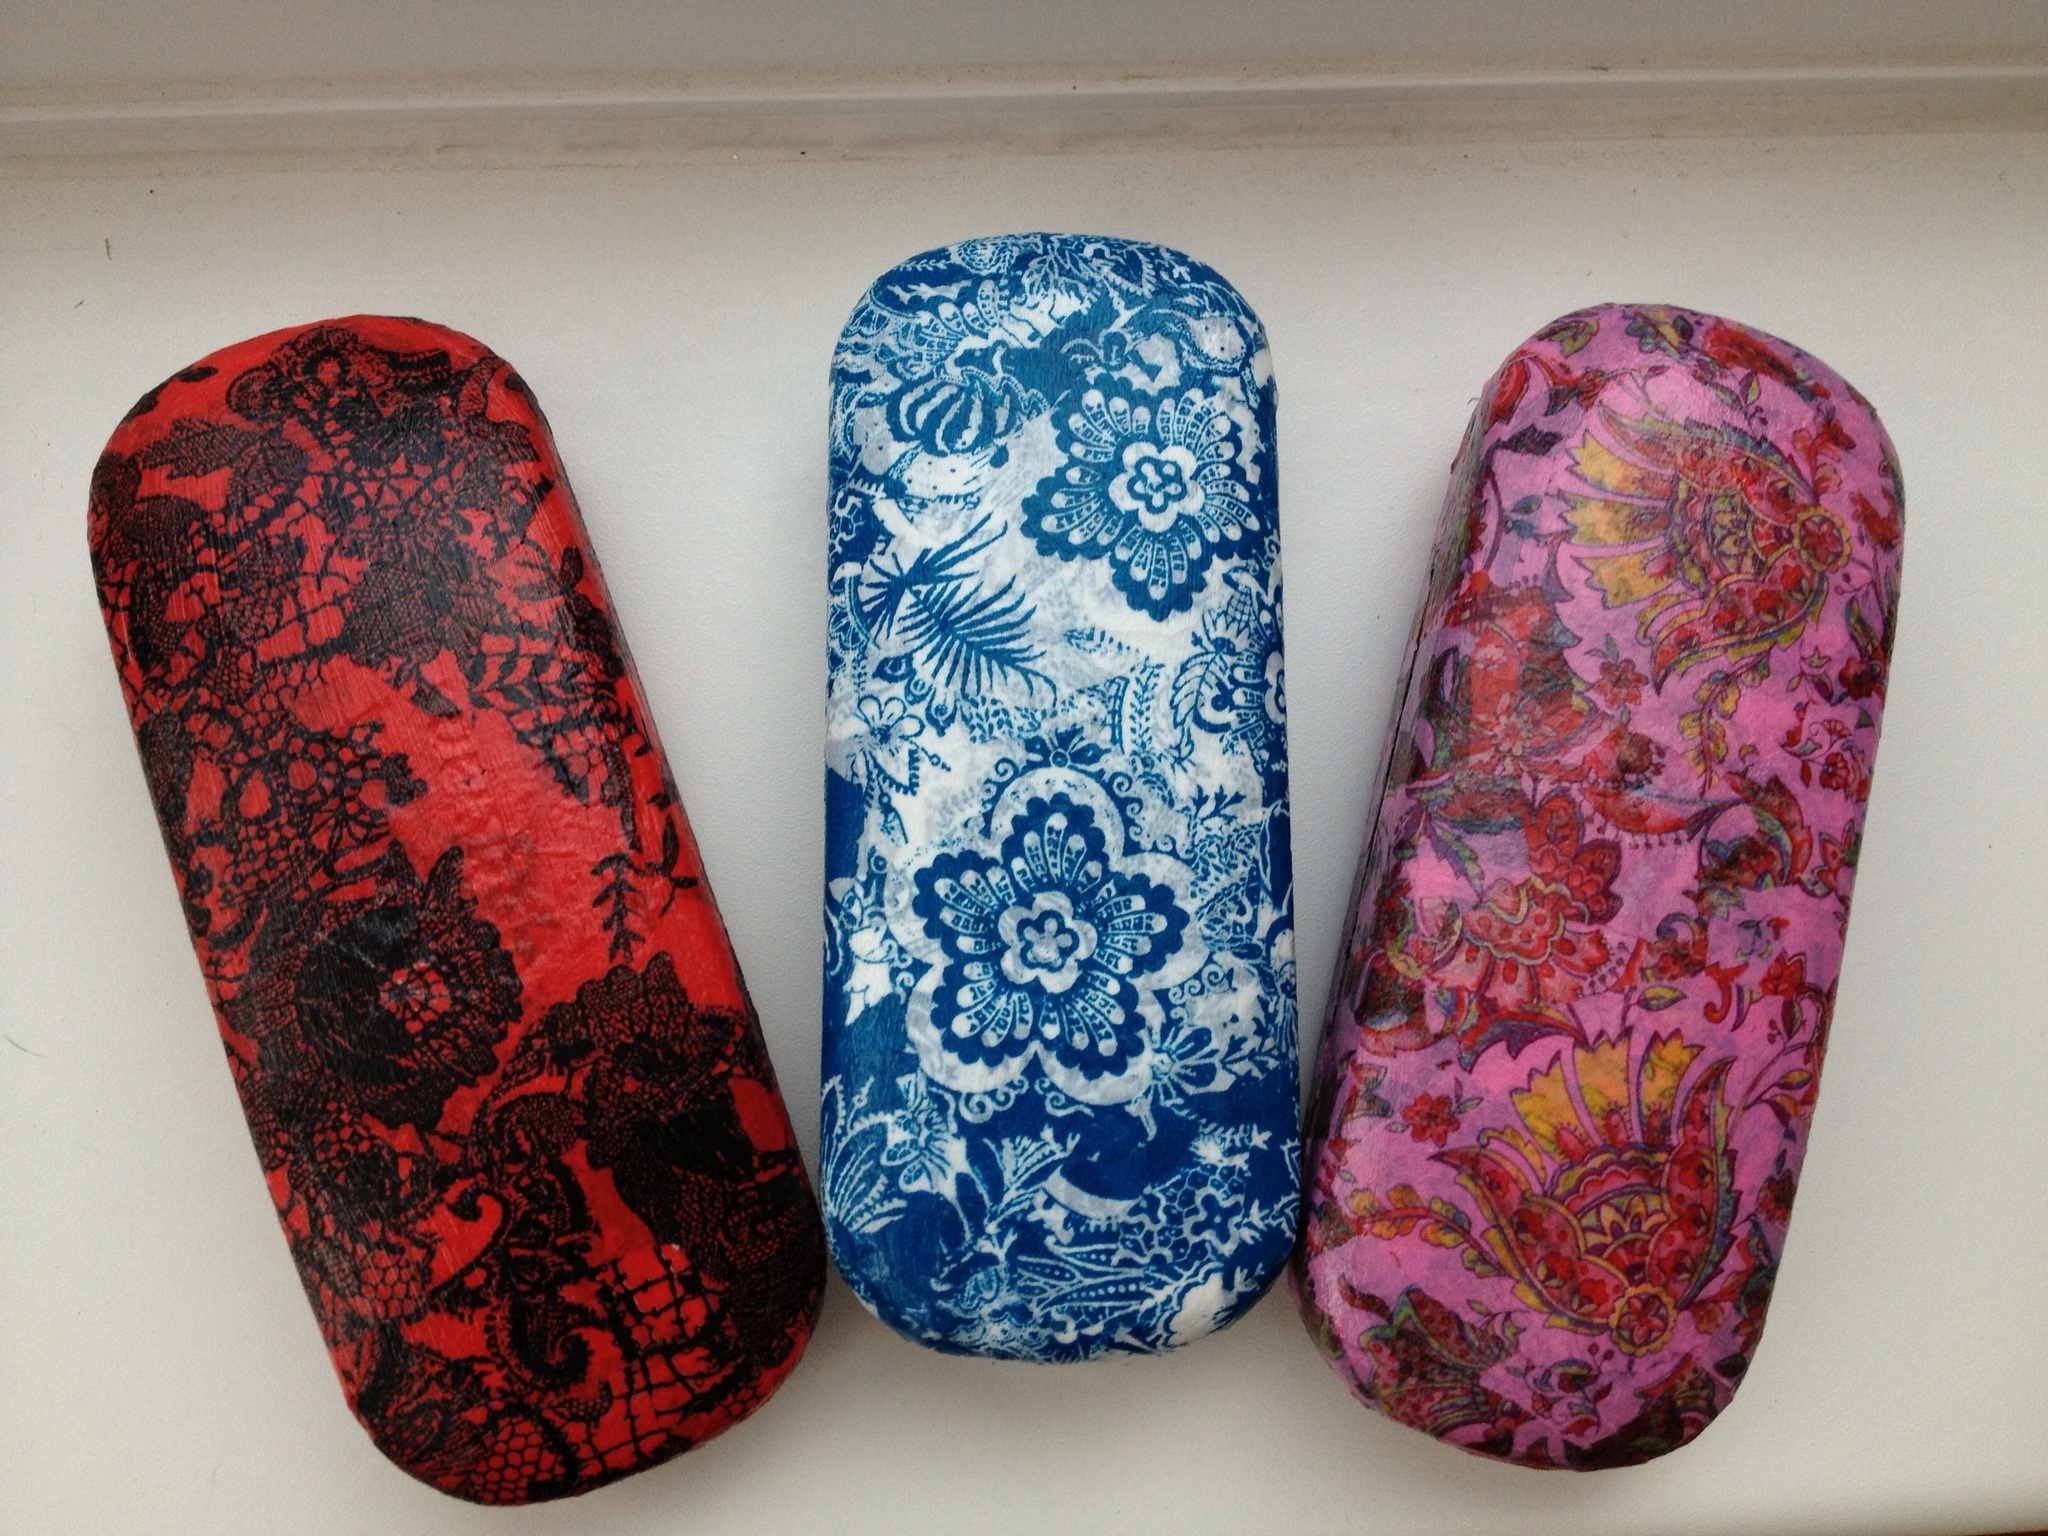
Hope you all had a crafty weekend.
Love, Lucie xx
Related articles
- One more ugly to lovely (lovelucie1.wordpress.com)

I think they’re both lovely, but what did Asda glass cases ever do to you lol?
LikeLike
Ha, ha! They’re great to decorate.
LikeLike
They are all so lovely I don’t know which to say I would prefer, I love the pink one that you made first but I would probably pick the red and black as it would match my current glasses which are also red. Thank you so much for sharing all the photos as a guide, so helpful to have a visual guide.
LikeLike
🙂
LikeLike
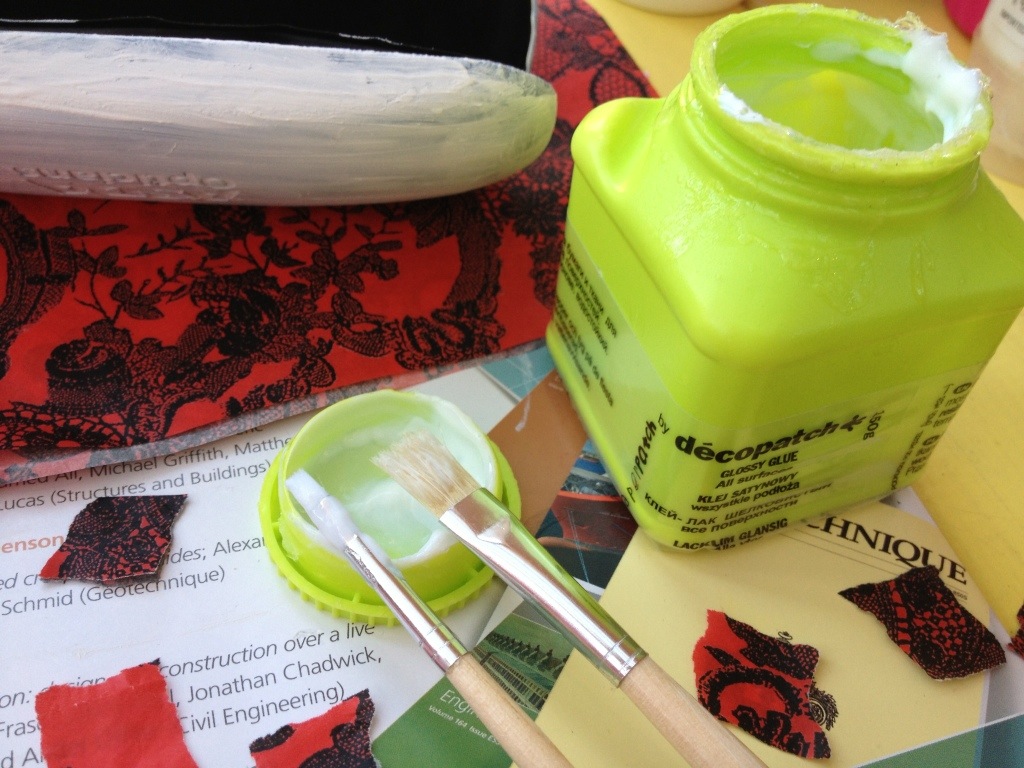
Great tutorial. Can’t wait to try it. Where’re the best place to buy the decopatch paper as I’ve never used it before.
All three are lovely but my favourite is the blue one xx
LikeLike
Unless you have a ‘hobbycraft’on your doorstep, I would try here.
http://www.thedecopatchplace.co.uk
LikeLike
They’re all lovely, as I have three pairs of glasses scattered around the place I would probably choose them all!!
LikeLike
Thanks!
LikeLike
Fabulous idea the finished results look great I really love the blue and white one
LikeLike
Thank you for popping by. The pink one is my favourite.
LikeLike
Love it, thanks for the tuto. Gosh, you are creative:)
LikeLike
🙂
LikeLike
The blue one is my favourite. Thanks for the tutorial too, I have a glasses case that is ugly and needs a makeover, now I know how to do it.
LikeLike
Have fun! Thanks for popping by.
LikeLike
This is SUCH a good idea
LikeLike
They look amazing!
LikeLike
Thankyou!
LikeLike