
Let me do a little dance.
A little dance to celebrate that Tilly (of Tilly and the Buttons) and I have, together, turned out this rather wearable Agnes toile.
Well, I say together, but I was closely following her through her Learn to Sew Jersey on a Regular Sewing Machine Online Course. She might as well have been in the room, the amount I learnt, enjoyed and correctly executed in the making of the Agnes.
I bought the course a few weeks ago. I’d read longingly about other bloggers experiences of attending classes to build upon their skills and whilst I couldn’t commit to a course with all the lovely added interaction you get from spending an evening with like minded folk, I thought this would be the next best thing.
Well let me tell you, I think Tilly missed her calling as a Blue Peter presenter! Not in a condescending way, of course, but I felt she just hit my level of skill and (lack of) knowledge at the right time.
The course focuses on sewing jersey on a regular sewing machine, without the use of a serger. I have both but sewing a toile on a sewing machine is completely sensible in my eyes. It made me slow down and of course gave me seam and seam allowances to unpick and play with if I wanted to adjust something.
It is a good mixture of text and video. The text was great to referring to when my wifi was playing up.
I watched the whole thing through in a couple of sittings and then followed it section by section whilst working through the making up.
I choose my size with Tilly’s reminder that jersey can be fairly forgiving so on the first run through not to bother too much with blending between sizes.
I learnt about so much about fabric choice, how to gauge stretch, cutting out and what stitch to use for what application.
The course runs alongside the Agnes pattern, the pdf of which comes with the course.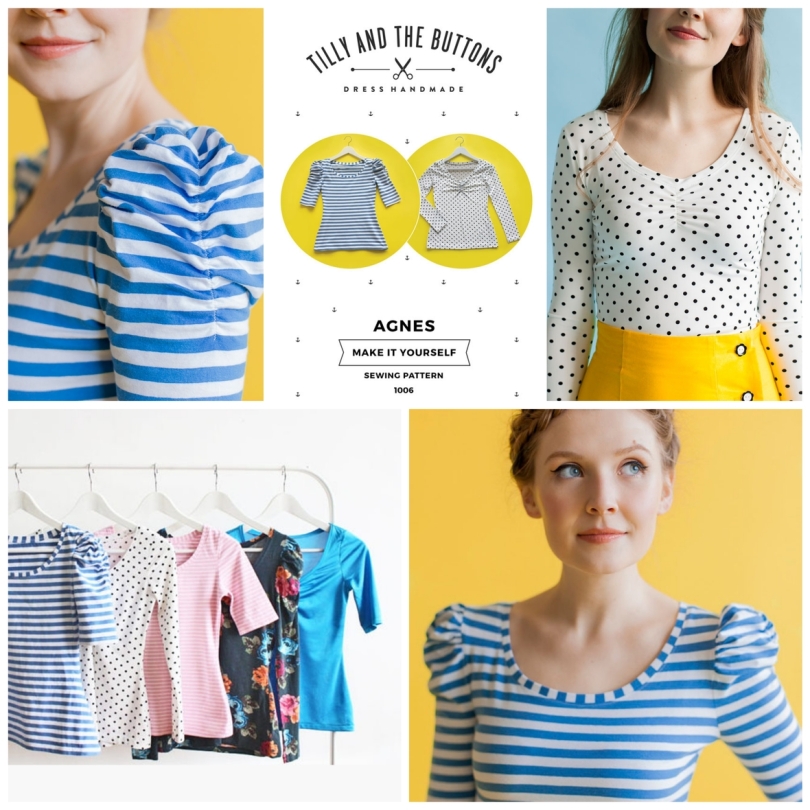
To be honest the pattern did not appeal greatly to me so I saw it as a practice piece on which to hone my skills.
How wrong I was! I have at least four more planned (sorry!)
These are the jerseys I had in my stash.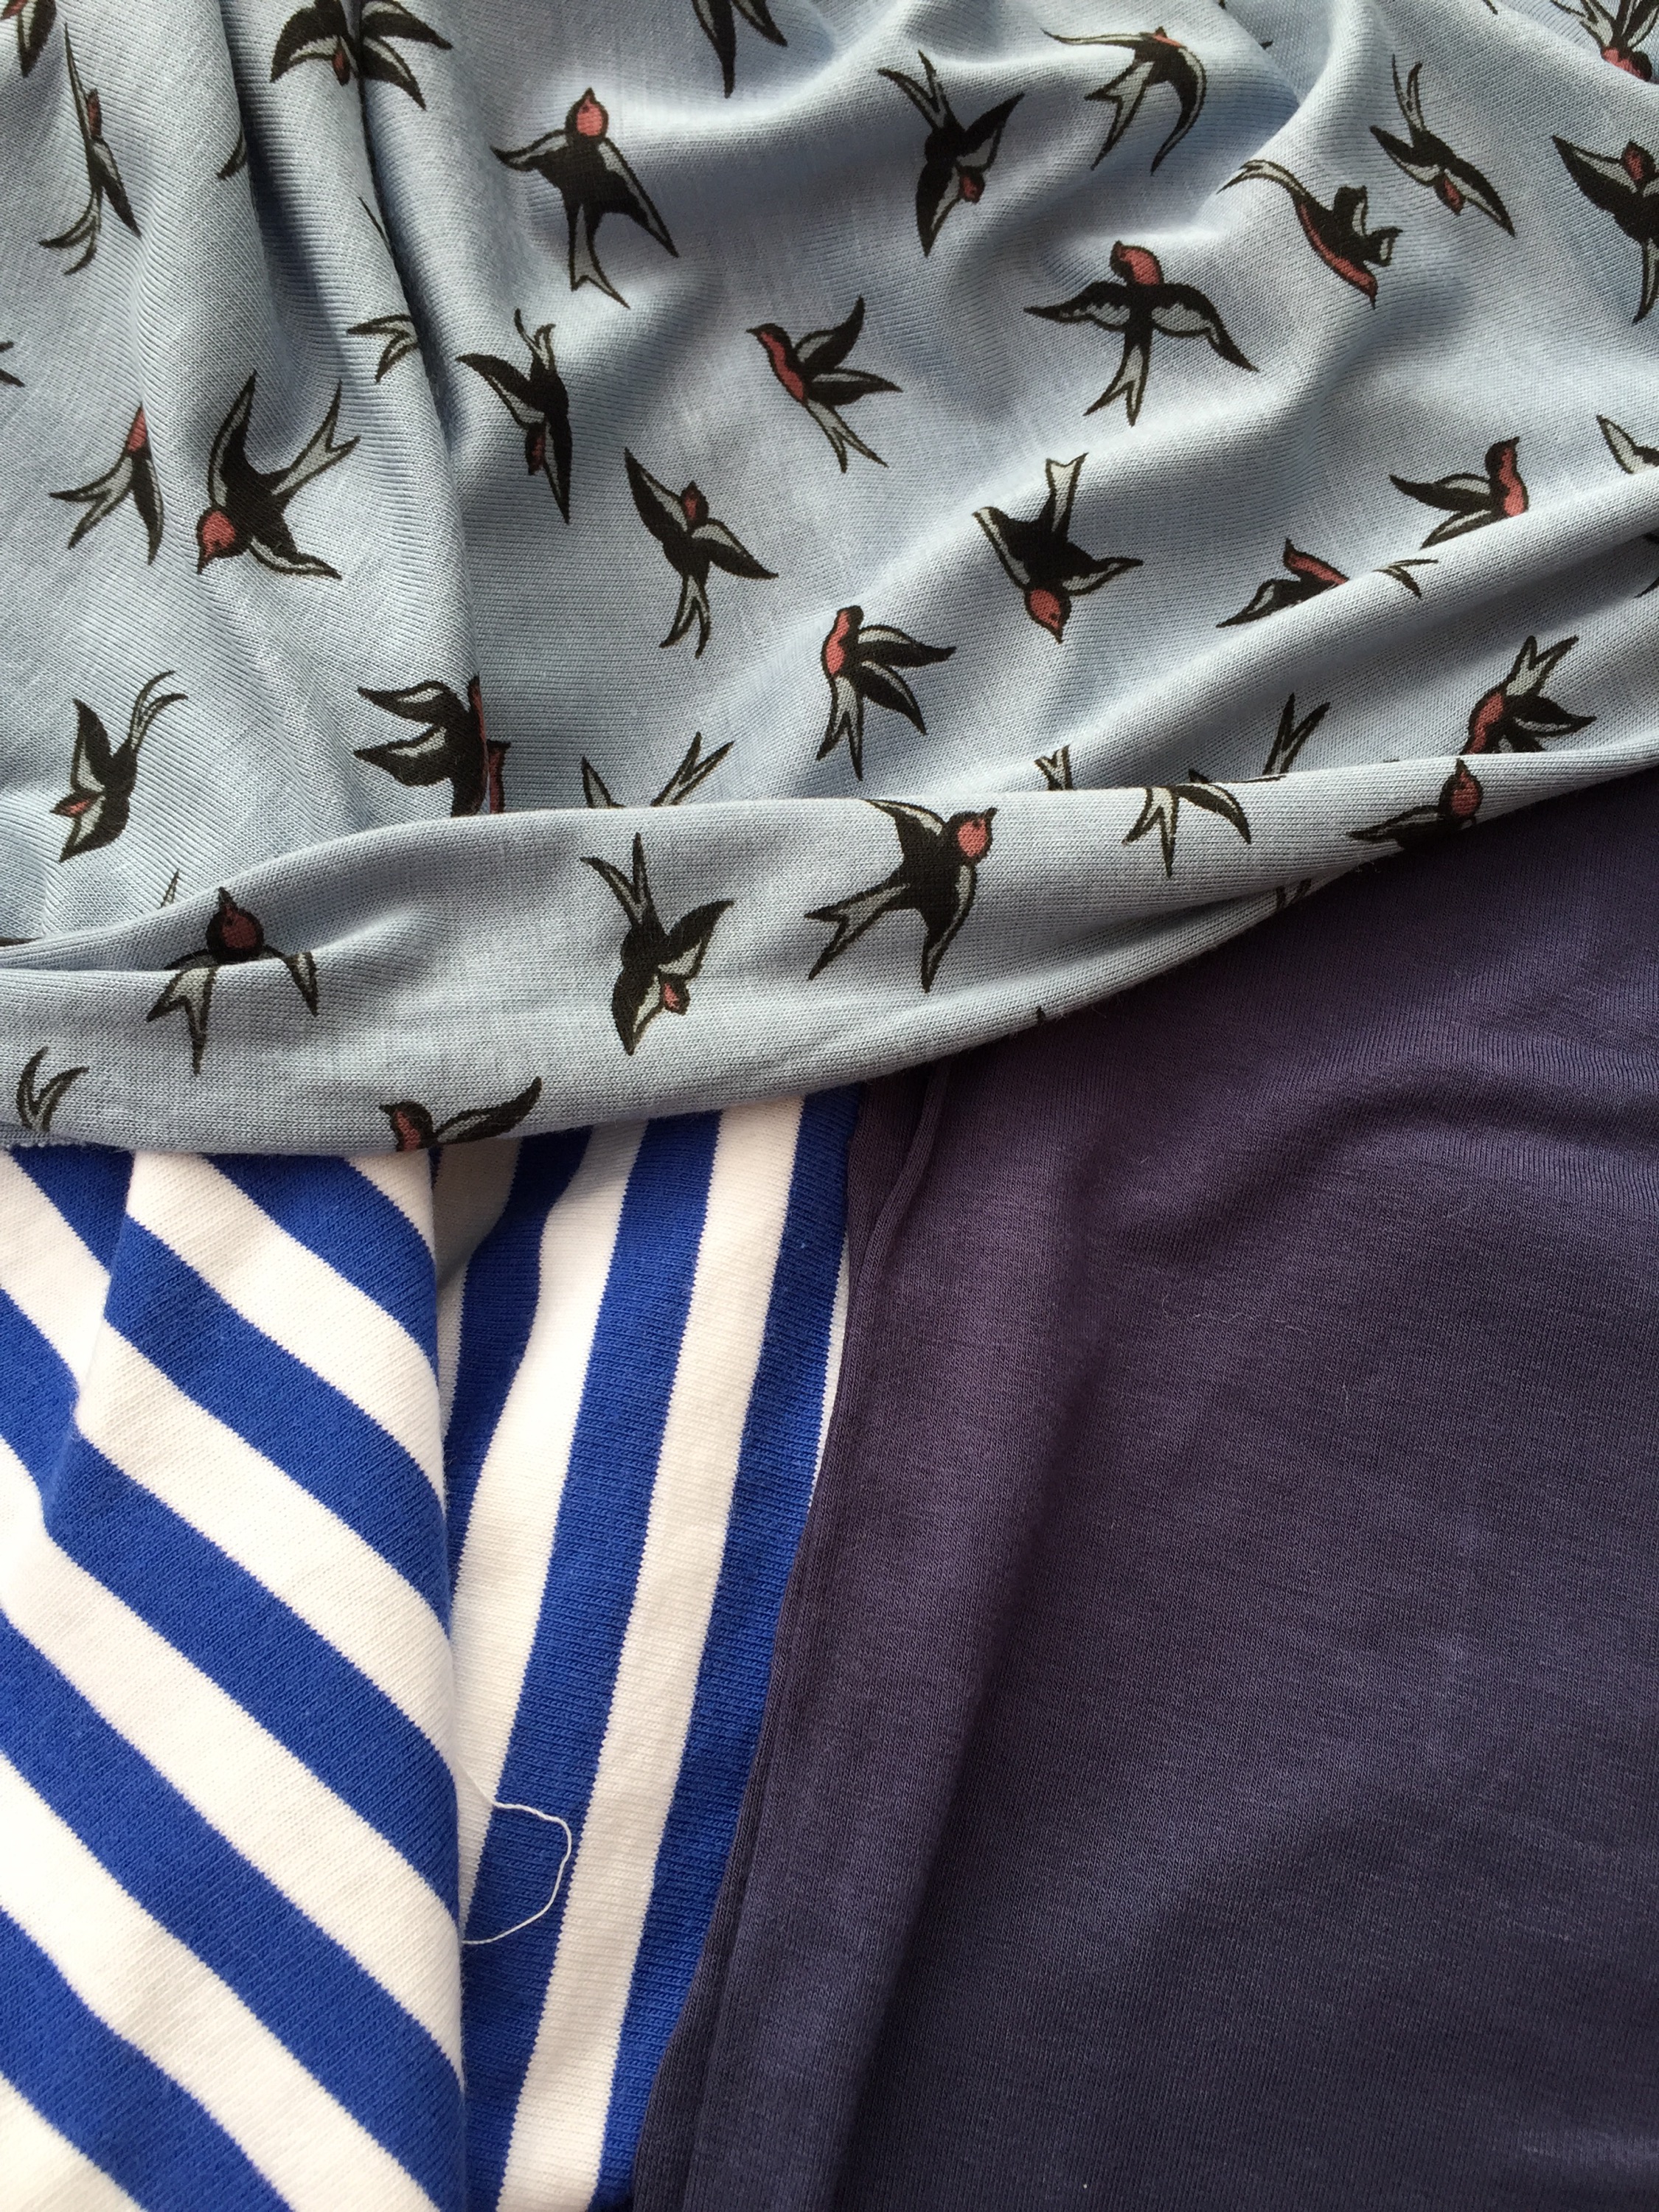
I was so sure the first one would be unwearable I went with the cheap navy.
After I had been taken through stabilising of the shoulders we moved onto the neck line. This was what had been putting me off sewing with jersey for so long. There are only so many cowl neck tops a wardrobe can take and I have made quite a few.
However, under Tilly’s great tutorage this is what I came out with first time!


After this turn up I zoomed through the rest of it.
When it came to sewing the final under arm and side seam (in one) Tilly advised pinning and ‘carefully’ trying on. This was such a great tip. I could see that I would need to reduce the seam allowance from the elbow, up under the arm to the armpit, down the chest, blending in at the waist.
Then I popped it back on and was so pleased I took a quick selfie! This is my daughter’s bedroom btw.
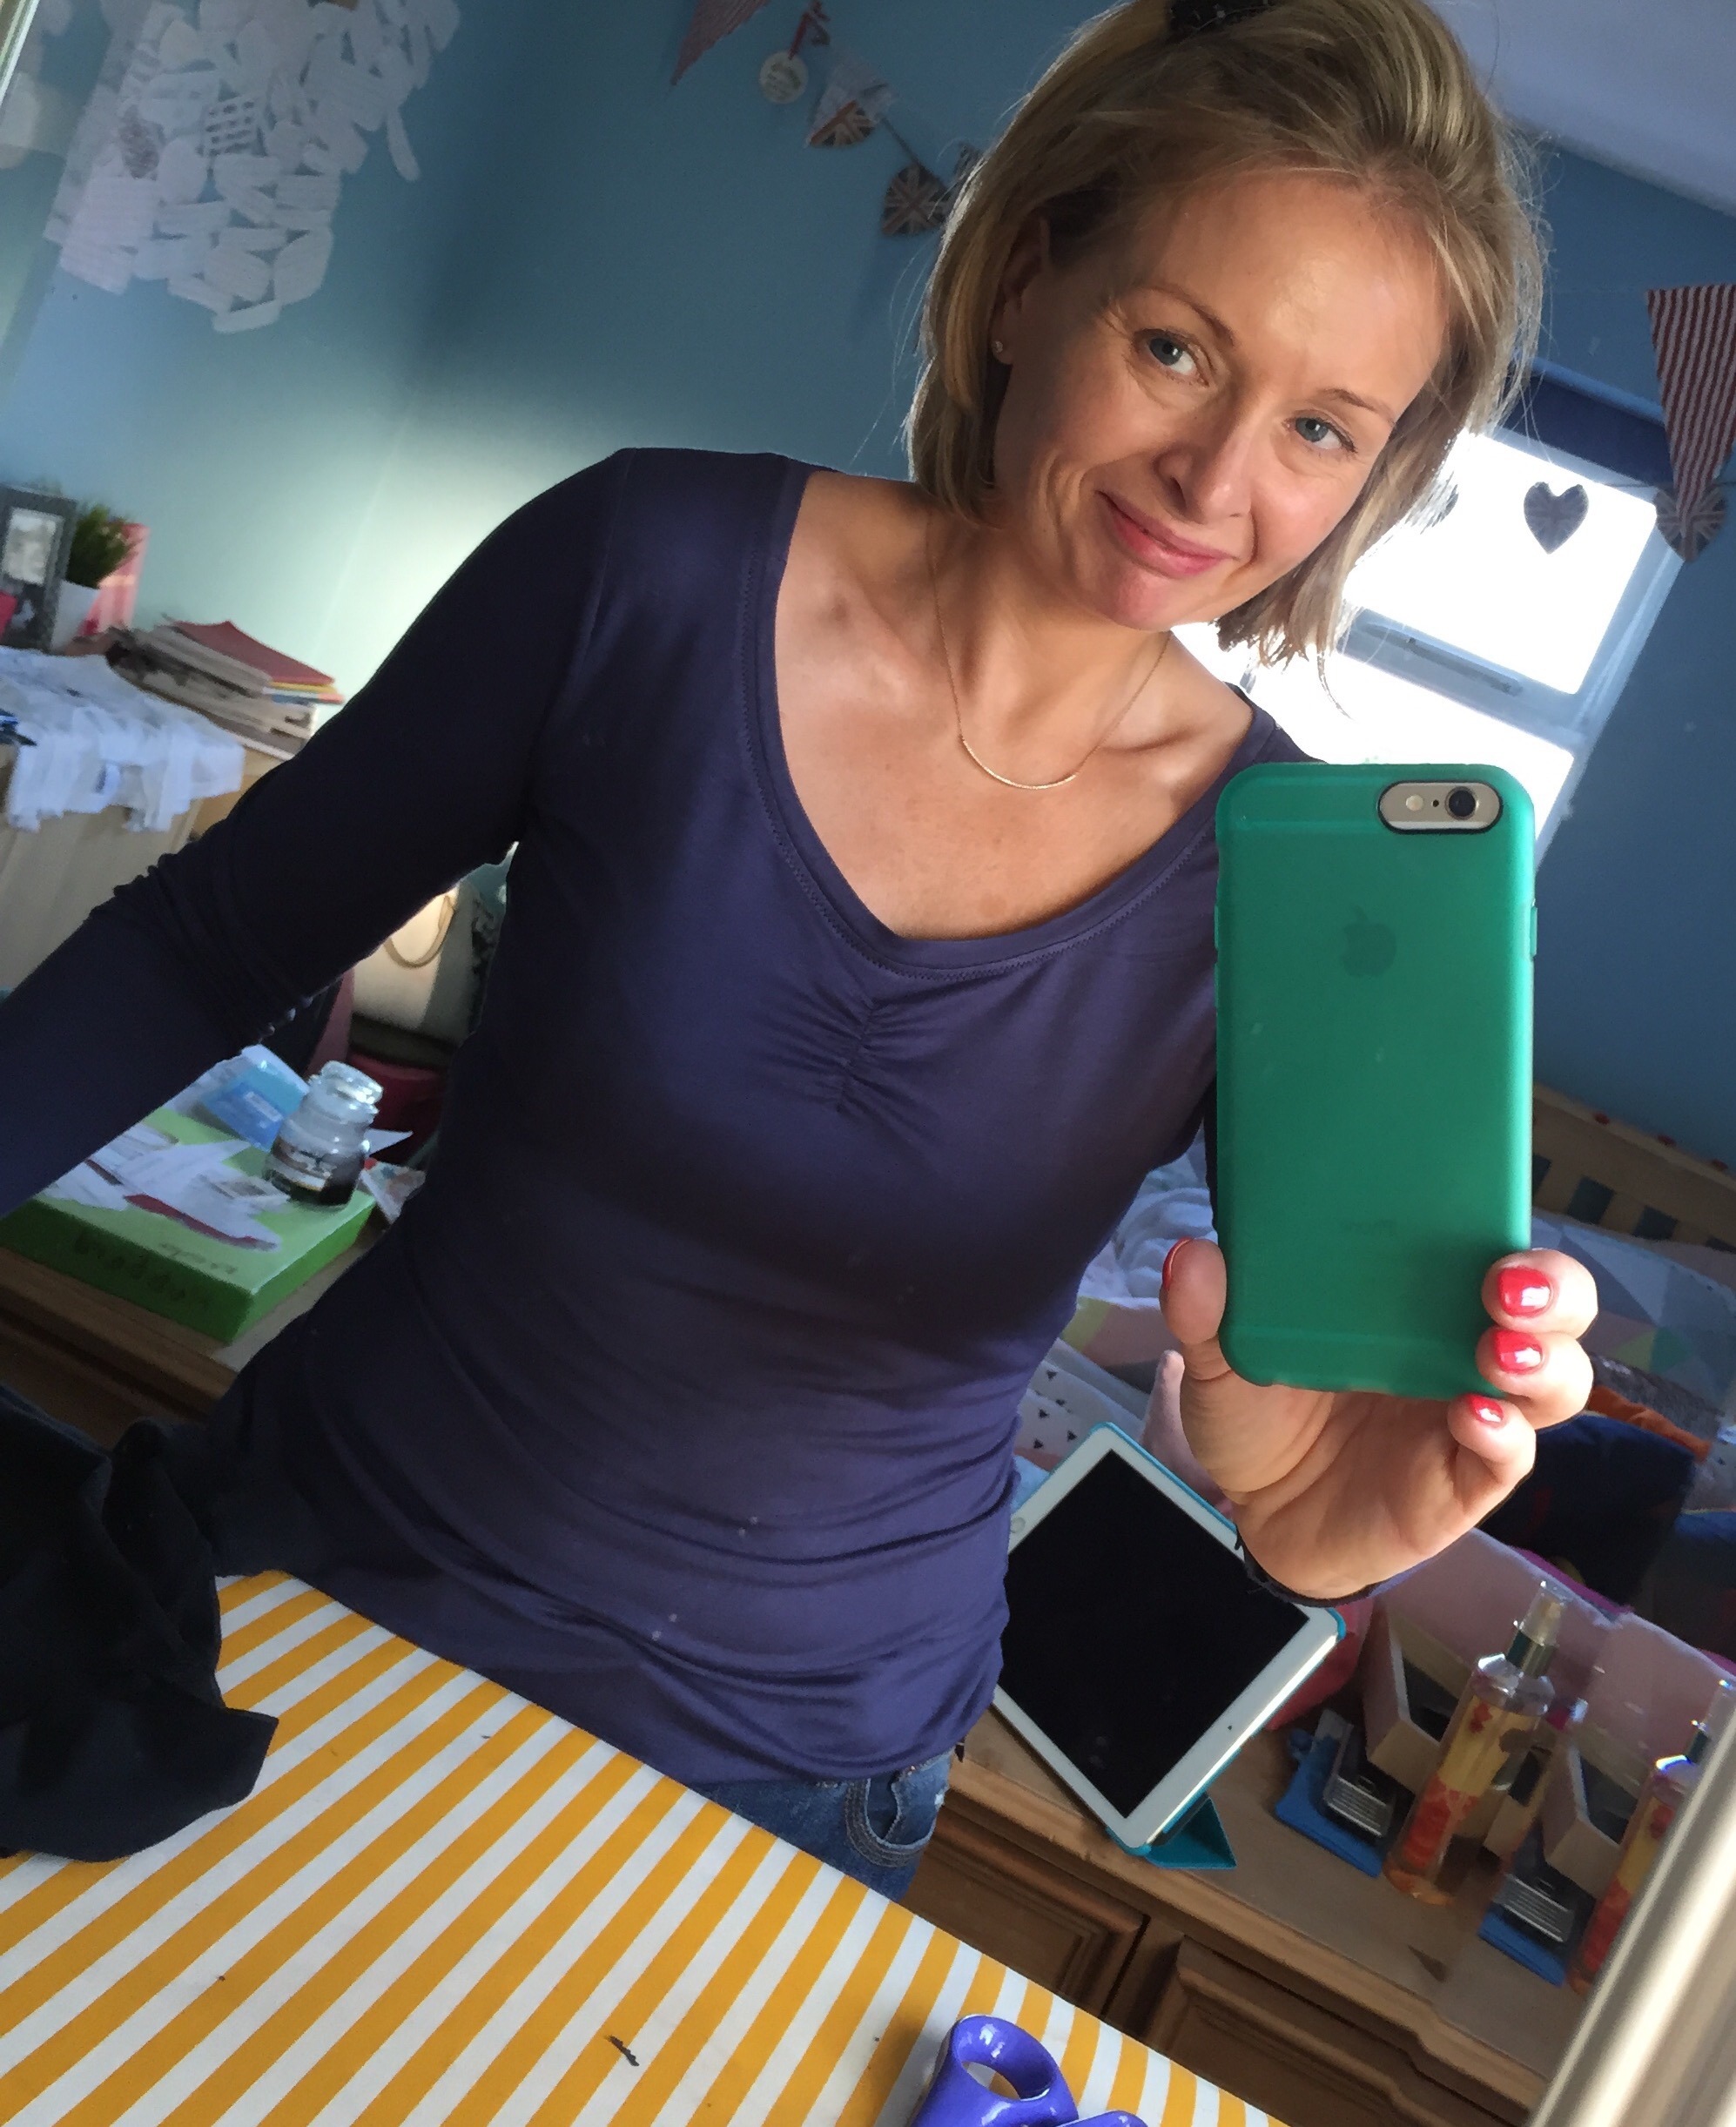
‘That looks like you’ve bought it’, said my husband. Praise indeed!
So, it is now hemmed and here I am.


My next decision is whether to size up slightly for the next one. This jersey is rather fine and super stretchy so I might just go up half a size around the upper arm and chest. The neckline is perfect 🙂 so I shall keep that well alone.
BTW You may notice my relaxed repose.
There is just me in this room.
Yes, I’ve got my new DSLR remote and instant download card working!!!
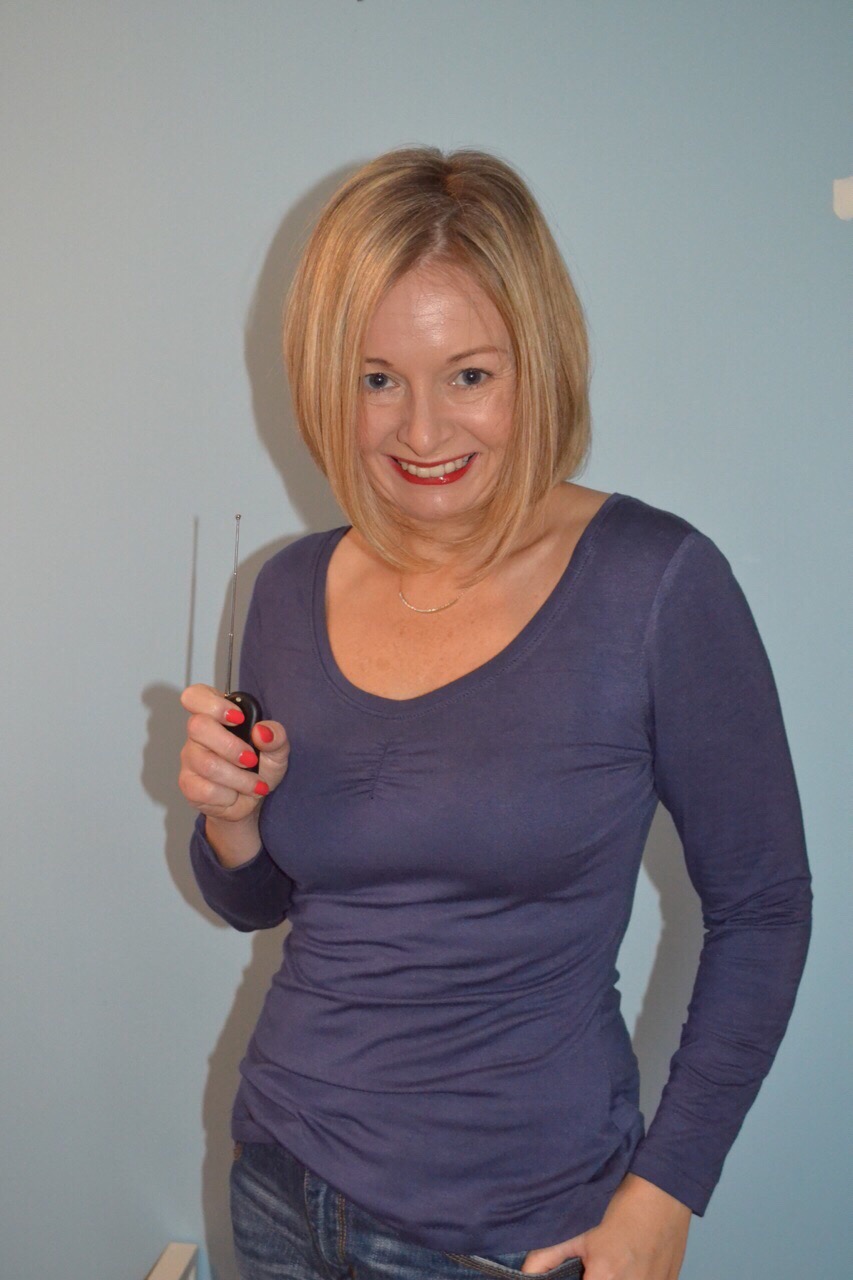
Love, Lucie xx

Go you! And great to hear of good on-line courses, even though you and I know I’m never going to sew jersey 🙂
LikeLike
I wish I’d done this course sooner!
LikeLiked by 1 person
Boy do I identify with that – the number of times I’ve said I wish I’d done something sooner!
LikeLiked by 1 person
Sounds great! Glad you are getting on so well.
LikeLike
Yes, after a few disappointing makes I have definitely turned a corner!
LikeLike
That looks great Lucie, totally like you bought it (and yes, that is a compliment!)
LikeLike
Thanks! So worth it!
LikeLike
Looks great. I don’t think you need to go up a size. It fits you perfectly.
LikeLike
Thank you. Looking forward to using a more interesting fabric!
LikeLike
Well done. That looks lovely. I have made one and have another one cut out ready to sew tonight. Good to hear about the tutorial I might treat myself soon. Can’t wait to see the next one K xXx
LikeLike
Thanks! I was really pleased with this one. Looking forward to starting my next.
LikeLike
Such a perfect finished neckline! Well done👏👏. It looks really good on you. That bird gabric will make a great top – cant wait to see that made up. Love your photos and thanks for sharing the Tilly class review. It looks like its worth every penny.
LikeLike
It was for me. Obviously not something you need!
LikeLiked by 1 person
The course sounds great, particularly if you can’t attend a physical one. You DO look relaxed in the photos – selfies are infinitely preferable to trying to get a decent photo from husband/offspring. Lovin’ the Agnes on you too:)
LikeLike
So pleased my days of twisting the arms of my daughter and husband are over!
LikeLiked by 1 person
Very cute top! Good to know the online tutorial was a rousing success, might have to add some to my to-do list…especially this one, as I have a regular machine and a great fear of sewing stretch!
LikeLike
It’s definitely opened up a whole new world to me!
LikeLike
Looks super professional!
LikeLike
Thank you!
LikeLike
So neat!! Well done! Think I see a trip to Dewsbury for you in the near future to stock up on your jersey fabric 😃
LikeLike
Lucie, what a great post! And lovely pictures! I think I am definitely going to get one of those remote things. It is lovely having someone explain things and you looked really chuffed with the result. Love the bird fabric too!
LikeLike
The bird one is next as its closest in stretch and weight. 😀
LikeLike
Well done Lucie, it looks great!
LikeLike
Thank you!
LikeLike
I love that bird fabric – the one you make using that is going to be great. I nearly didn’t buy the Agnes pattern because of the ruched sleeves – which are too young for me. However, I really like the neckline and you can mix and match so, despite having numerous t-shirt patterns (and t-shirts) already, I did invest and will probably make the long sleeved version for autumn.
You are right to think about sizing. I have made the same dress in various types of knit fabric and it does make a difference. Something like a heavy viscose mix, for instance, will give you a different result from a thin cotton jersey.
LikeLike
I will never make the ruched sleeved one either! It’s the bird fabric next.
I was really pleased with where the neckline fell. I thought it might be a little frumpy but not at all. Your stash diet doesn’t extend to patterns then?
LikeLike
Well, it ought to as I have too many of those as well. However, I did buy this pattern before the fast began 🙂
LikeLiked by 1 person
What a great wardrobe builder! Bet you will get lots of wear out of this.
LikeLike
Definitely as a layering piece. It does tend to show every bump!
LikeLike
wow – that is amazing. I need to learn (in the next half hour or so) how to sew knits on a regular sewing machine. lol I will muck about with tension on scraps and then put my dress together. I hope it comes out half as well as your things do.
LikeLike
Great to read about this course. I love how detailed Tilly’s instructions are so I can imagine she’s even better in person. Looks perfect on you and looking forward to seeing the bird one too 🙂
LikeLike
Wow it really does look like a fantastic staple top and does look like you bought it!
LikeLike
Glad you have the camera working. Jo x
LikeLike