
Yes, autumn seems to be with us a little early this year but I’m still holding out hope that I might get to wear my new dress before it is packed away for next year.
I see this dress as a success for me, mainly because ‘I TOOK MY TIME’ and ‘REMEMBERED TO INCORPORATE WHAT I HAD LEARNT BEFORE’!!!!!!!

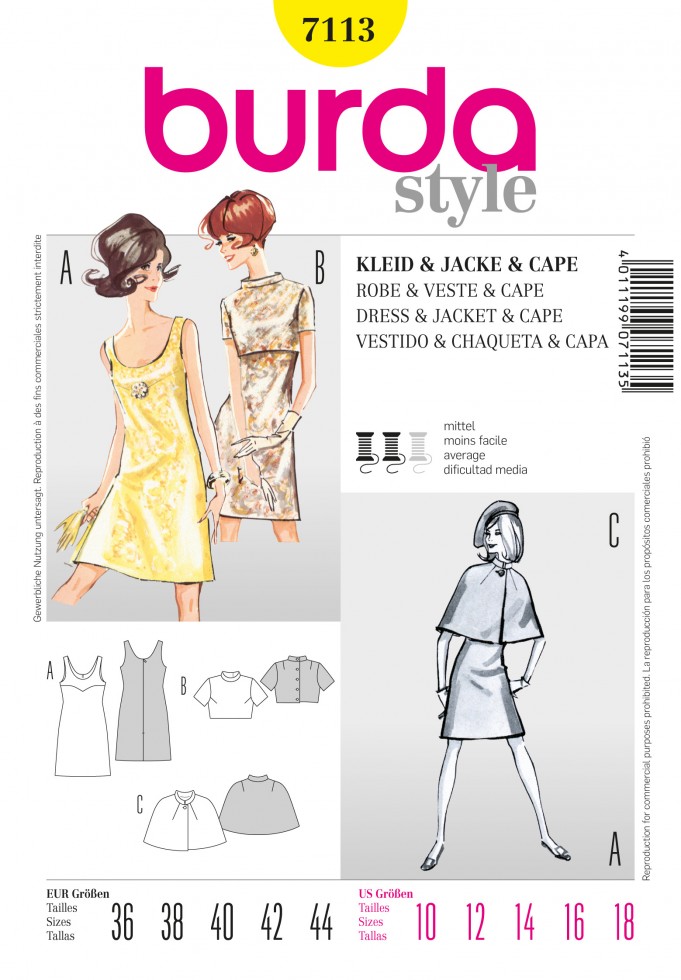
This is a 60’s vintage style pattern, Burda 7113.
Minervacrafts had kindly provided me with the pattern and some other fabric for this dress earlier on in the summer. I had chosen this printed cotton poplin.
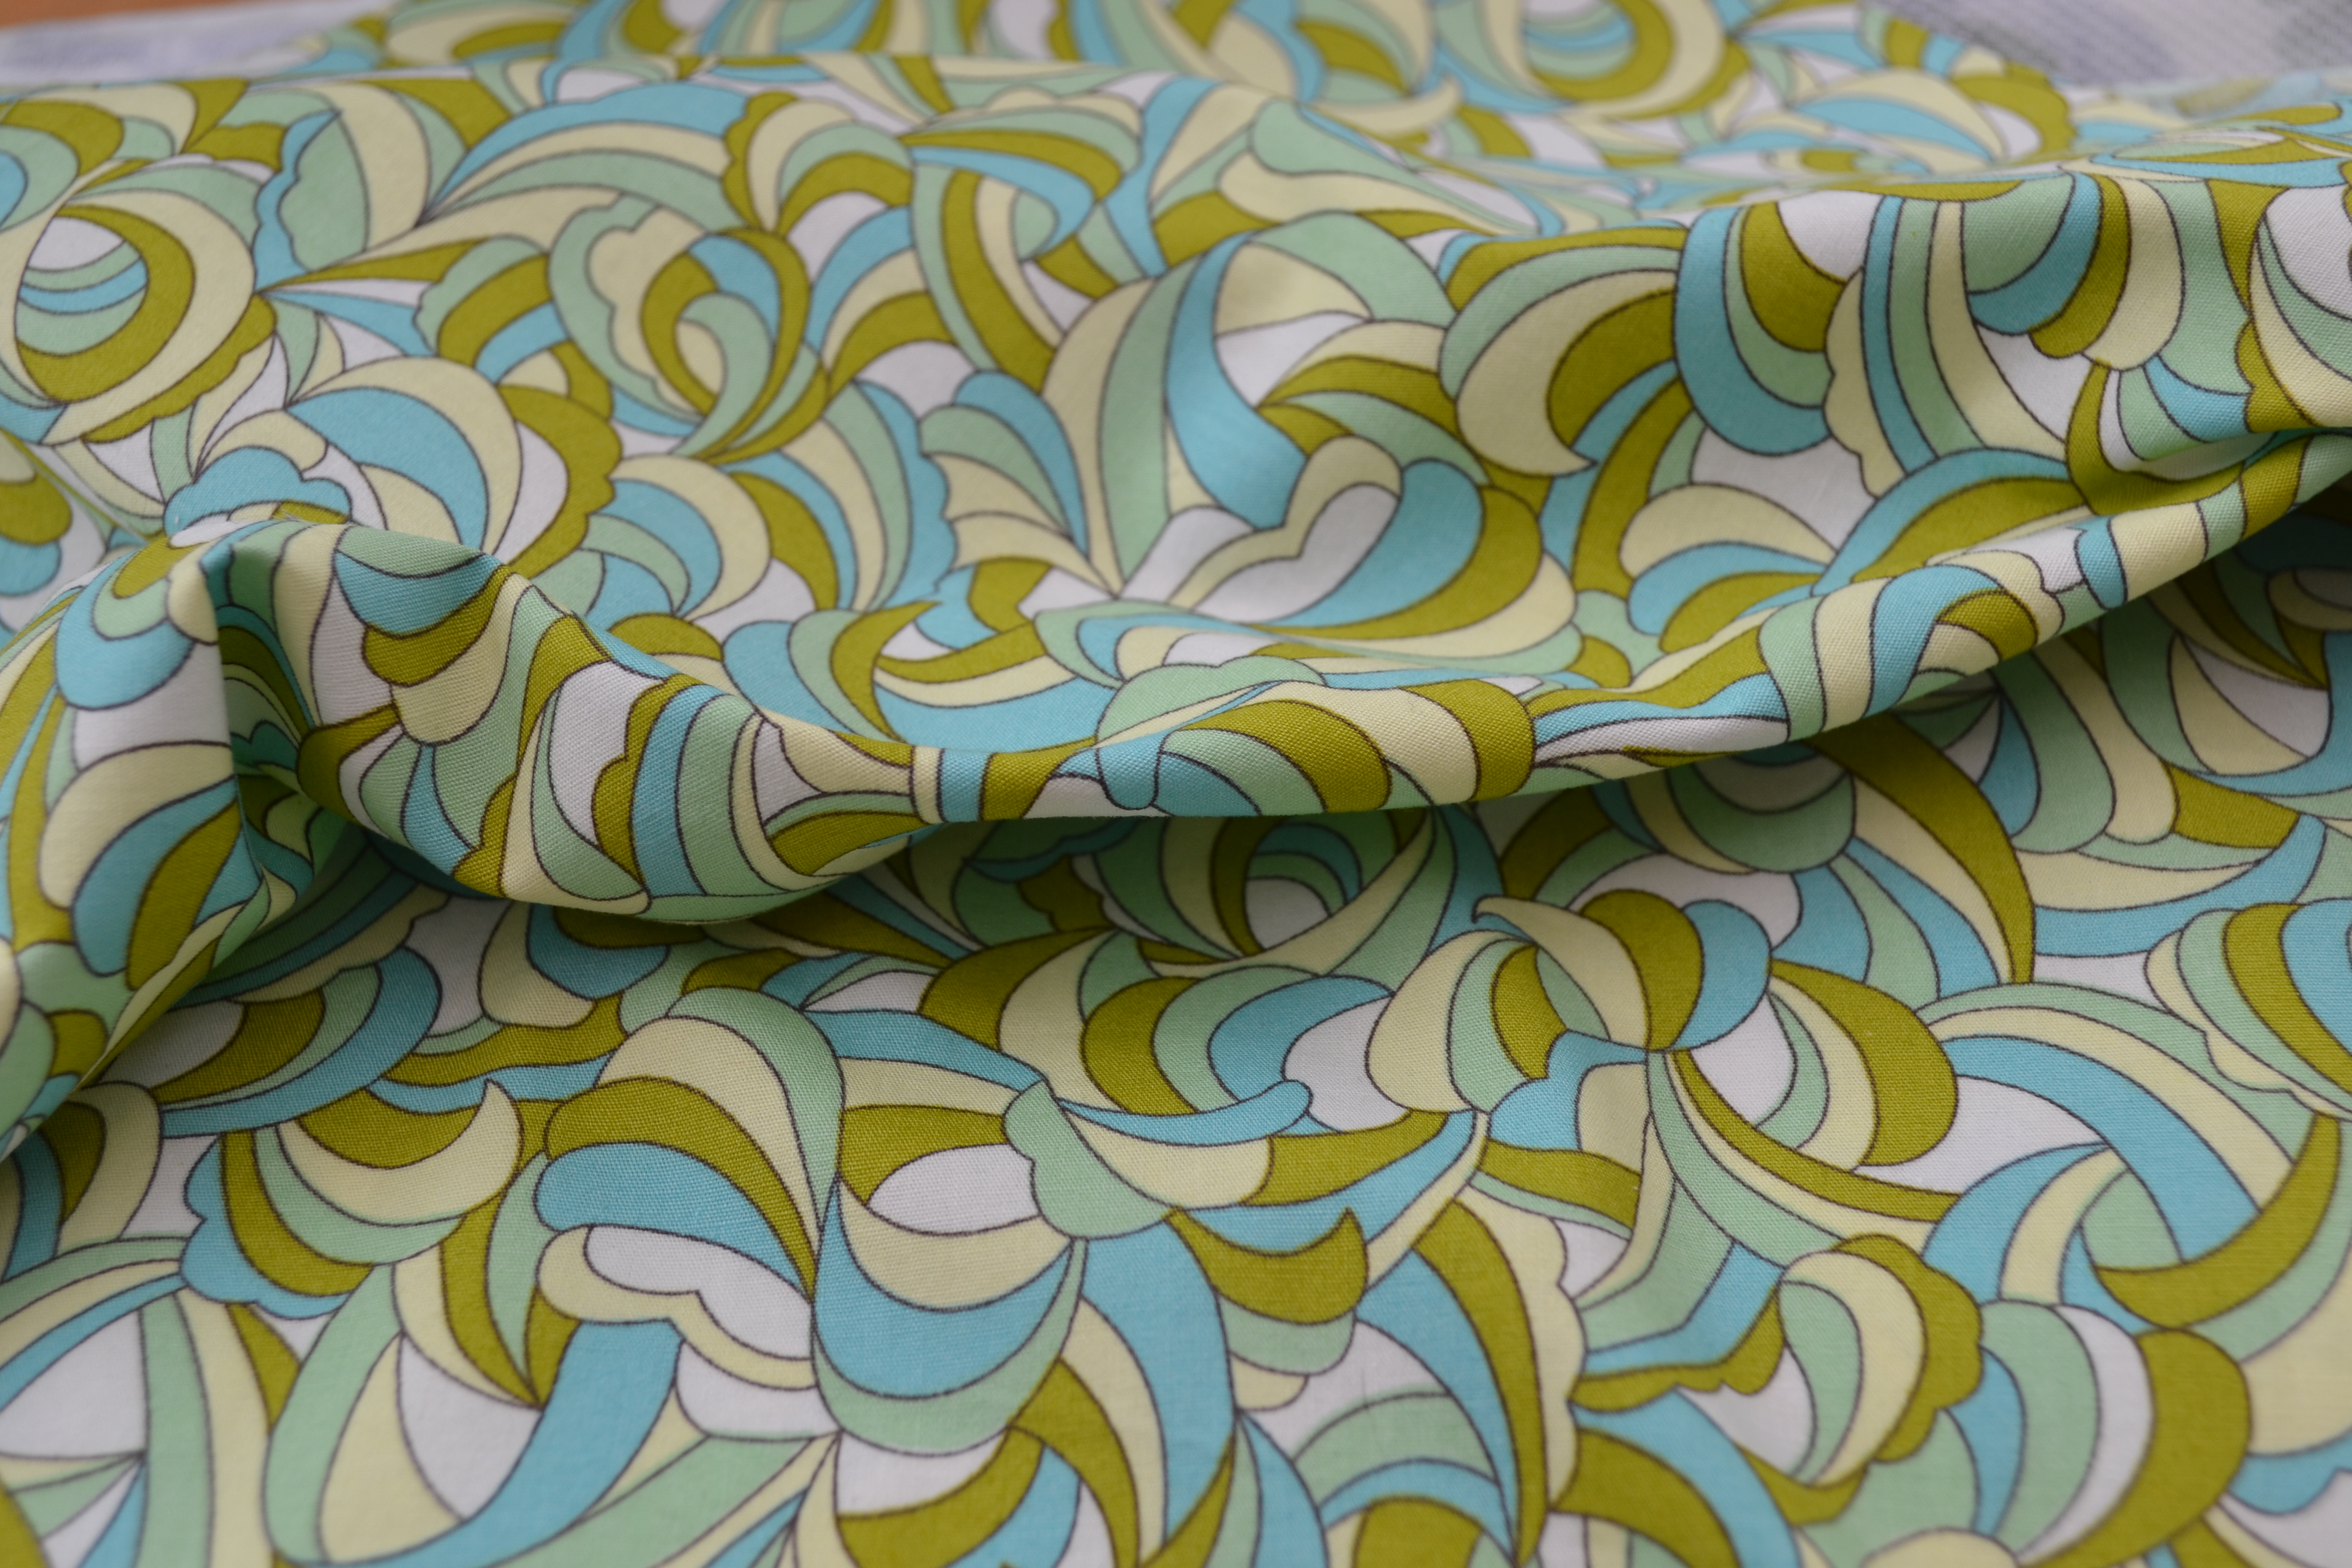
But unfortunately the fabric didn’t have as much body as I wanted for this 60’s shift so I made this out of it instead, which I love.

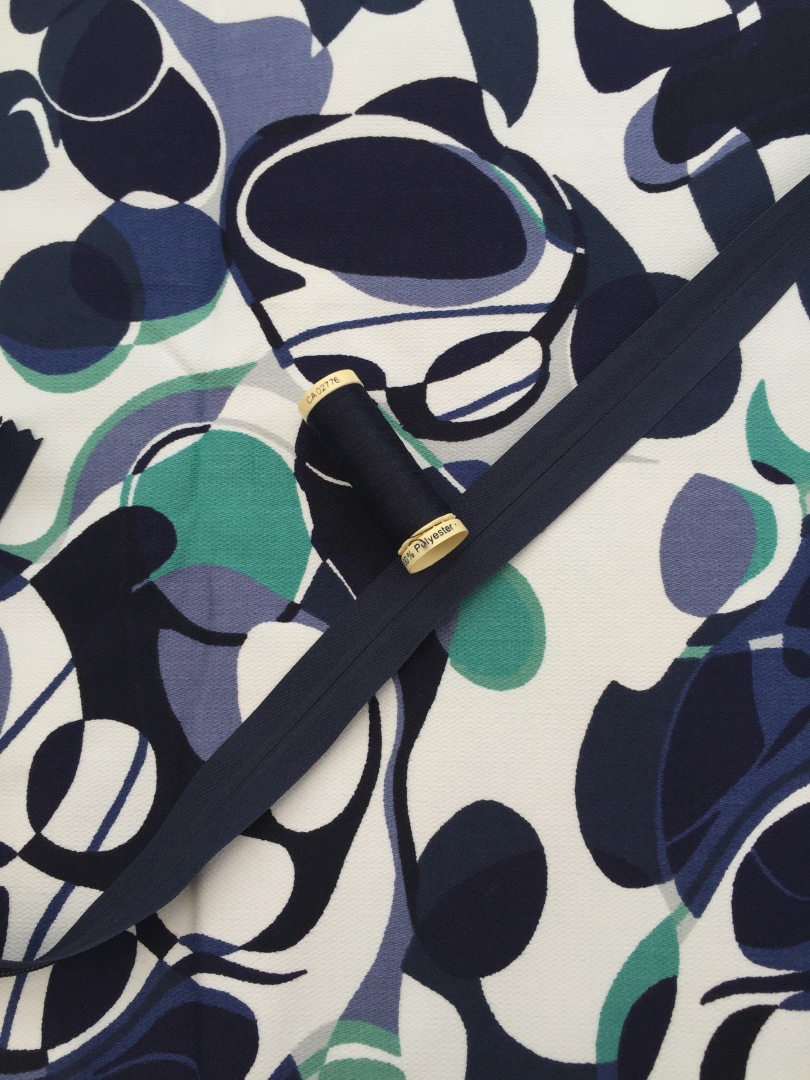
I was more careful in my fabric choice this time and knew this heavier weight slightly stretchy canvas was going to be perfect. (I’ve just noticed that Minerva have it in brown too)
From experience I knew I was going to have to make a toile to check my fit.
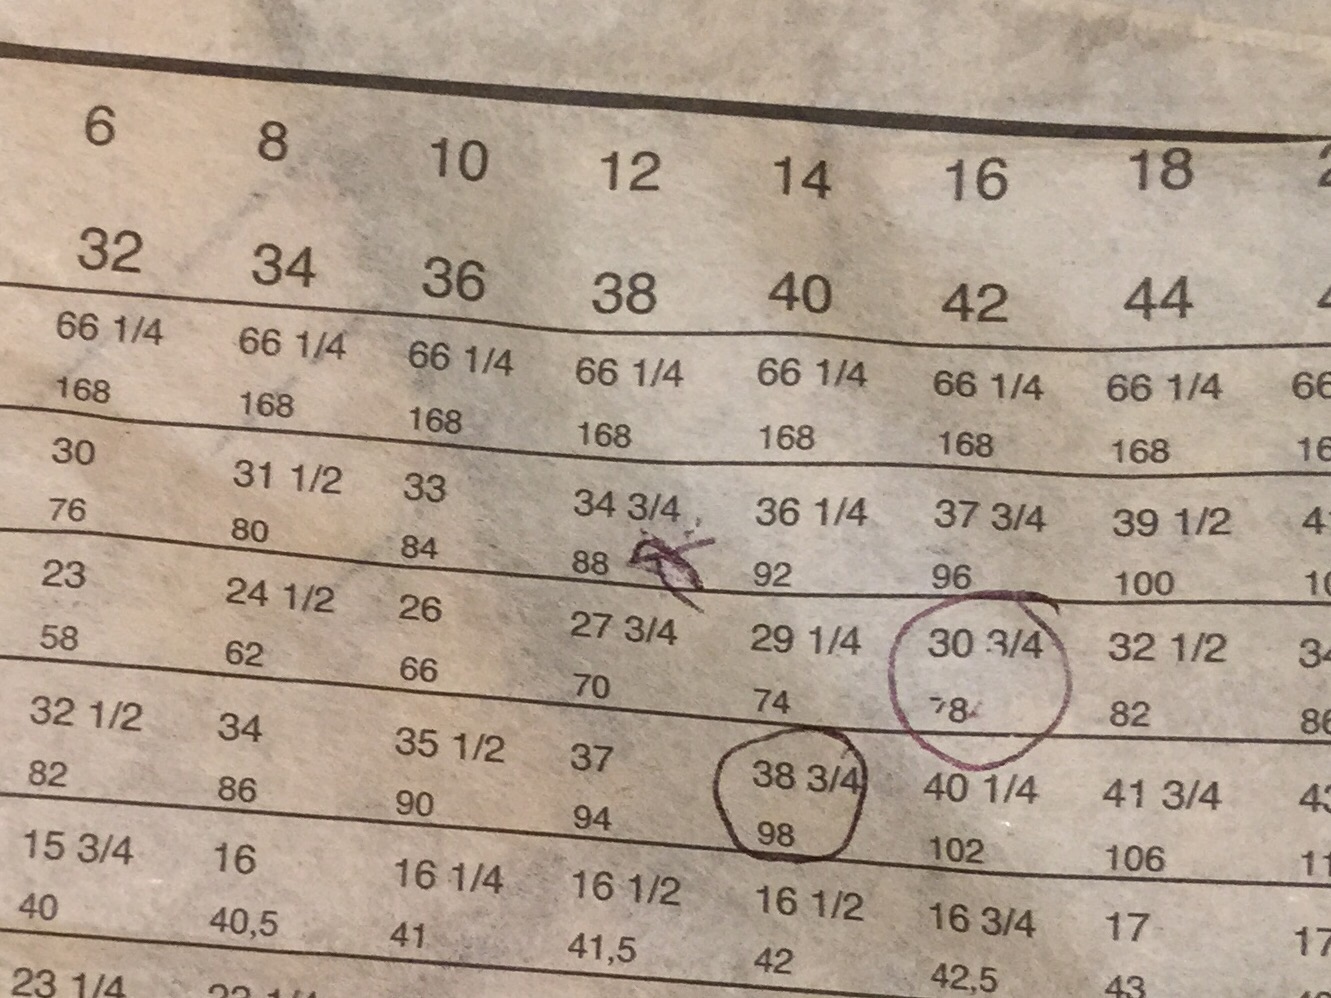
I went for a size 14, as this was the middle of my measurements and thought I would adjust it from there.
However it was huge and I re-cut a size 12, which is this one below.


The dart isn’t supposed to be there but I thought I might need a couple in the final dress.
This particular pattern appealed to me because of it’s construction around the chest. I’d not attempted anything like this before.
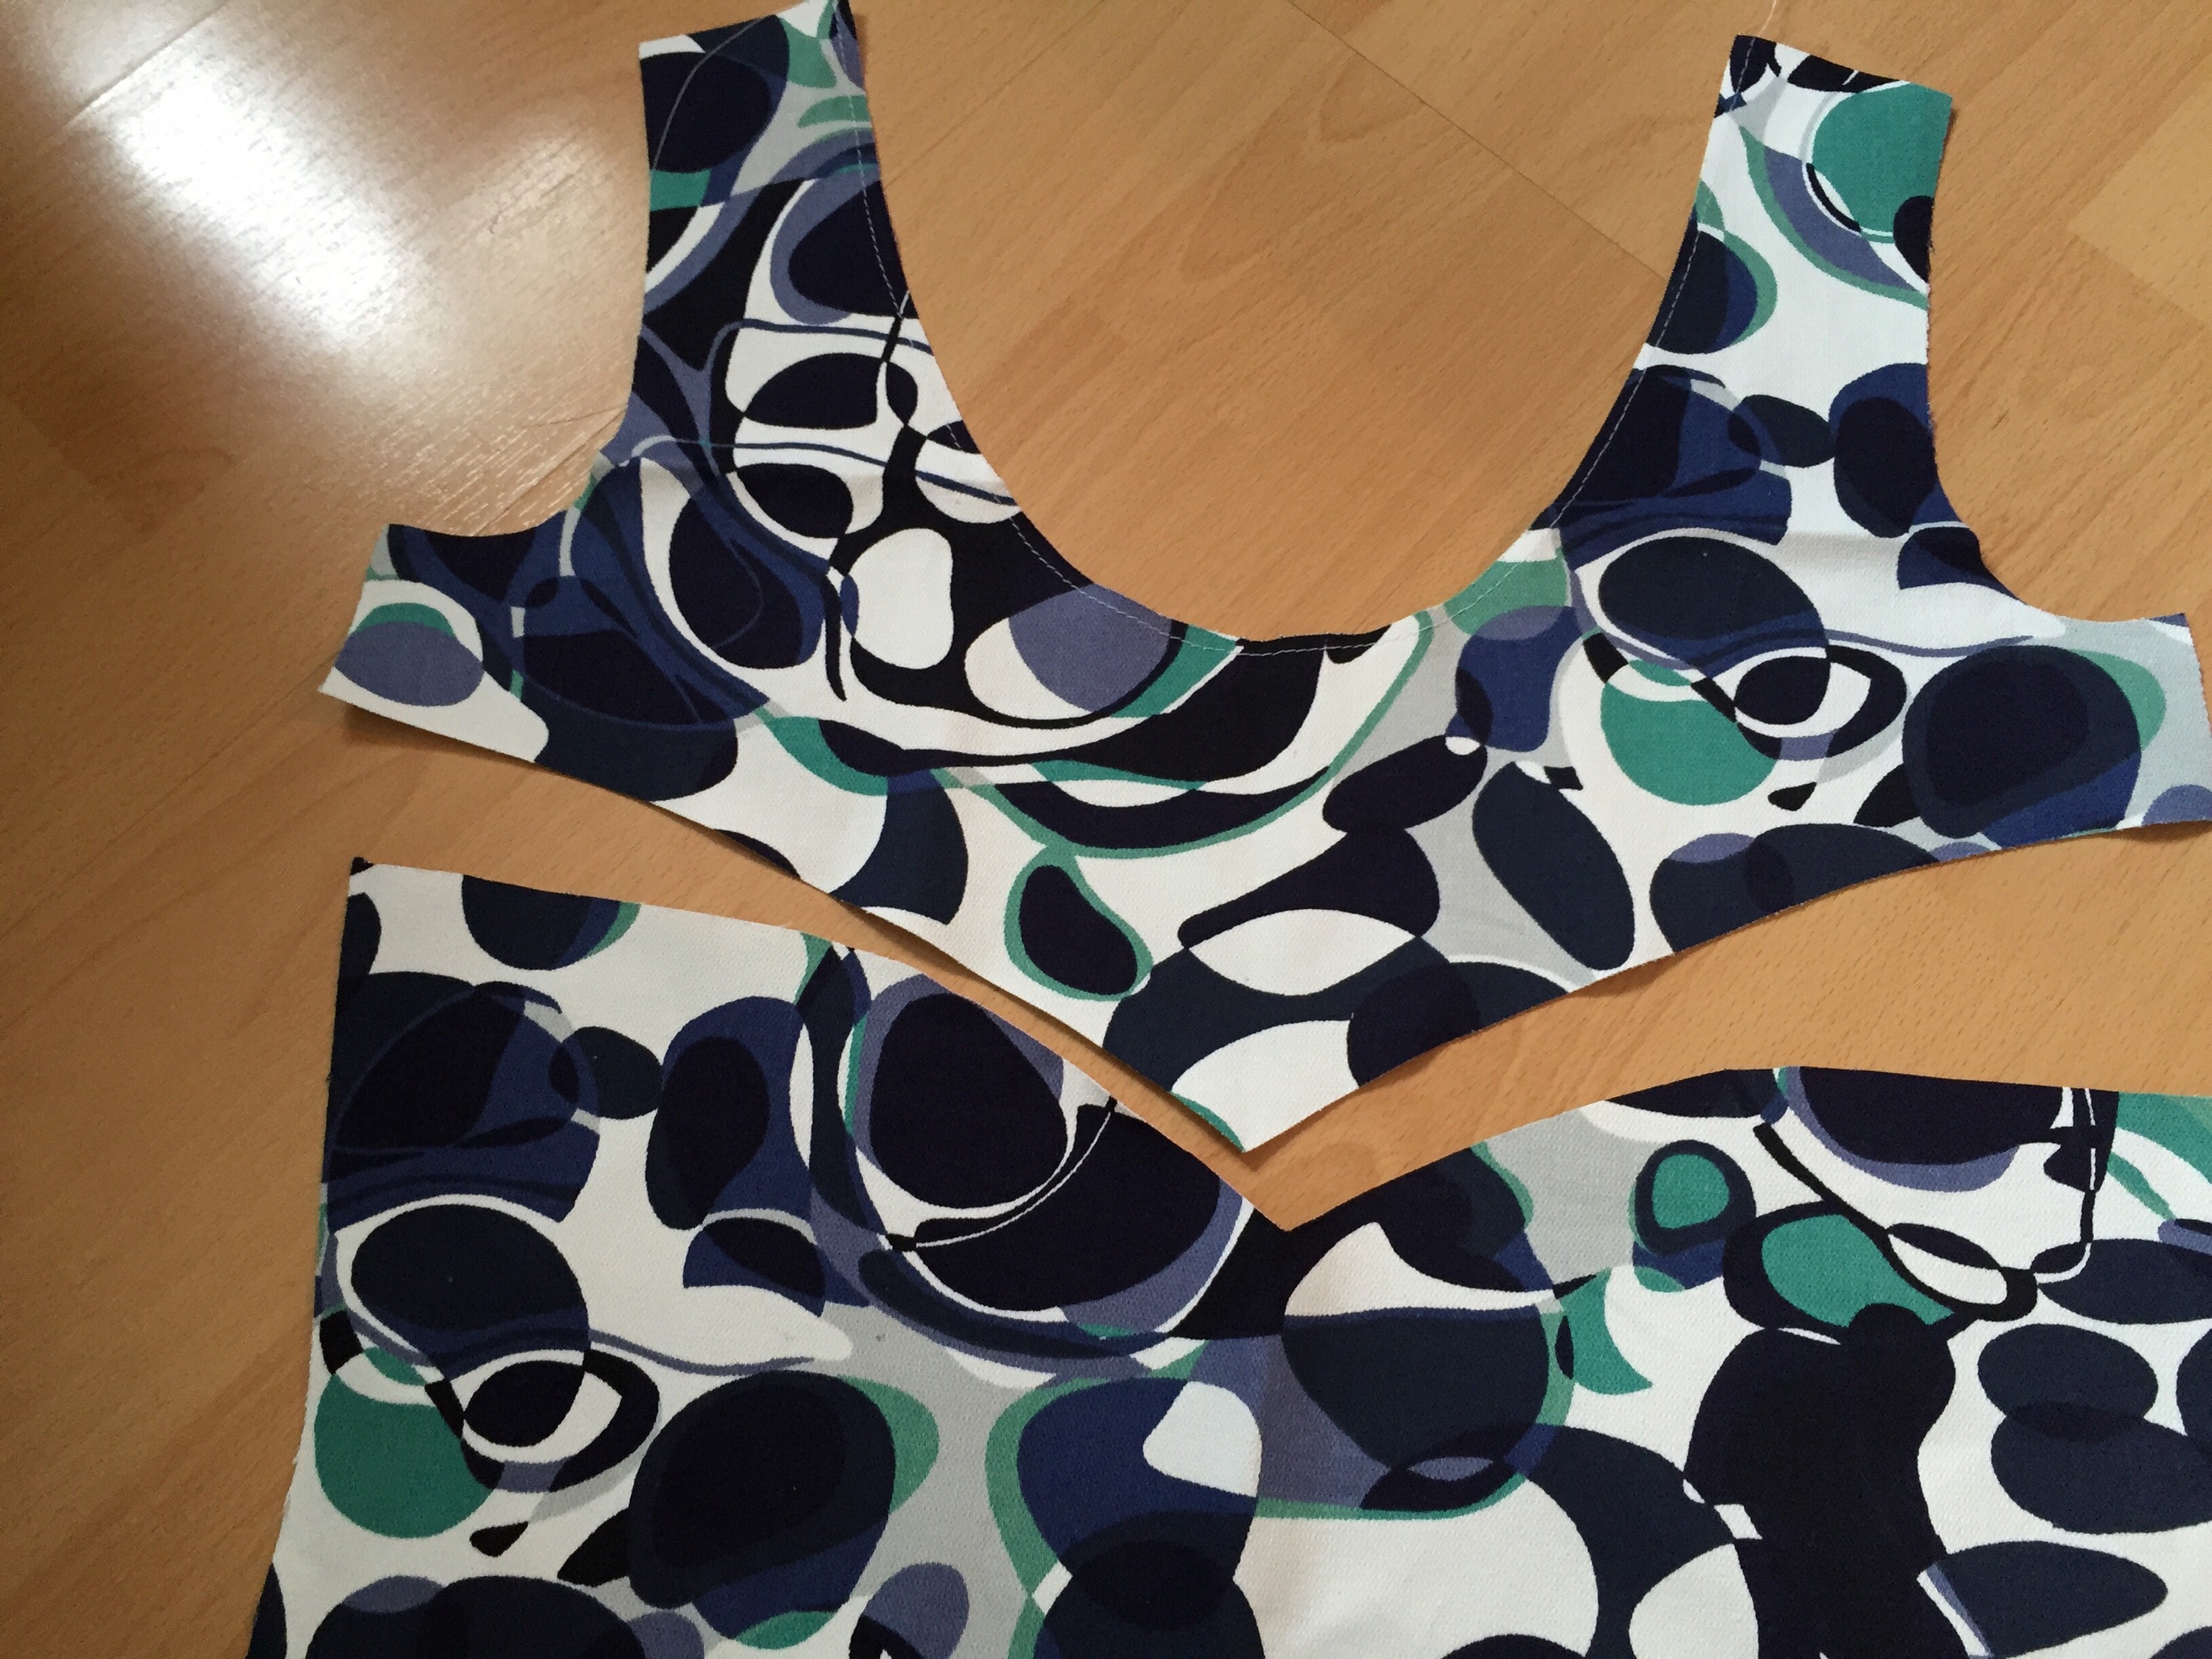
I constructed the dress a little out of sequence, putting in the zip last to enable me to make any final alterations. I seem to have experienced many a gaping back and front in my recent dresses.
I also stay stitched around all the necklines as I’ve found this keeps stretchy fabrics from stretching out of shape during construction.
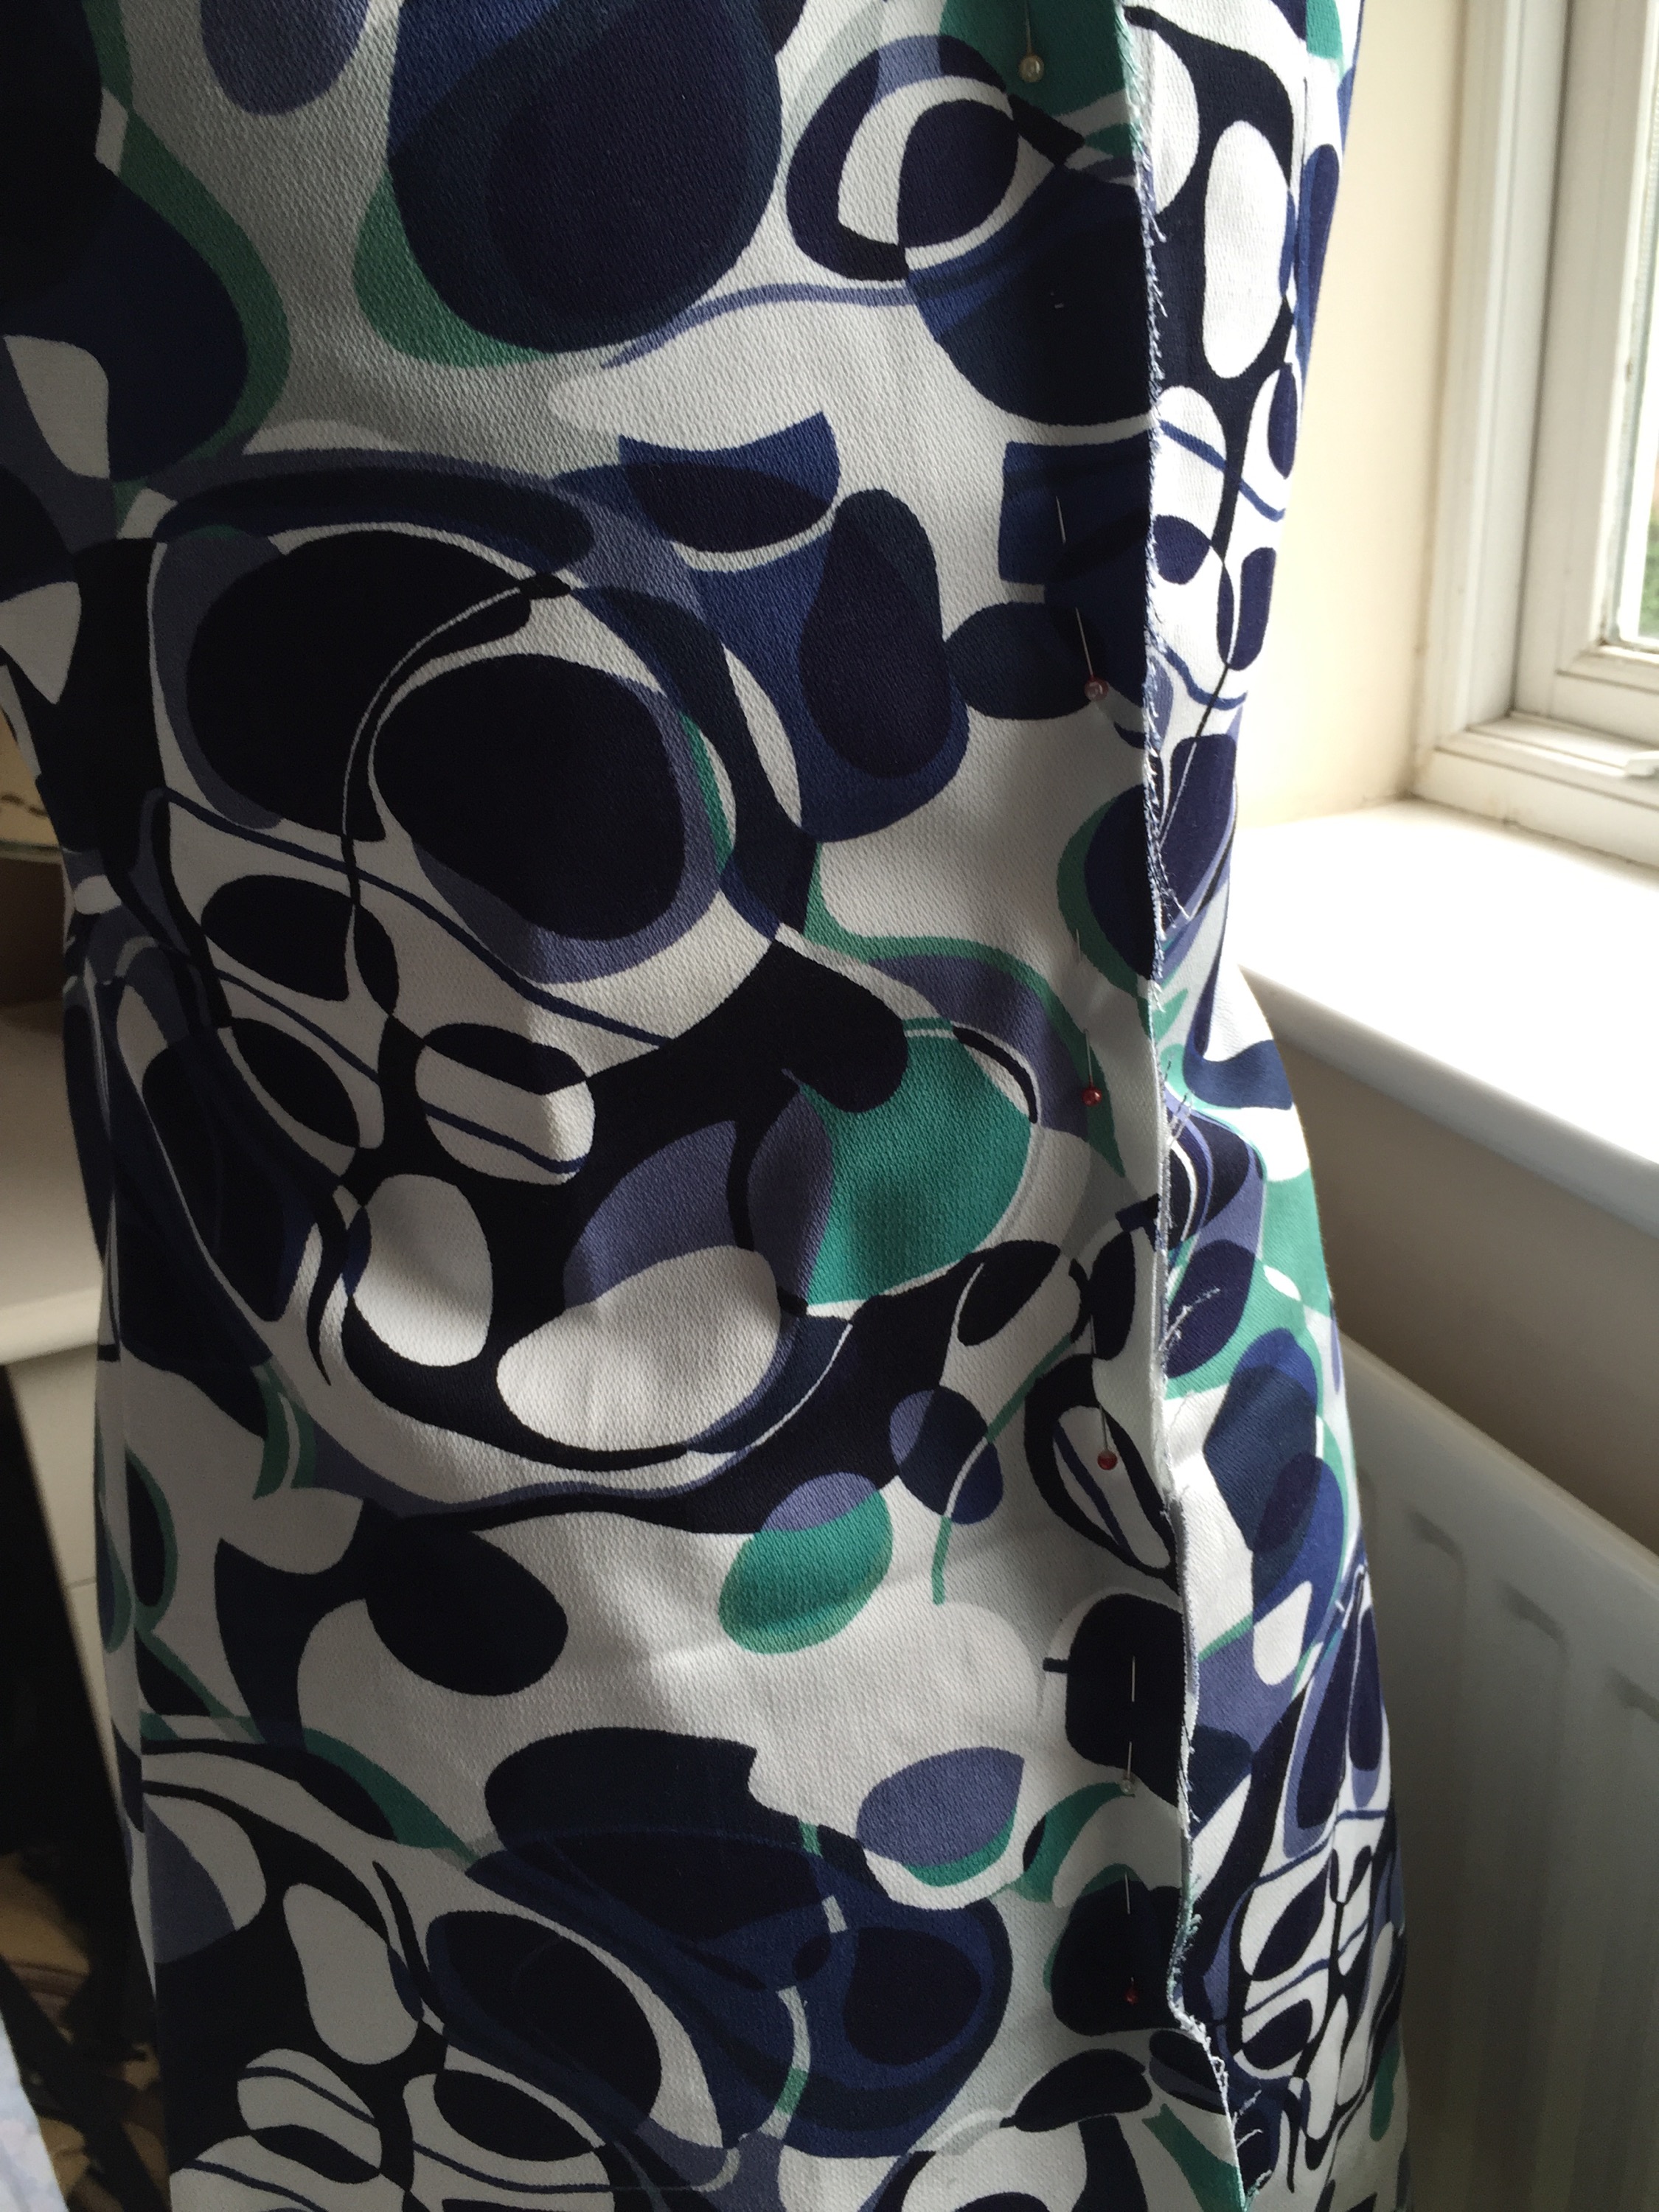
True to form, I took it in another inch down the back.
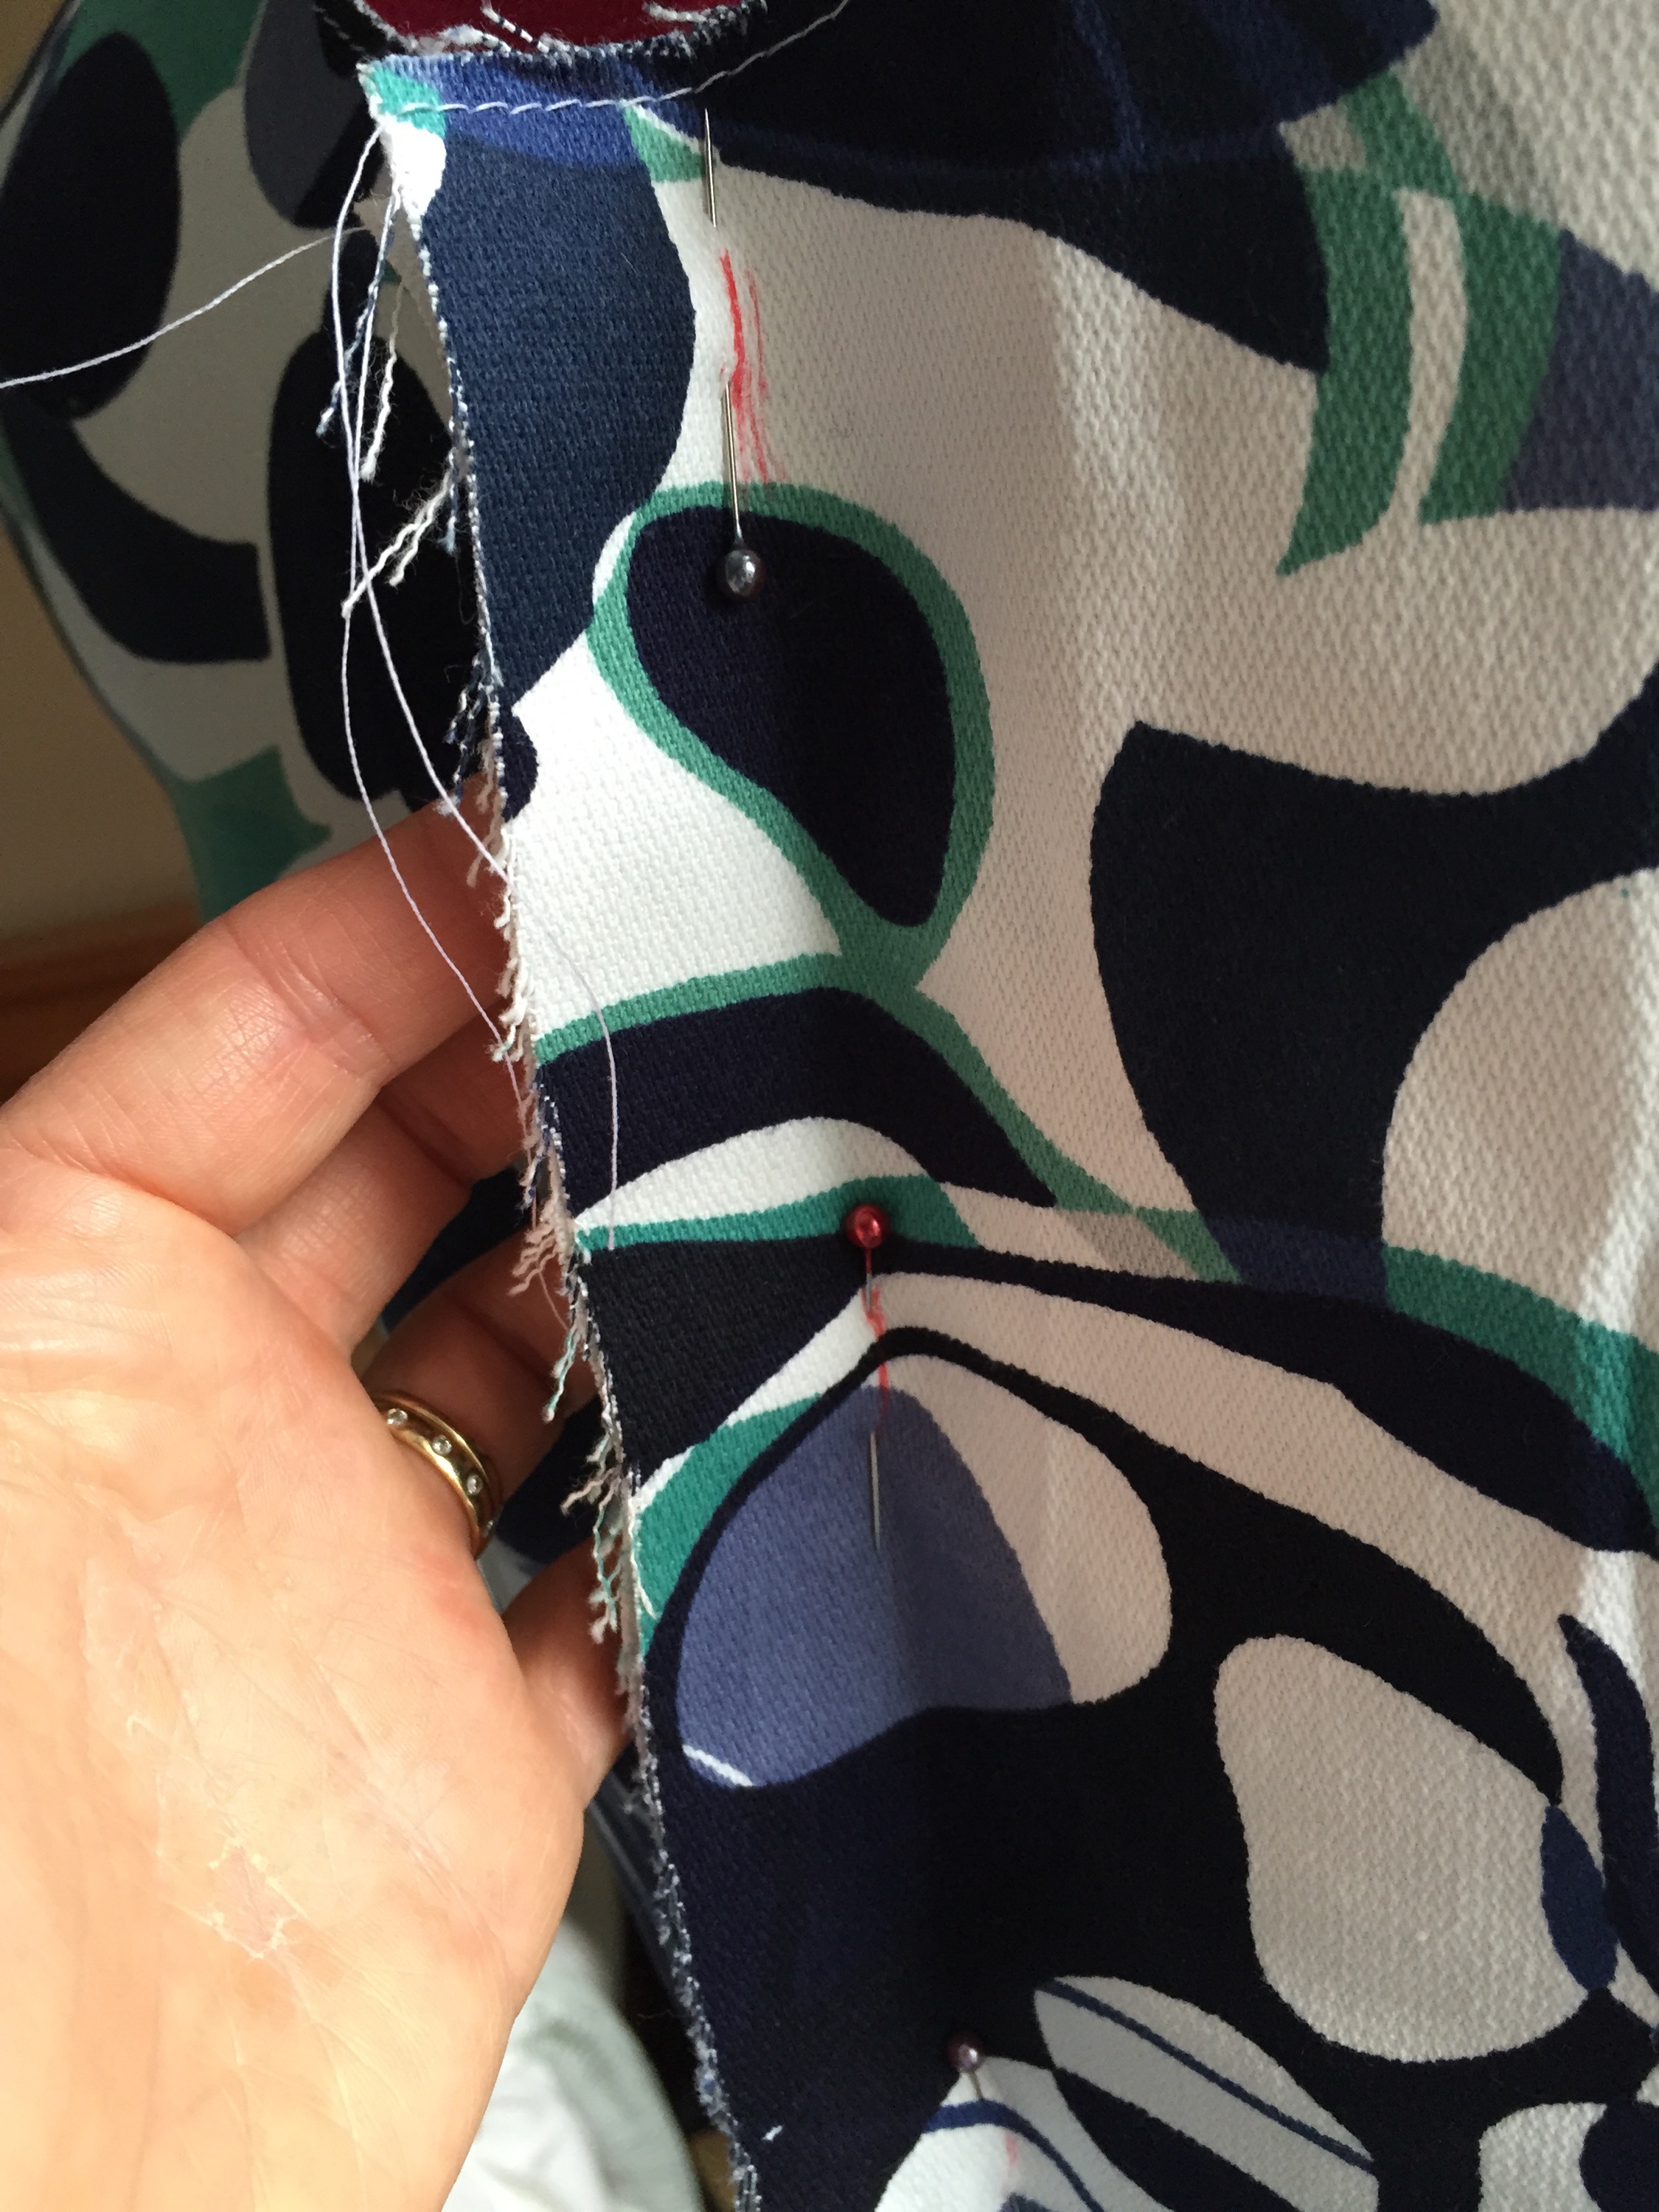
And put in two darts to stop the fabric pooling in my lower back as in the shot below.
Next the zip. I think I’ve mastered the invisible zip now; ever since I read that if your zip wasn’t quite invisible the first time, don’t unpick it but go back and give it a second, closer pass with the machine.


The pattern asks for a lining, but it was heavy enough so I just used a facing around the neckline and bias binding around the arm holes. I serged all the seams and hand finished the hem.


So this dress is ‘almost’ perfect. I say ‘almost’ because there is still a little gaping around the front neck. It is so much better than when I last had this problem, so I am getting there.
You’ll have to ignore my legs. They’ve been in the the wars this summer through gardening in shorts, mozzie bites from holiday and walking into the dishwasher whilst loading it. My skin doesn’t seem to recover like it used too!
When I make this up again, and I will because I love the fit of the back and the shape it gives my waist and the looser fit over the tummy, I will down size again and open up the bust seam. This will hopefully solve the gaping neckline.
The canvas is so easy to wear and it keeps its shape beautifully.
Would you believe I had my daughter outside in her pj’s at 7am to take these photos this morning? Cruel mother!
I think time has come for a tripod.
Love, Lucie.

Really excited to see this as I have the pattern lurking in my stash unopened 🙂 You may have just tempted me to dig it out again. Beautiful fabric which holds the shape really well, looks fab on you. Love that v shaped detail in the front.
LikeLike
I was concerned that it would be tricky to get the point in the centre looking nice but it wasn’t at all once I’d practiced it on the two toiles. I’d like to do a full bust adjustment on the next one but I’m not sure how to tackle it with this ‘v’ shaping.
LikeLiked by 1 person
Even though I know I probably need to start comtemplating FBAs, I haven’t tackled one yet so can’t help sorry! Was planning on sewing up a BHL Anna over the Summer as I think they have a fba tutorial online, but Summer now seems long gone! I’d ask on your blog, it worked wonders for altering my RTW jacket. Everyone’s so supportive on here 🙂
LikeLike
Good idea
LikeLiked by 1 person
That’s lovely Lucie. Really suits you and it looks like you’ve got the fit spot on. I almost always have to add darts to the backs of things as well as add shaping to the centre back seam (if there is one).
LikeLike
I’m glad it’s not just me that has a waist and a bum then!
LikeLike
This is a lovely dress! I really like the style and fabric choice and well done for getting the perfect fit!
LikeLike
Thank you. It’s almost perfect;)
LikeLiked by 1 person
Yes! A tripod and a remote. Then you can pose to your hearts content, not worrying about boring the photographer. You can take zillions of photos whilst trying out some action shots like twirling and jumping and high kicking and then delete most of them and keep the one or two that have turned out well. Or is that just me?
LikeLiked by 2 people
Exactly! That is exactly what I have in mind! My daughter is also having her room painted white which is perfect 😀
LikeLike
Darts are the solution to many a fitting problem as you’ve demonstrated so well. Do pattern manufacturers really think our backs go straight up? This one looks like it fits you really well and is another style that suits you fabulously:)
LikeLike
It looked pretty poor around the back until I put the darts in. I’m sure most of us have a bum that sticks out a bit!
LikeLiked by 1 person
Those of us that don’t are men!
LikeLiked by 1 person
The dress looks lovely on you. I hope that you get to wear it more than once this year. 🙂 I am on vacationthis coming week, and sewing a skirt and dress are on my list of “hope I get to it” things. All inspired by you, my friend.
LikeLike
So pleased to have inspired you! I’m practicing on jersey this weekend with a course I purchased from Tilly and the Buttons.
LikeLiked by 1 person
I’ll be writing a post about my adventures thus far… it might be too hot to sew this week, but I am doing it anyway. 🙂
LikeLike
You’ve really got this sussed, it looks great!
LikeLike
Thank you. I’m really pleased that I’m slowly working through my sewing demons.
LikeLiked by 1 person
Wow it really really suits you!
LikeLike
Thank you very much.:)
LikeLiked by 1 person
Wow! Lovely result! I haven’t read your blog for so long, hopefully I’ll be back more often. Thanks for sharing all the detail of how you adjusted the fit. Right now I can only dream of ever sewing a dress for myself. My sewing machine is firmly packed away as I have no energy or time – but I’m not giving up and saying never! Love the colour of the other dress as well, it really suits you and looks great. As do those feisty nails – great summer colour for as long as these autumn rains get pushed back by the occasional sunshine still 😉
LikeLike
I’m sure there’ll come a time when you have more time on your hands although perhaps not for a few years! I think I only just started to have ‘free time’ once my daughter was at secondary school and became a little more independent.
LikeLiked by 1 person
Full marks to you for looking so elegant at 7am! It s a lovely shift and the fitting has made it perfect. I’ve recently sewn with poplin for the first time – it’s lovely.
LikeLike
You can tell by my eyes that I’ve not quite woken up fully!
LikeLike
Beautiful fit, really suits you!
LikeLike
Thank you. One day I’ll make something I’m 100% happy with;)
LikeLike
Looks fab. You’ll just have to book another holiday if we don’t get an Indian summer 🙂
LikeLike
Would be nice ……
LikeLiked by 1 person
Looks great!
LikeLiked by 1 person
Lovely style and fabric
LikeLike
Re the gaping neckline – google “how to fix a gaping neckline pattern”.
On this pattern you’ll only need to pinch out a little pleat (dart) on the pattern “yoke” from the neckline to the bottom seam of the yoke, finishing with nothing at the bottom seam of the yoke. eg if the dart is 1/4” at neckline, then it’s zero at bottom of yoke. Folded out on the pattern piece.
A hint for the FBA – the darts are “hidden” in the V seam, on this pattern, and cut away. Hope that makes sense.
LikeLike
Re the gaping neckline- just take a dart out of the pattern piece.As there’s a separate “yoke” to get the V – it won’t affect the body of the dress.
Also google “how to fix a gaping neckline pattern”.
LikeLiked by 1 person
Re the FBA – the dart is “hidden” in the seam of the V piece and then cut away. Hope that makes sense. So each side of the horizontal seam ie the dress side and the yoke seam – are the sides of a dart. Google “How to Create a Princess Seam for Flattering Fit” which explains how this is done in a princess seam dress.
LikeLike
Thank you so much for all your trouble. This dress was made 4 years ago so I’ve picked up a few things since then xx
LikeLike