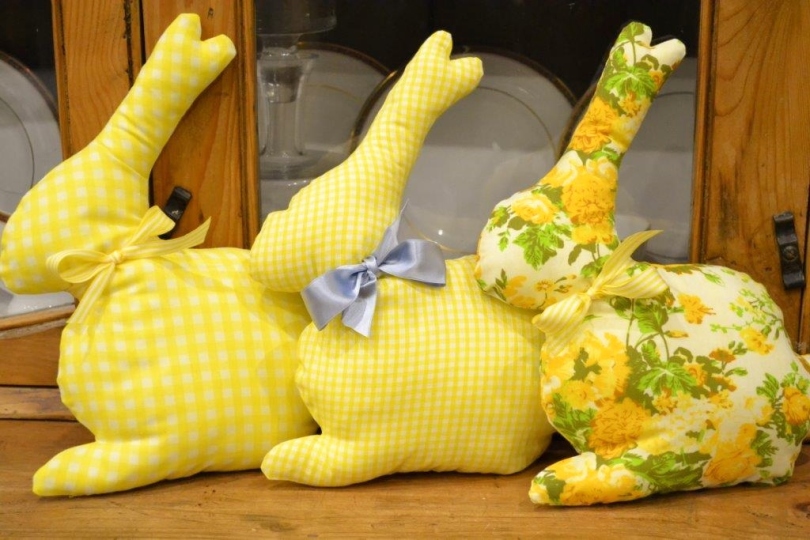
With Spring trying to push its head up through the still cold damp earth I thought it was about time to take down the Scottie dog garland from my much loved good old Welsh Dresser and replace it with something more seasonal.

This presented me with a perfect seasonal opportunity for my third Minerva Crafts Bloggers Network Post.
My Minerva fabric kit contained all the fabric I needed for my project, a bobbin of yellow cotton thread and a length of yellow ribbon. I added some buttons from my stash and some further ribbon. I also found some polystyrene eggs I had bought, and not used, many Easter’s ago. I believe you can buy these at Minervacrafts too.
A quick search on the internet led me to examples of chicks and rabbit templates. After a bit of a sketch I drew up something I was happy with. Well, I say happy but I wasn’t entirely convinced my chick looked like a chick, but more like a duckling. Try as I might, I could not get my chick silhouette to look more like a chick so it has stayed a little duckling-looking.
A really easy project, this one.
A simple sew on the machine, turn the right side out, stuff and stitch.
A tip when you are machine sewing slightly awkward shapes is to keep your fabric a reasonable size. In other words, don’t cut out all your chicks into individual squares. Draw them out onto one piece of fabric for sewing and them cut them all out later.
Another tip is to use your pinking shears for cutting them out. There is far less clipping of curves to do this way. Just some clipping on the tight inside curves required.
Yet I wasn’t happy with just my bunnies and chicks (ducks). To finish off my Easter theme I wanted some eggs.
I took a polystyrene egg and divided into 4 segments with a kitchen knife. I cut about 5mm deep into the egg.
I cut out four ‘petal’ shapes and persuaded the edges of the fabric into the groove using my ‘unpicker’.

 After I had covered all the eggs I finished them off by covering the grooves with some thin ribbon, using a ‘prit stick’ along the grooves to stick the ribbon fast.
  Such an easy project to do. Perfect for a child with a little help cutting the groves into the eggs.
I was really please with how these turned out.
All set up for Easter.
Love, Lucie xx


You are far too hard on yourself but I guess you had an image in your head and if it doesn’t exactly match that image, you can’t be 100% happy with it.
Personally, I think that the chicks and bunnies look brilliant , as do the eggs – so bright, cheerful and spring like. Well done you 🙂
LikeLike
Thanks. They are growing on me now! We are taking a break somewhere warm (shame) at Easter so I wanted to make something a little early so the festival didn’t go unnoticed.
LikeLike
They are adorable. Well done you
Sarah x
LikeLike
Thank you very much. Nice and cheery!
LikeLike
They DO look like chicks 🙂 It all looks great, but I particularly love how you’ve decorated the eggs, brilliant idea!
LikeLike
I think the eggs are my favourite bit!
LikeLike
Neat ideas and I love the tip for sewing on one piece of fabric. Lovely display. Easter really is nearly here!
LikeLike
Yes, just a couple of weeks away now. I’m always glad to have got the weather of January, February and March over and done with!
LikeLike
Such gorgeous fabrics, and a great tip for making the eggs. Thanks for sharing, and have a great week x
LikeLike
Thanks for stopping by and your lovely comment!
LikeLike
Aww they are all just sooo gorgeous! Especially all together, what a fantastic image of Easter loveliness 🙂 Great tip on how to decorate the eggs too, might have to give that one a go! x
LikeLike
I’ve been meaning to do the eggs for a couple of years. Finally got round to it!
LikeLike
Oooo…I like how you did those eggs. Looks time-consuming though. — BTW, LOVE both of your Garlands!! – I’ve been thinking about doing some myself “THIS” year! *IF* I can get my mind past actually cutting *INTO* any of my beloved Fabric-Stash!!
;-D
LikeLike
The eggs were really a cinch. After cutting them out I finished them all in a couple of evenings in front of the TV.
Fabric stash is not just for looking at!
LikeLike
Lovely bright garland, and a good tip for the fiddly patterns.
LikeLike
Thank you. I like to have something seasonal up.
LikeLike
I love a three projects, very bright and definately very Eastery (if that’s a word!!)
LikeLike
Eastery is a great word! Thank you for popping by with your lovely comment
LikeLike
The eggs are fabulous, I’d never have thought of doing that with the polystyrene eggs.
LikeLike
I had the eggs hanging around for a couple of years. They no longer haunt me!
LikeLike
Really spring like. Those eggs are amazing.
LikeLike
I can see the eggs coming out year after year!
LikeLike
And so they should!
LikeLike