I happened upon a blog post recently showing some beautiful personalised Christmas stockings made for a couple of children for Christmas. I stupidly did not ‘pin’ the article (and cannot remember the blogger) and hence could not find the said images again when I came to make my own. (If you (the blogger) are reading this, please comment below so I can give you full credit!)
Amongst the many different example on Pinterest I came across these

Aren’t these absolutely gorgeous made in beautiful Liberty Print?
If you fancied making some up in Liberty you could do no better than visit Very Berry Fabrics on Folksy for affordable Liberty fabric pieces.
But I was determined to make some stockings from my fabric stash.
I also came across these.

Click on either of these images for some great tutorials.
Inspired by both these makes I put togther my own for my 2 year old niece, Eleni.
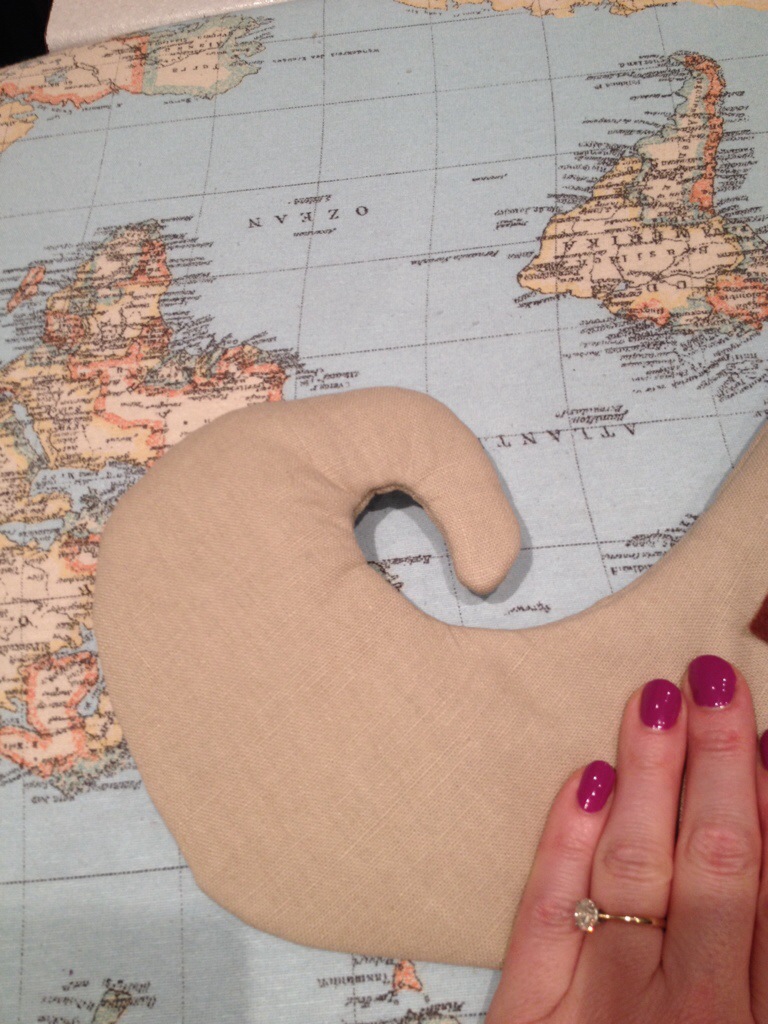
I do not have the patience or the time, unfortunately, to write out a tutorial but as they say, ‘a picture paints a thousand words’


This is a piece of an Ikea tea towel. Lovely thick cotton, perfect for crafting.


Needless to say, my daughter has already put in an order.
Love, Lucie xx

That’s brilliant!
LikeLike
I’m quite pleased too 😉
LikeLike
I agree – brilliant. I really like the curled up toe and the bells. I suspect you may get a lot of orders for these!
LikeLike
Yes, already received an order for 3!
LikeLike
Not at all surprised. x
LikeLike
Well you cannot blame your daughter, you are never to old for a Santa stocking!
LikeLike
Hear, hear! We all have stockings in this house!
LikeLike
It’s gorgeous !!!! No wonder your daughter has put her order in. Great tutorial too xx
LikeLike
PS forgot to say I love your shawl
LikeLike
PPS correction – it should read ‘I love your scarf’…. If I had a brain I’d be dangerous !!!!!
LikeLike
Thank you. I can see myself making at least 3 more, just for ourselves, to hang up on the old dresser over Christmas.
LikeLike
Very lovely x
LikeLike
Thank you. Fun to make. x
LikeLike
the elf stockings are gorgeous! lot of work though! but i love them
LikeLike
Just a couple of hours really. Thank you for your lovely comment.
LikeLike
What a lovely stocking. Well done 🙂
LikeLike
Thank you! I’m rather pleased with it. 🙂
LikeLike
Wow, that’s very lovely. I really like the more muted colours of yours, too, with the big red contrasts. More sophisticated!
LikeLike
Exactly what I was aiming for! My brother and partner don’t do kitsch. Thank you!
LikeLike
I love the bells on these, Santa must make sure he’s nice and quiet 🙂
Jan x
LikeLike
Hmmmmm. Not thought of that!
LikeLike
Lovely socks, and so bright, seen on handmade harbour
LikeLike
Thank you. My niece loved hers.
LikeLike
I love this! I recently got a sewing machine so after a little bit more practice I think I’m going to try this out, thanks for sharing!
ps visiting you from Handmade Monday 🙂
LikeLike
It is absolutely stunning, and you are right – the pictures really tell the whole story.
LikeLike